You have no items in your shopping basket.
Swipe to the left
Russian dolls to knit right now
Print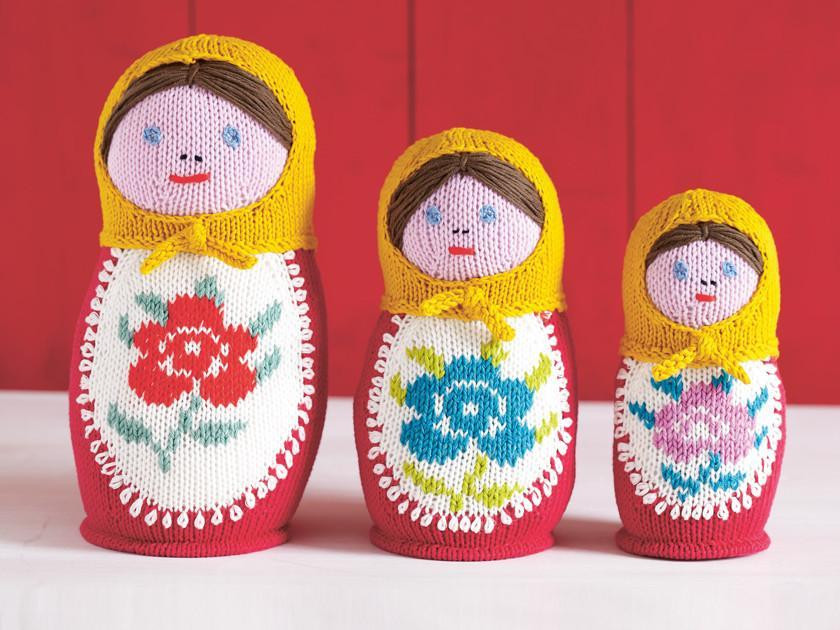
By Beth Shearing
7 years ago
Russian dolls have such a unique yet wonderful charm.
Traditionally made of wood and painted in bright shades, they are also known as matryoshka dolls. Matryoshka can be translated to mean 'little matron'. They're sometimes sweetly referred to as babushka dolls too.
Babushka is the Russian word for grandmother.
The first set of nesting dolls were designed by folk crafts painter Sergey Malyutin before Vasily Zvyozdochkin carved them in 1890. The figurines can be either male or female in gender and the innermost one is usually a baby that's been cleverly crafted using a single piece of wood.
If you'd like to have a go at making your own, we have a wonderful knitting pattern ready for you to download now at The Knitting Network.
Although our dinky dollies can't be stacked inside one another, they'll still look undeniably adorable when displayed in your home. Each doll wears an apron adorned with beautiful blooms and an eye-catching yellow headscarf.
The large doll measures approximately 22cm tall, while the medium-sized one is 19cm. Perfectly petite, the smallest is 16cm in height.
We'd consider our Russian Dolls Set Knitting Pattern to be an intermediate make, meaning it's ideal for any beginners looking for a bit of a challenge.
That said, it also makes a wonderfully satisfying project for someone with plenty of experience.
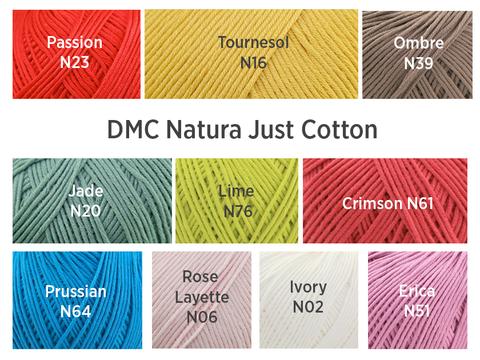
The yarn used is DMC Natura Just Cotton.
Designed by Tina Egleton - technical editor at Woman’s Weekly - these delightful toys are expertly shaped and use a variety of interesting techniques.
Although the flowers may look like complex knitted-in intarsia, the delicate florals are actually stitched on after the finished item is stuffed. This means the design is less likely to distort after stuffing is inserted in the finished toy.
The larger patches on the body are knitted using the intarsia technique, so watch your tension as any loose areas might allow stuffing to show through.
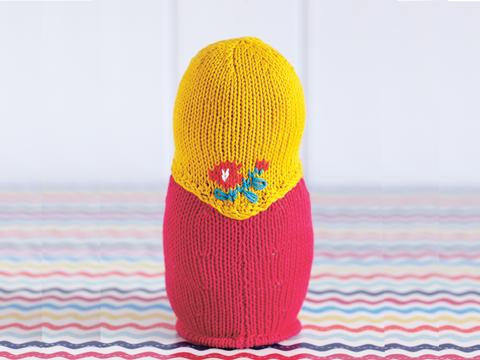
At the base, the area is stiffened with a piece of card inserted at the time of stuffing. And to make them stand firm on a shelf, there is a ridge worked using a ‘tuck’ method.
The tuck technique is simple to do.
Insert your needle into each stitch as if to knit normally. Then take your needle down into the back of the corresponding stitch, the stated number of rows below. Wrap yarn around your needle and draw through both loops, which pulls the lower fabric up to meet your working row.
This creates a hem or tuck, running along the row, creating a rim around the base which helps to keep the finished toys sturdy.
For expert tips on how to stuff knitted toys, watch our video tutorial now.
Posted in: Best patterns