You have no items in your shopping basket.
Swipe to the left
The Great Wave KAL in Erika Knight yarn - second instalment
Print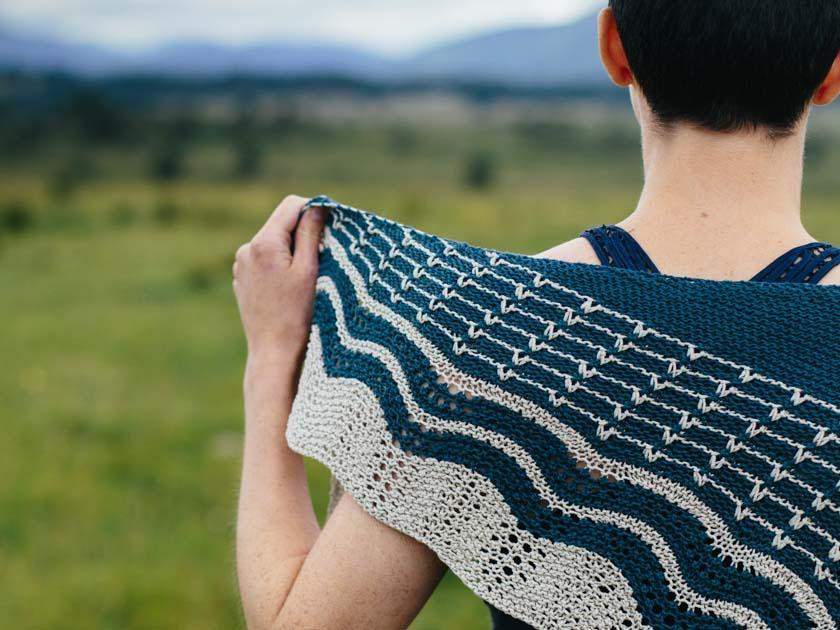
By Teresa Conway
7 years ago
Part 2 of our exclusive KAL with Kat Goldin of Slugs On The Refrigerator has just washed up on our blog. Download it here now.
The third and final instalment will be available on 16 August.
Yet to find time to get started on Part 1? You can grab a copy of the pattern here.
For this KAL you will need Erika Knight Studio Linen (85% recycled rayon, 15% linen).
2 x 50g (120m) hanks of Erika Knight Studio Linen (85% recycled rayon linen, 15% linen) in Neo (404) and 1 hank in Bone (401). You will need one pair of 4.5mm knitting needles and a cable needle.
Over to Kat to introduce Part 2 and talk us through this week's technique.
'This section uses a slip stitch pattern to create a line of waves up the fabric. If you haven’t worked slip stitches before, they can seem tricky, but all they consist of is slipping the unworked stitches onto the right-hand needle, pulling the colour upwards, so you don’t have to work more than one colour per row,' she explains.
'The wave 'peaks' use a simple cable technique of swapping two of the stitches to create a diagonal placement of the waves.'
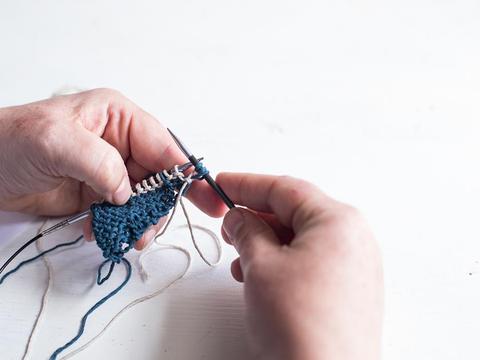
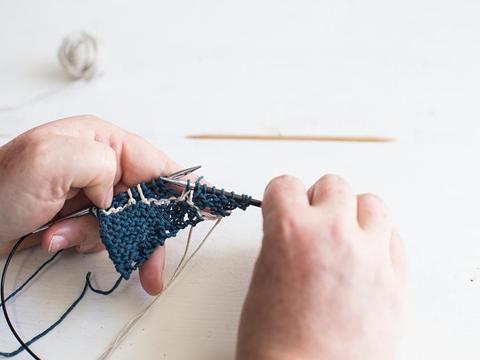
As always, we've shot some handy step-by-step photographs for you to refer to if you get stuck.
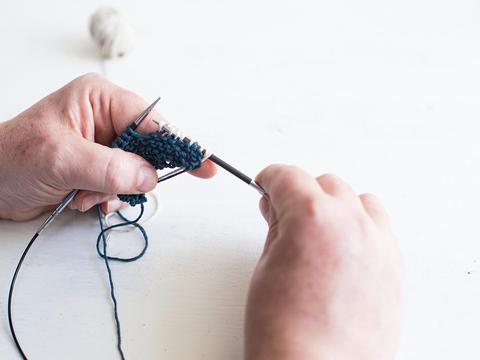
It's time to introduce your second colour as you begin work on the next stitch pattern.
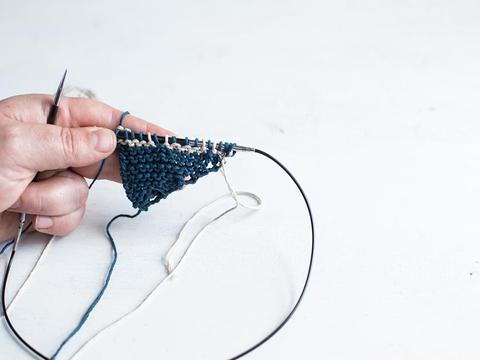
You should have finished on a wrong side after completing Part 1 so you will be starting on a right side. Please be aware that we have used a sample swatch to demonstrate how to work the stitch, your shawlette should be far bigger than this by now
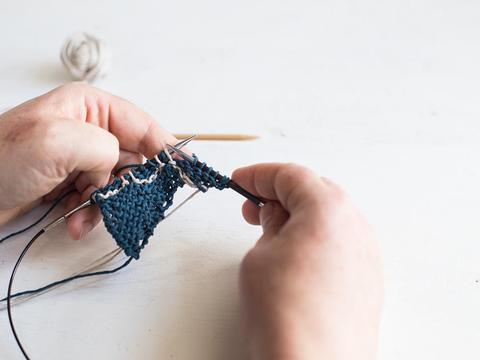
With Bone, increase knitwise into the first stitch by knitting into the front and back of the same stitch.
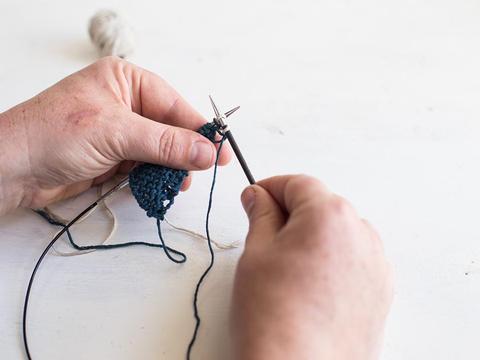
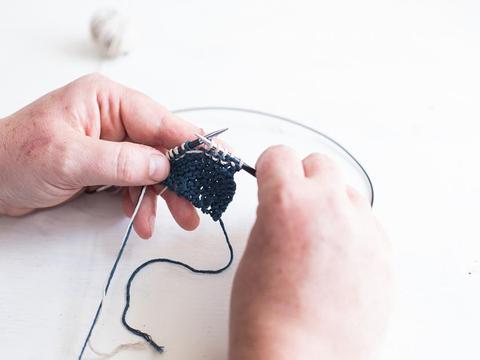
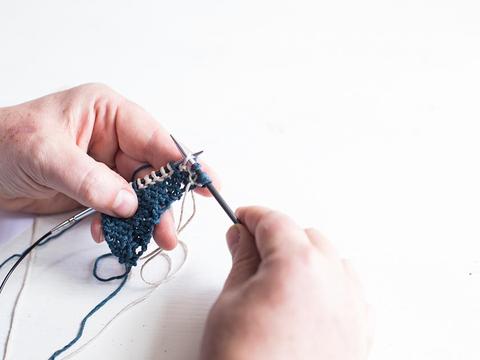
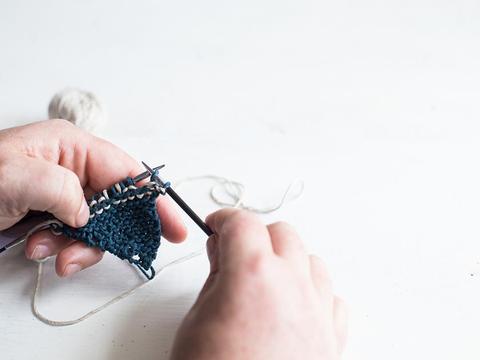
Insert the right-hand needle into the next stitch as if to purl it, but don't.
Slip it off the left-hand needle and leave it on the right-hand needle unworked.
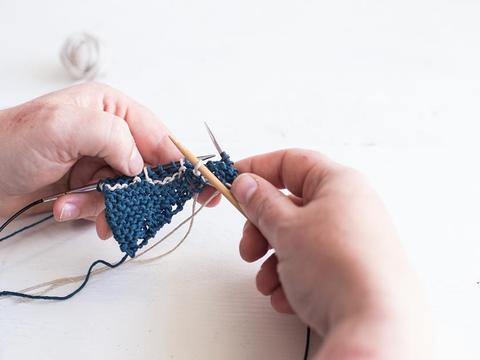
Knit five stitches.
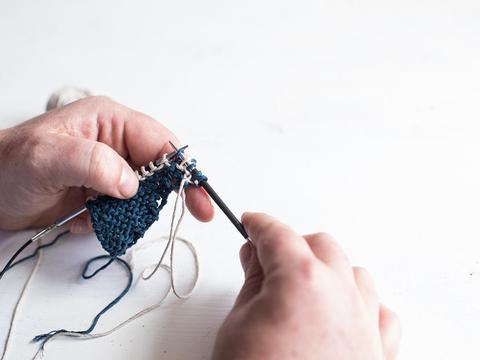
Repeat the part in brackets to end. For the next row, still using Bone, knit up to the first slipped stitch.
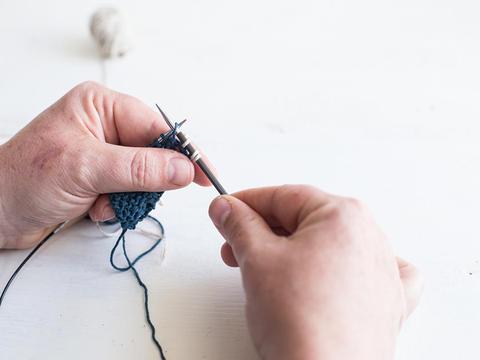
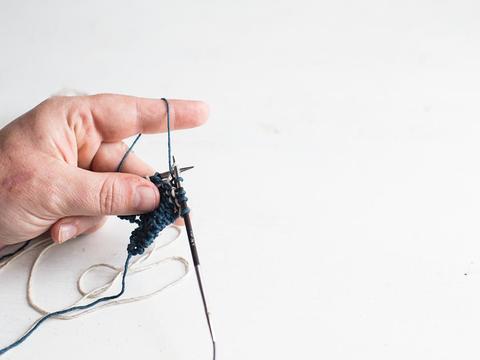
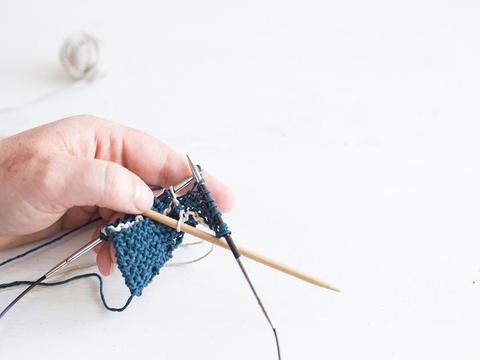
Bring your yarn to the front of the work before slipping.
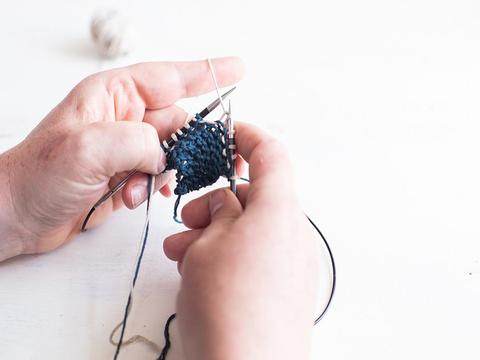
Slip the slipped stitch from the previous round and bring the yarn to the back.
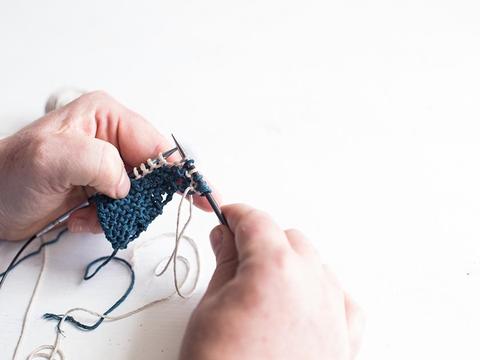
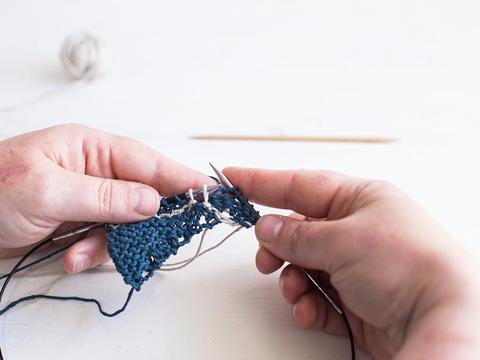
Follow pattern to the end of the row. The next row uses your main colour Neo and you are increasing in the first stitch.
Knit the next stitch, then slip the next purlwise with your yarn in the back of your work.
Knit the next stitch, which is the slipped stitch from the previous two rows.
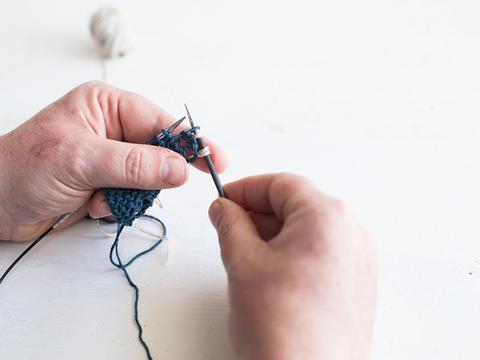
Slip the next stitch.
Knit three stitches.
Follow the pattern to the end of the row.
Still using Neo begin row four and knit four stitches.
Bring yarn to front and slip one purlwise.
Then bring the yarn to the back and knit the next stitch.
Continue slipping and knitting stitches as stated in pattern to the end of the row.

Increase into first stitch of fifth row knitwise by knitting into the front and back of it. Row five is a right-side row so all contrast slipped stitches are slipped with the yarn in the back and wrong side rows have yarn at the front (row six).
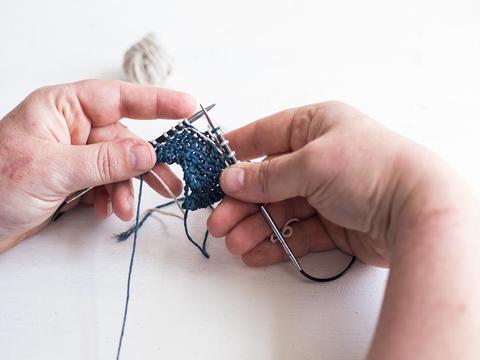
The seventh row is where you cross the slipped stitches. So work your increase: knit one, yarn forward, knit one into your first stitch. Then knit four stitches to bring you to the slipped Bone stitch.
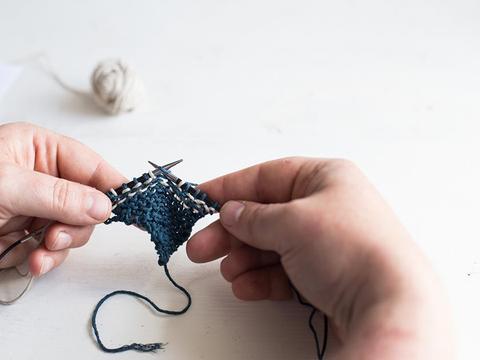
Now, using a cable needle, slip this stitch to cable needle.
Holding the cable needle in front, knit the next stitch (the one that was between your two slipped bone stitches).
Place the stitch on cable needle back onto the left-hand needle.
Knit these two bone stitches together.
Insert your left-hand needle under the loop lying between stitches.

Knit into the back of it.

This completes the cross and continue in pattern as follows. The 8 rows are repeated 5 more times until you have 134 stitches on your needle, ready for the final instalment next week!
Posted in: News