You have no items in your shopping basket.
Swipe to the left
Sweetpea Blanket CAL Part One
Print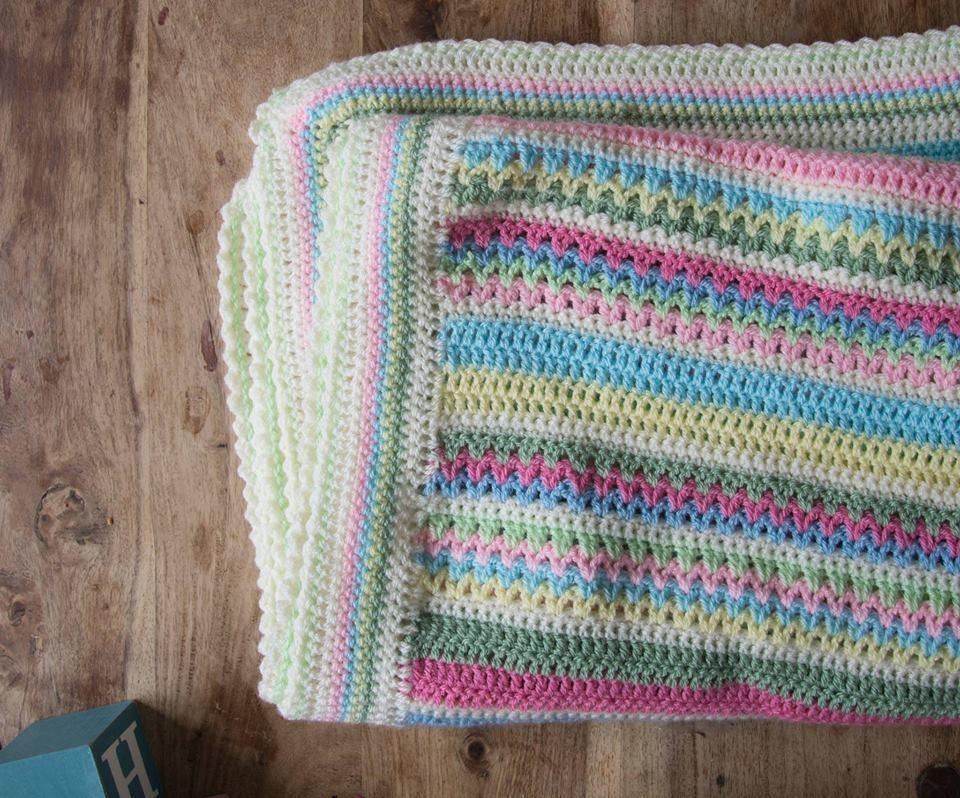
By Florence Roberts
6 years ago
The first instalment of our very special crochet along 'The Sweetpea Blanket CAL' is here. Designed by Sue Rawlinson of Sweetpea Family Crochet this delightful spring blanket is made up of simple crochet stitches, suitable for beginners.
We are so excited to bring you part one of our free crochet along blanket pattern.
You can still get hold of the exclusive yarn colour pack for just £15.99. The pack includes all the yarn you need to crochet up your own blanket.
Buy your yarn colour pack here >
Read about how Sue Rawlinson became such a successful crochet influencer and designer in our exclusive interview.
Keep scrolling for a helpful guide on how to crochet the blanket, and the stitches used.
Using 5mm hook, and yarn A work 121 chain (ch).
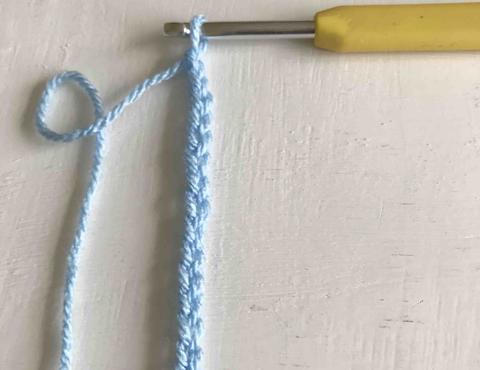
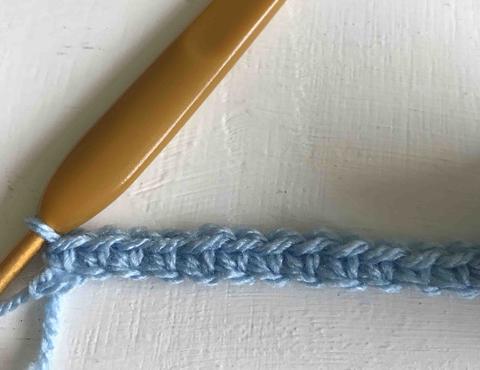
First row: Change to 4mm hook and double crochet (dc) into the second chain from hook.
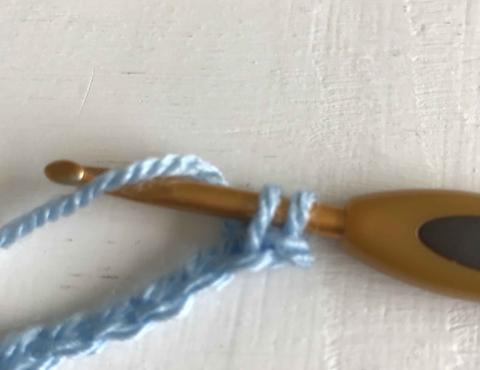
To work a dc, insert hook into st, take yarn over hook and pull through.
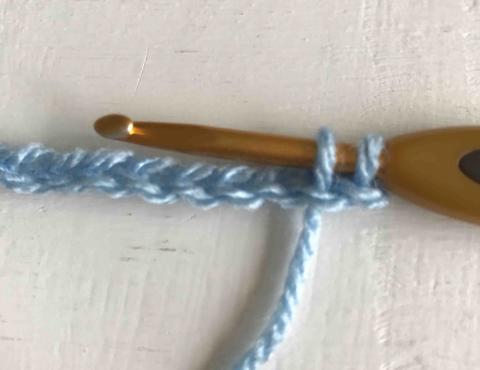
Take yarn over hook again and pull through both loops on hook.
Continue working dc in each of the ch until the end of the row, turn. (120 sts)
2nd row: 1ch (this is not counted as a stitch (st) throughout the pattern), work 1dc in every st to the end of the row, turn. You will still have 120 sts, now and throughout.
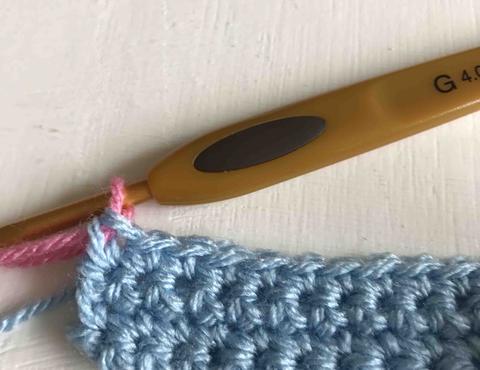
Work a further 2 rows in dc but when you come to the end of your 4th row, start to work your last dc, but instead of using your current yarn to pull through the last 2 loops on your hook, change to Dark Pink, take the yarn round the hook and pull through the last 2 loops. This is a neater way of changing yarn and is used for every colour change throughout the pattern.
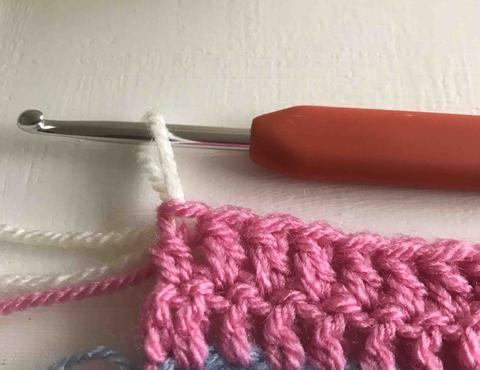
5th row: Work 3ch, skip the st at the base of the beginning 3ch and then work 1 treble (tr) into the next st. Work 1tr into each st to the end of row.
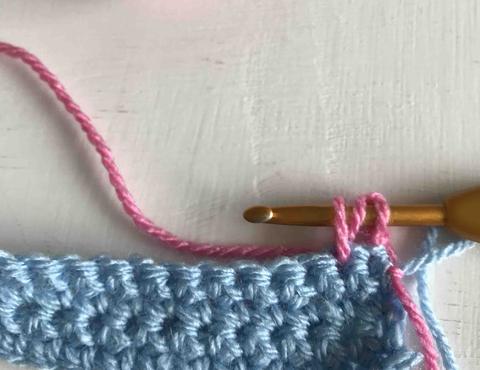
Work another row of tr in the same way.
When you come to the end of your 6th row, start to work the first part of your last tr until there are 2 loops on your hook and instead of using your current yarn to pull through the last 2 loops on your hook, change to Cream, take the yarn round the hook and pull through the last 2 loops.
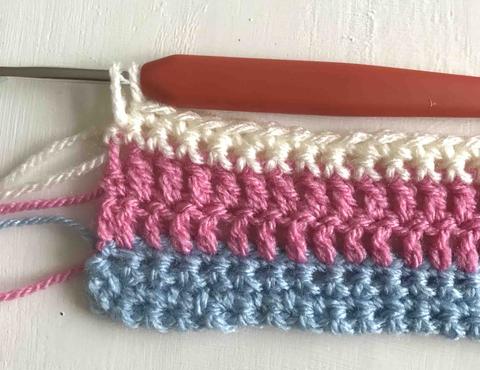
Work 2 rows of dc again, in the same way as the 2nd row, changing colour as before to Dark Green.
Next you are working granny stripes. Which are just like the stitches used to make a classic granny square.
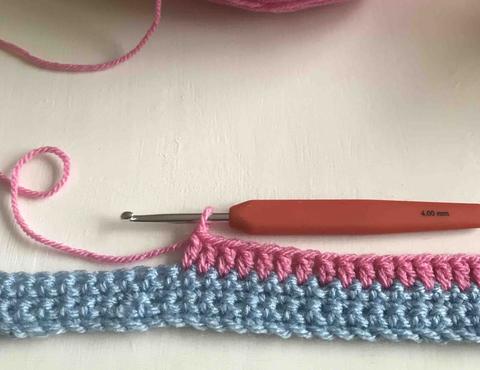
9th row: 3ch, work 1tr in the stitch at the base of the beginning 3ch, *skip the next 2 sts and work 3tr in the next st; repeat from * to the last 2 sts, skip 1 st and work 1tr in the last st, turn.
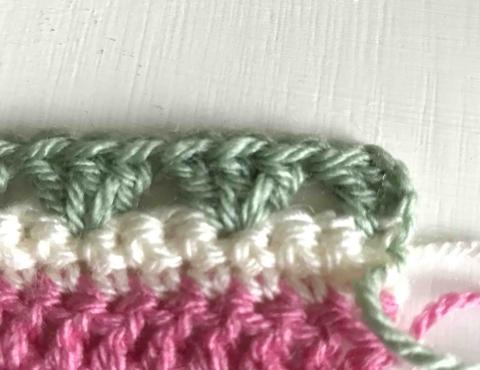
10th row: Work 3ch, then work 1tr in the st at the base of the beginning 3ch, *work 3tr in the space between the next 2 tr-groups; repeat from * to the last 2 sts, skip 1 st then work 1tr in last st, turn.
You have now worked all of the stitches you will need for part one.
Continue with your project using your pattern as a guide.
That's it for part one. We hope you enjoyed it and are looking forward to part two. It will be released on April 6 so stay tuned!
Please share your progress with fellow crocheters over on The Knitting Network's Crochet Along Facebook page. As well as sharing tips, asking for advice and sharing any queries you may have.
Join The Knitting Network Crochet Along page here >
Happy crocheting.
Posted in: News