You have no items in your shopping basket.
Swipe to the left
How to knit: Purl stitch
Print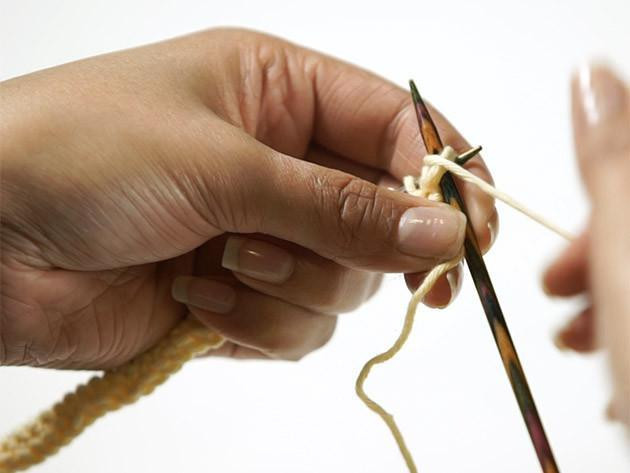
By Freddie Patmore
8 years ago
When learning how to knit, it will quickly become clear that mastering purl stitch is very important.
Just like knit stitch, that we talk you through in our step-by-step video here, purl is a gateway to other stitch variations.
By working one row knit and one row purl and alternating throughout, you will create a fabric that is smooth on the surface and bumpy on the reverse.
This is known as stocking stitch which probably forms the bulk of most machine-knitted fabrics including stockings - hence the name.
By alternating knit and purl stitches across a row you can create totally reversible fabrics that look the same on both sides and don't curl at the edges. These include moss stitch and rib.
Although you might find it fiddly at first, The Knitting Network's expert Freddie Patmore is happy to share her top tip for getting purl stitch right.
'It might be tempting to let go of your yarn between purl stitches when you're new to it but make sure to hold your yarn in your right hand at all times,' she says.
'This is essential to maintain an even tension that matches your knit stitches in your project.'
To help demonstrate exactly what Freddie means, we've put together an easy-to-follow purl stitch tutorial.
Here's a summary of what she covers in the video below:
Keeping the yarn at the front of your work, insert your right-hand needle in the front of the first stitch from right to left and towards you.
Take the yarn up and around the right-hand needle and bring the loop through. Drop the stitch off the left-hand needle.
Purl stitch is referred to as P in our knitting pattern instructions.
Posted in: How to knit