You have no items in your shopping basket.
Swipe to the left
How to Crochet Corner to Corner
Print
By Amy Last
2 years ago
Voulez-Vous 'Crochet' Avec Moi?
We've just taken delivery of a beautiful new yarn from Papatya, called Mouline Chunky. French for 'stranded cotton', it's a gorgeous variegated acrylic yarn that comes in lots of shades, but I fell in love with colour 5680! It reminds me of tropical beaches and I love the green tones. I knew I wanted to crochet a blanket for my 1-year-old with it, but being a busy mum, I don't get much time to relax with a project. So I opted for a super quick corner to corner blanket, and I thought I'd show you how to crochet this popular stitch too!
I'm using a 5mm hook, but you can use a 6mm for a looser finish.

To begin, start with a slip knot and chain 6:

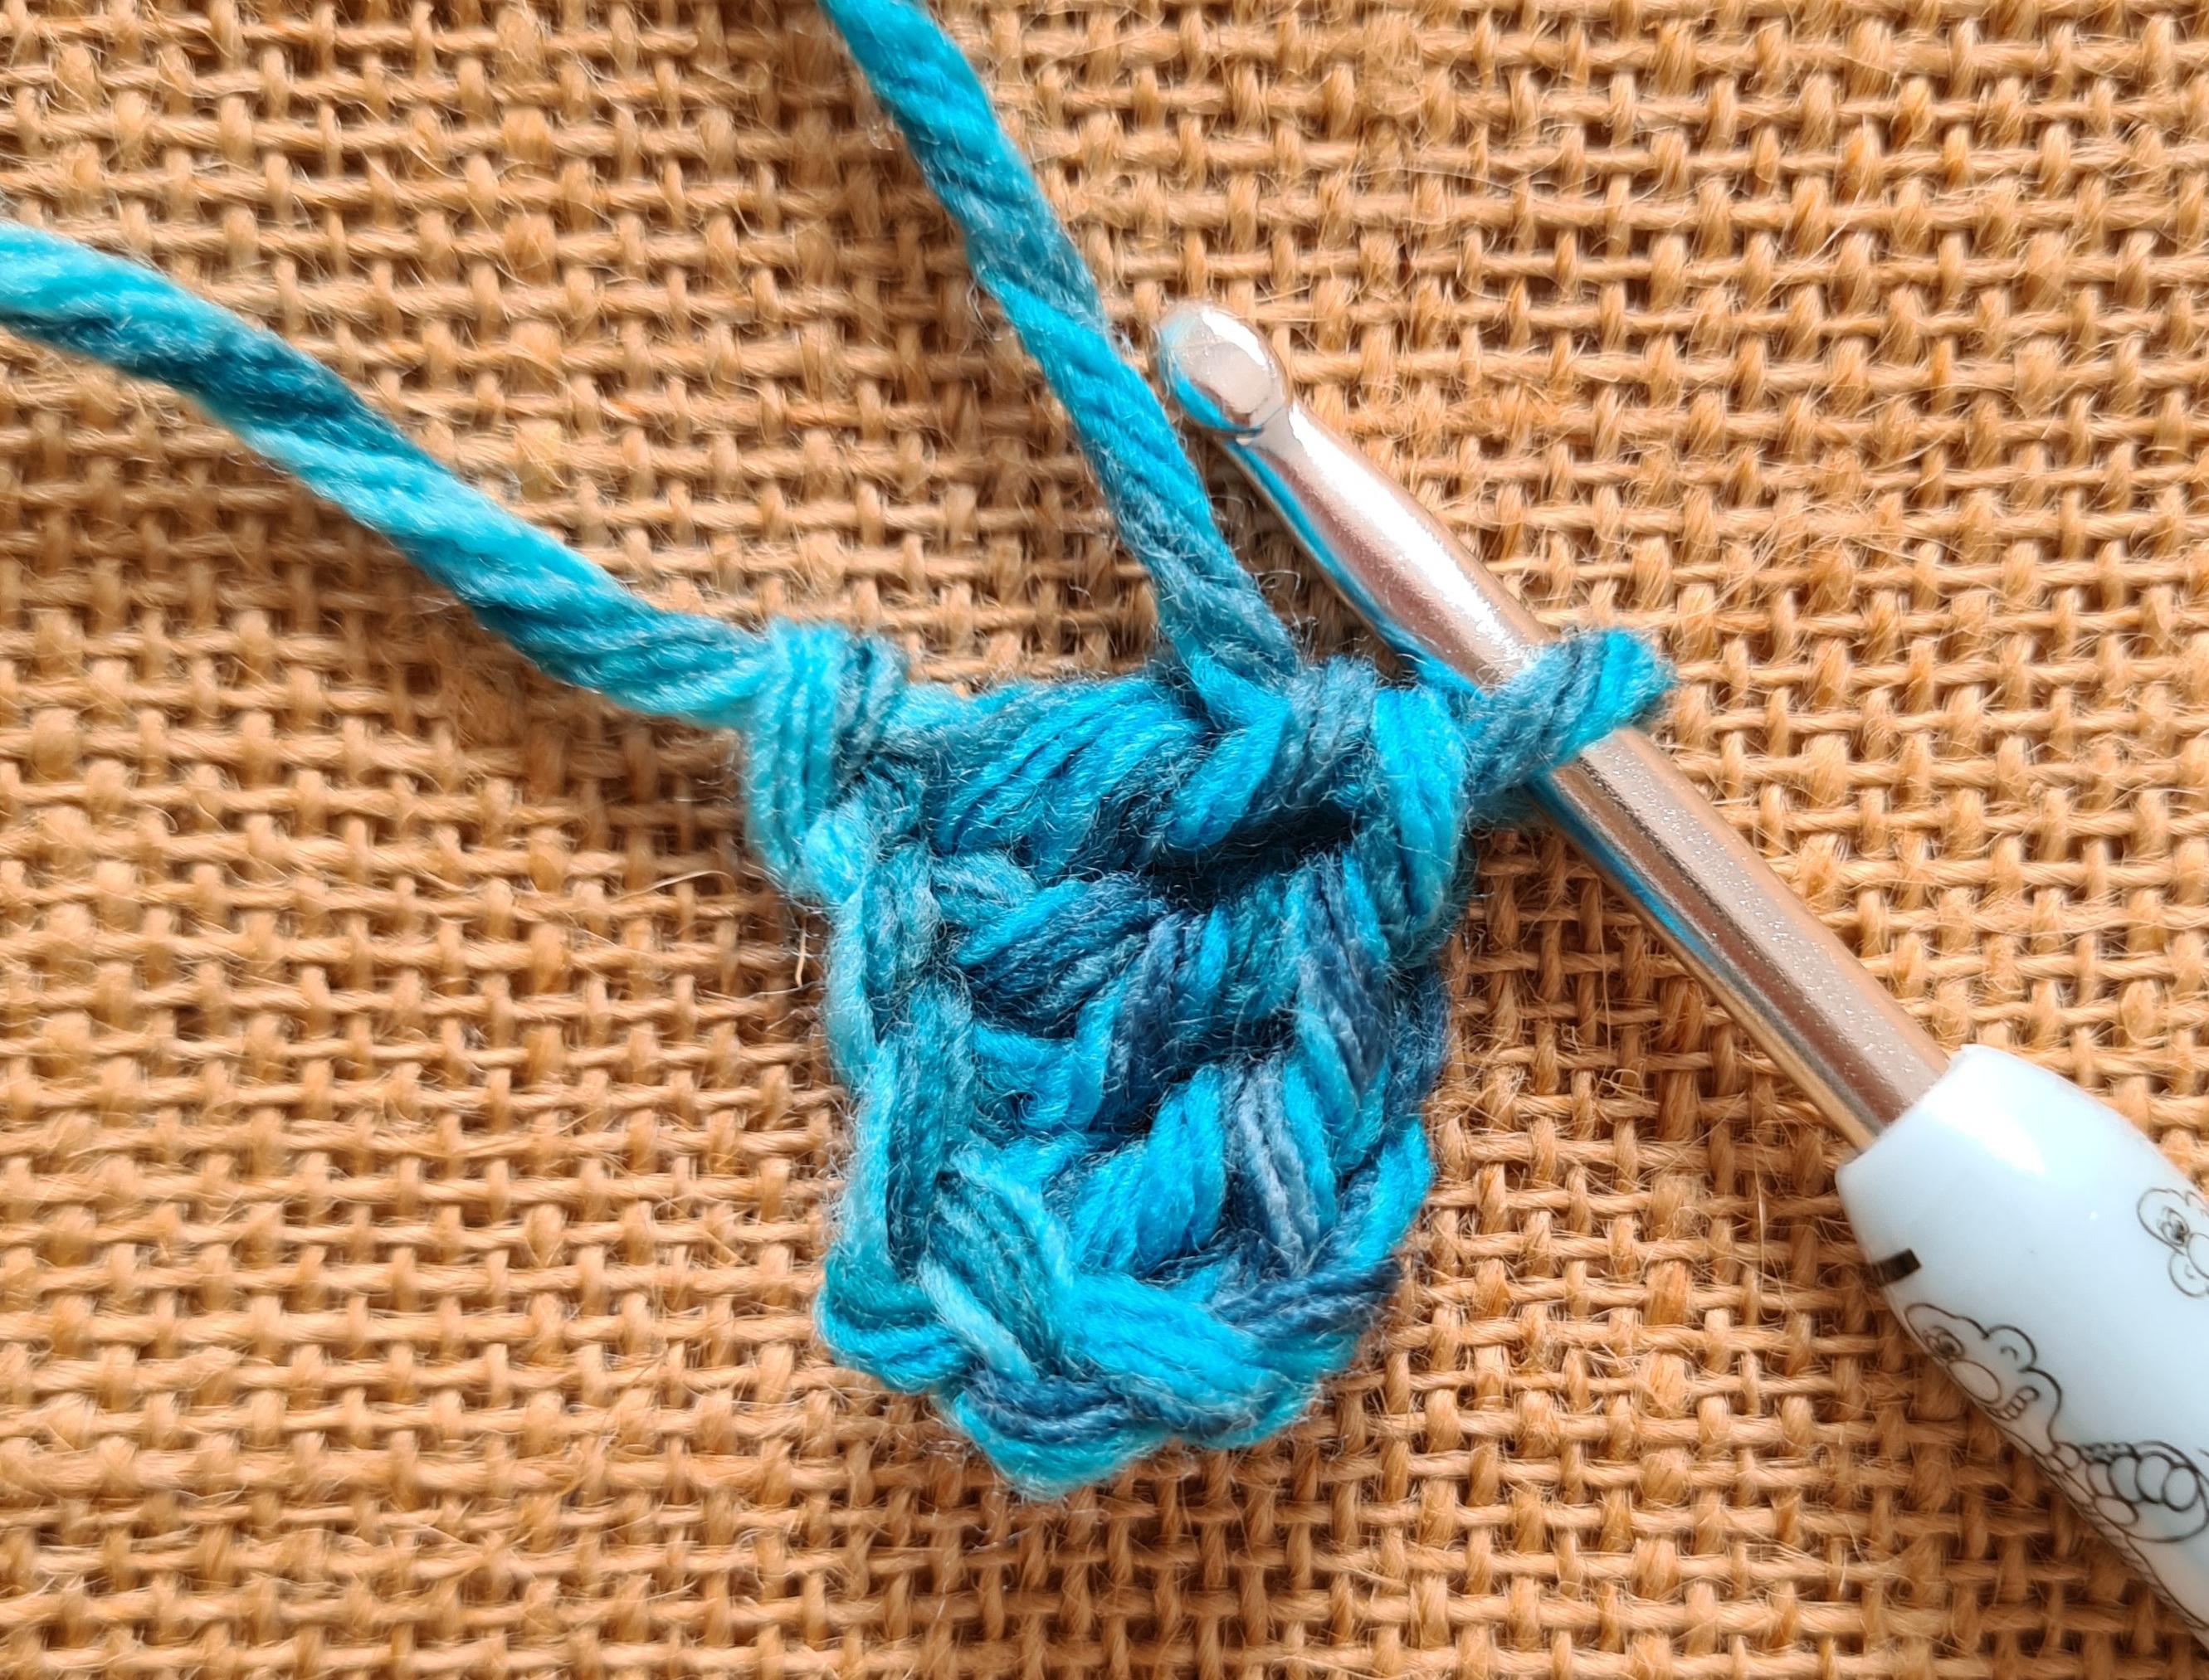
Then work a treble crochet into the 4th chain from the hook, and repeat in the 5th and 6th chains from the hook. This completes your first ‘tile’ and your first row!
Now, turn your work and start the next row. Chain 6:
 Then, as before, work a treble crochet into the 4th chain from the hook and repeat for the remaining 2 chains.
 Next, find the first chain space in your first tile. This is the space between your chain 3 and the first treble:

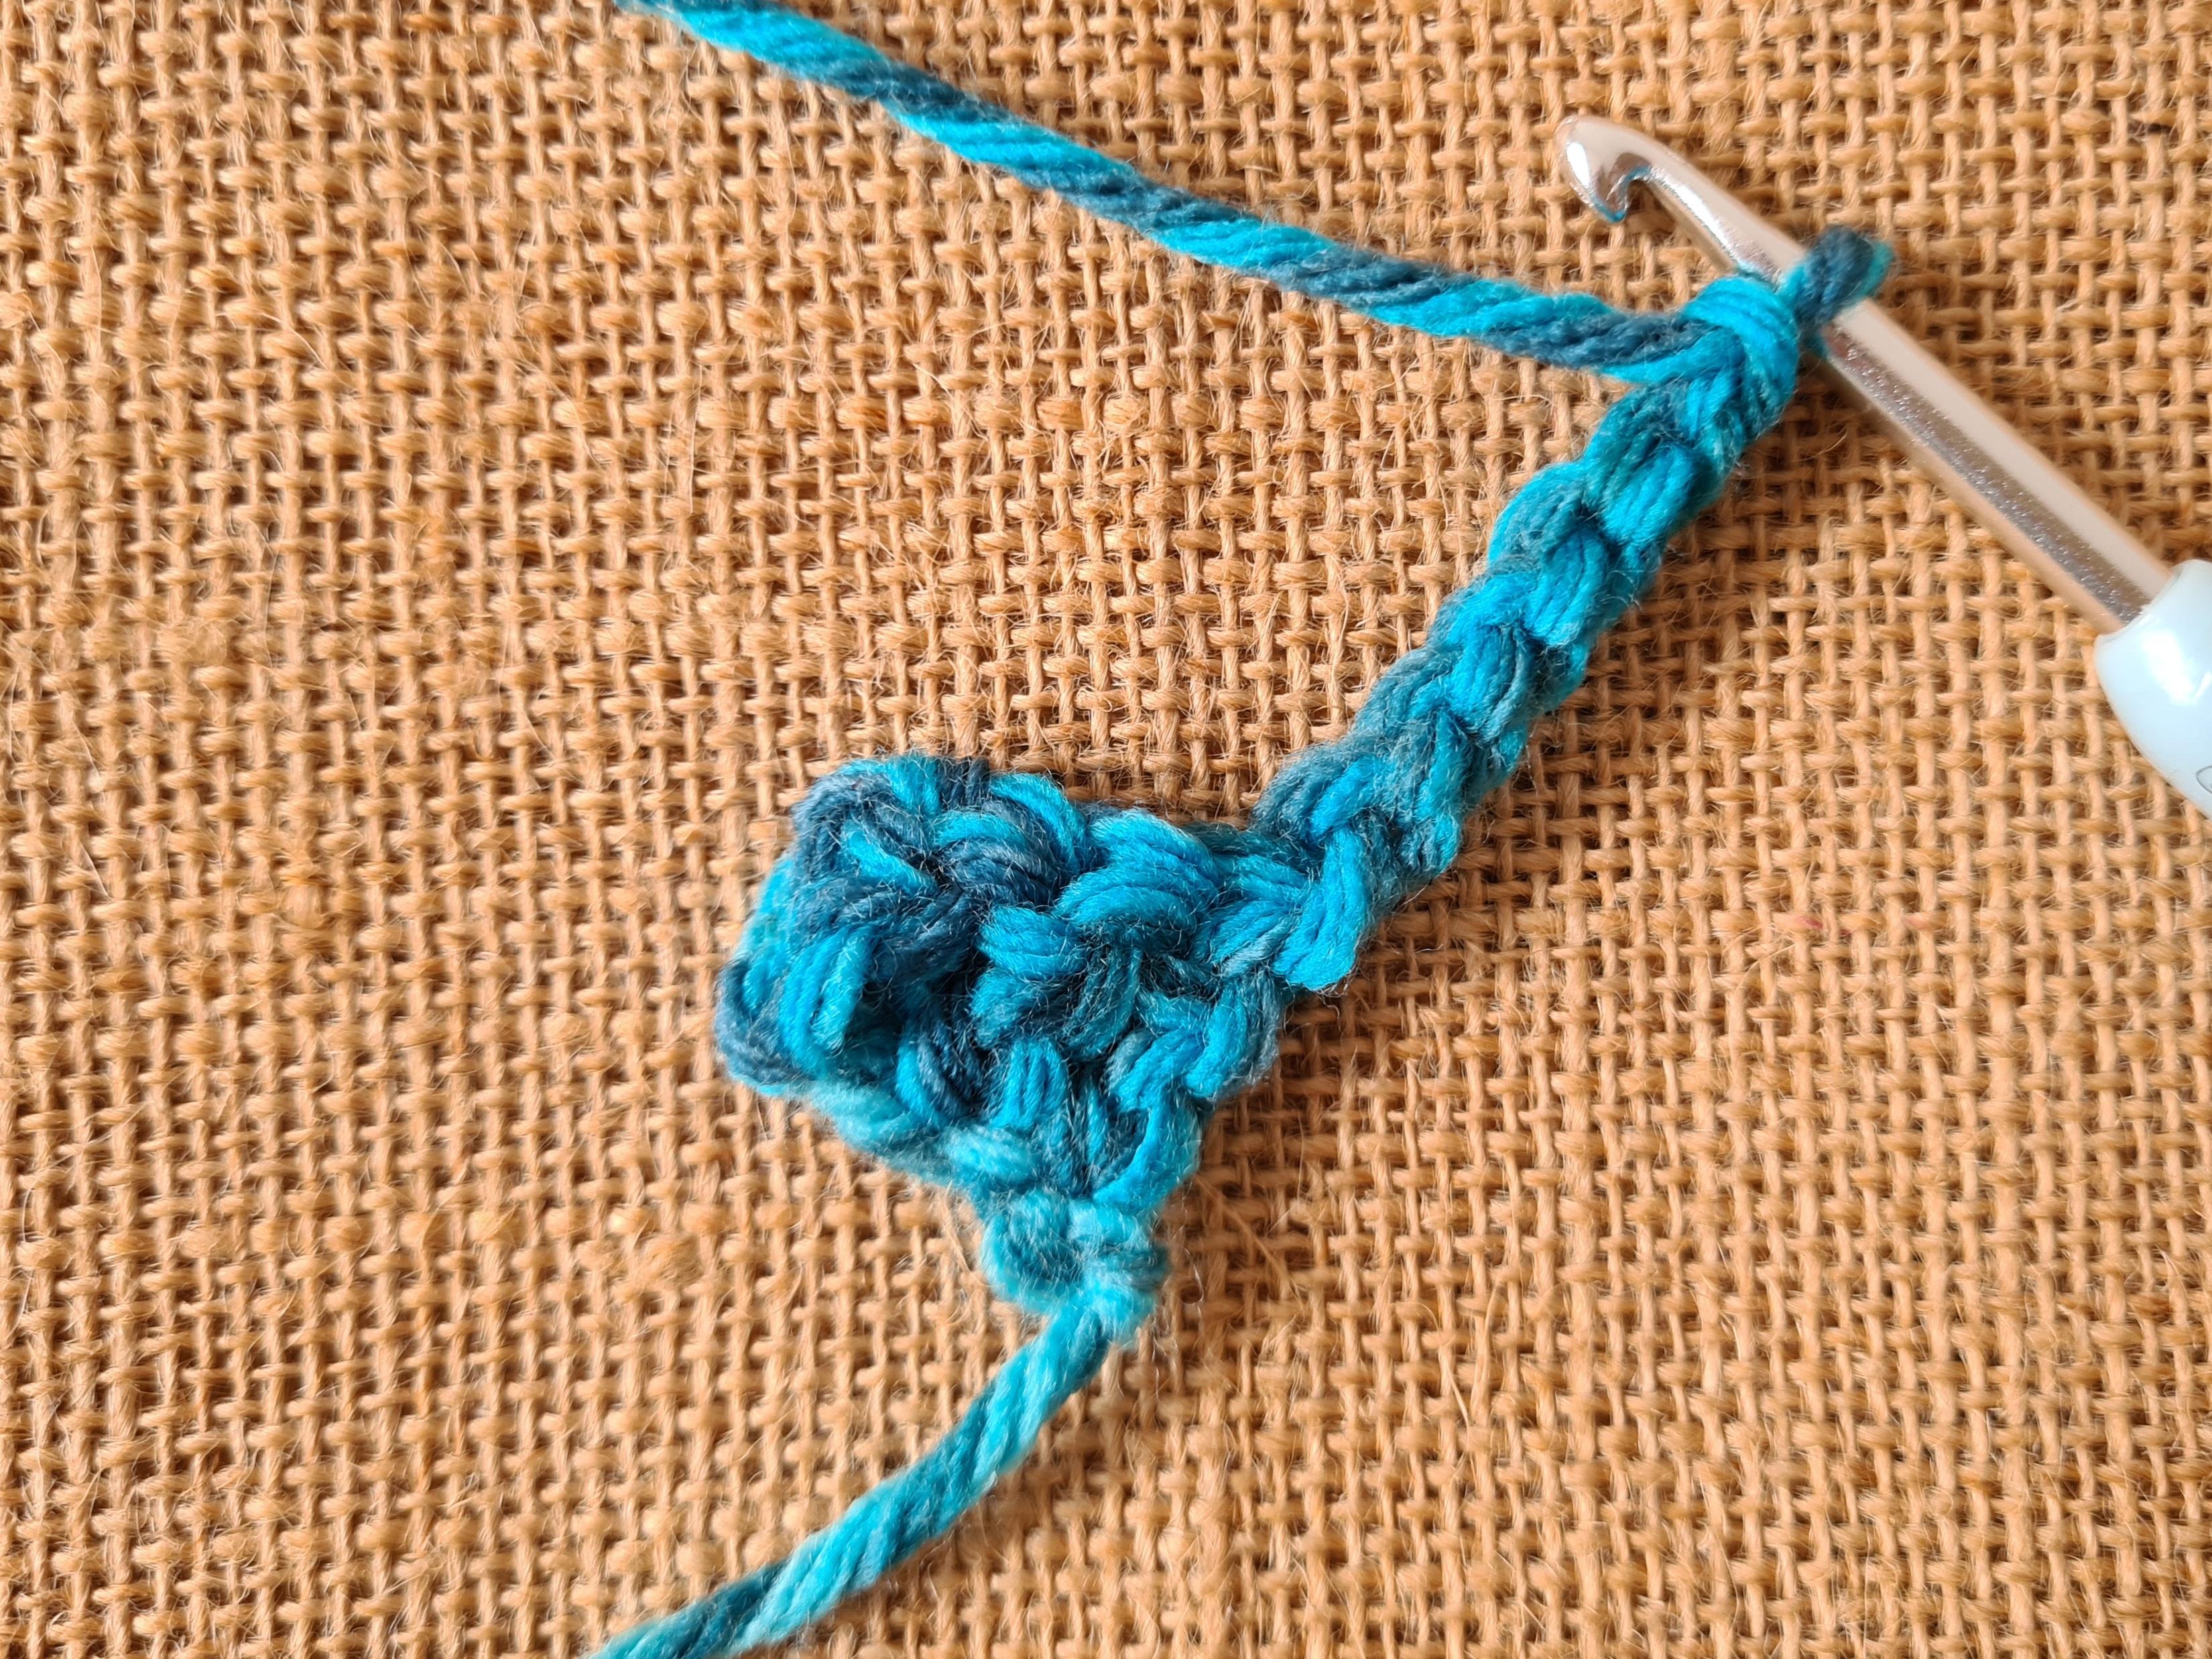
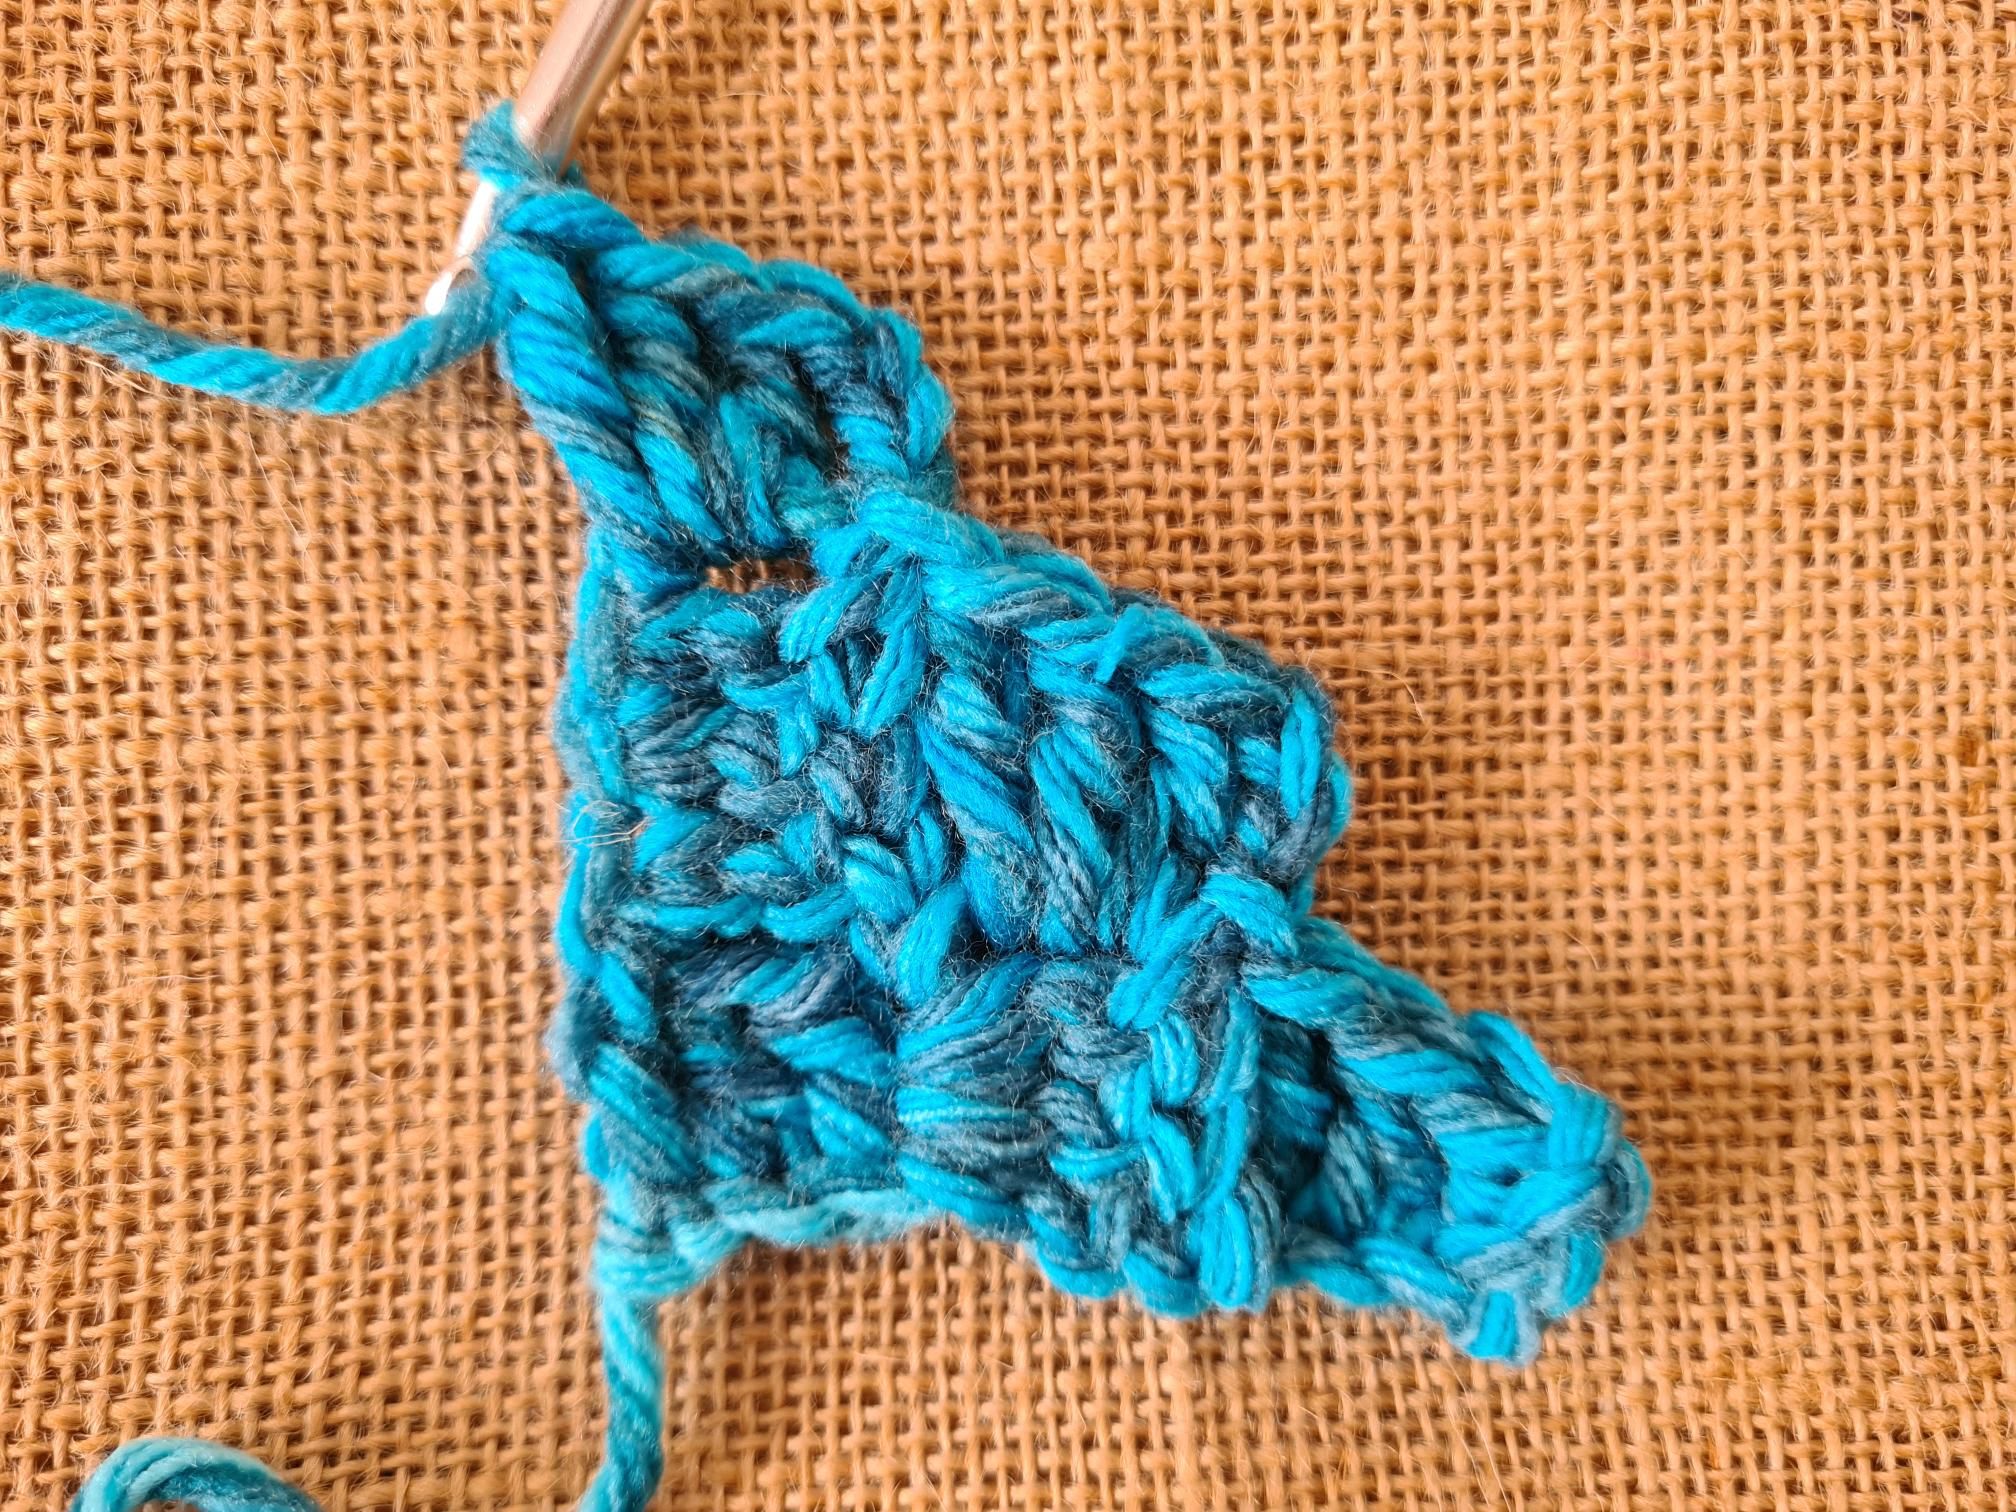
Slip stitch into the chain space and chain 3. This creates your first ‘treble’:

Now make three more treble crochets into the same chain space:
This completes your second row and your ready to start the next row. Turn your work, and chain 6 again:
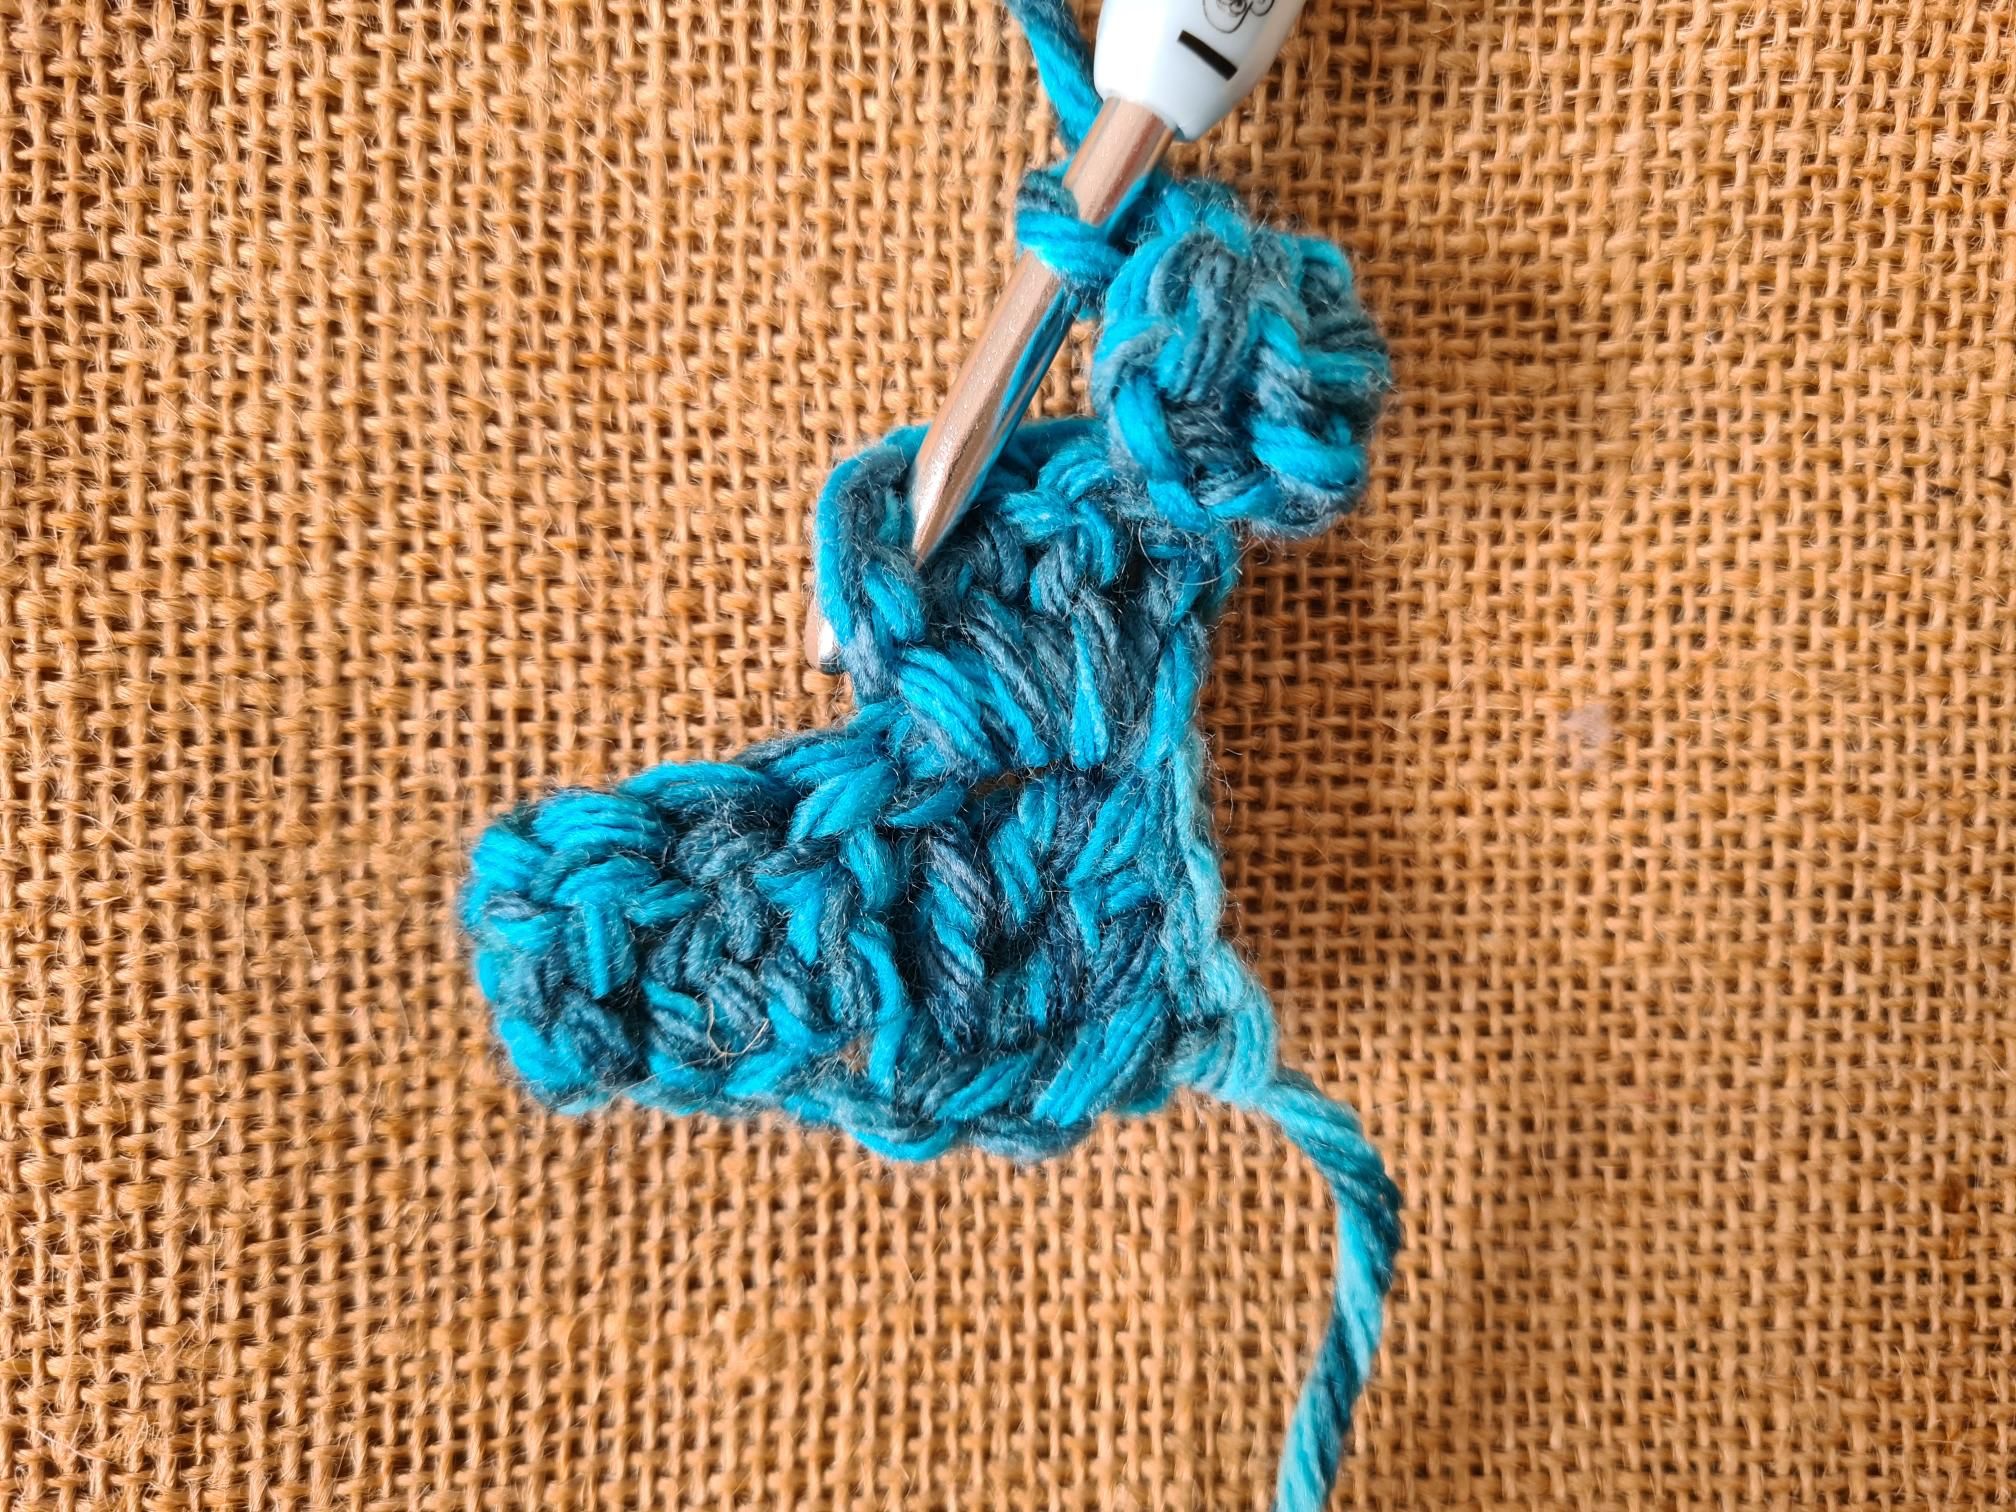
 Then as before, crochet one treble into the 4th chain from the hook, and again for the 5th and 6th chains from the hook. Then insert your hook into the first chain space of the tile below:
Slip stitch and chain 3 to start your trebles.
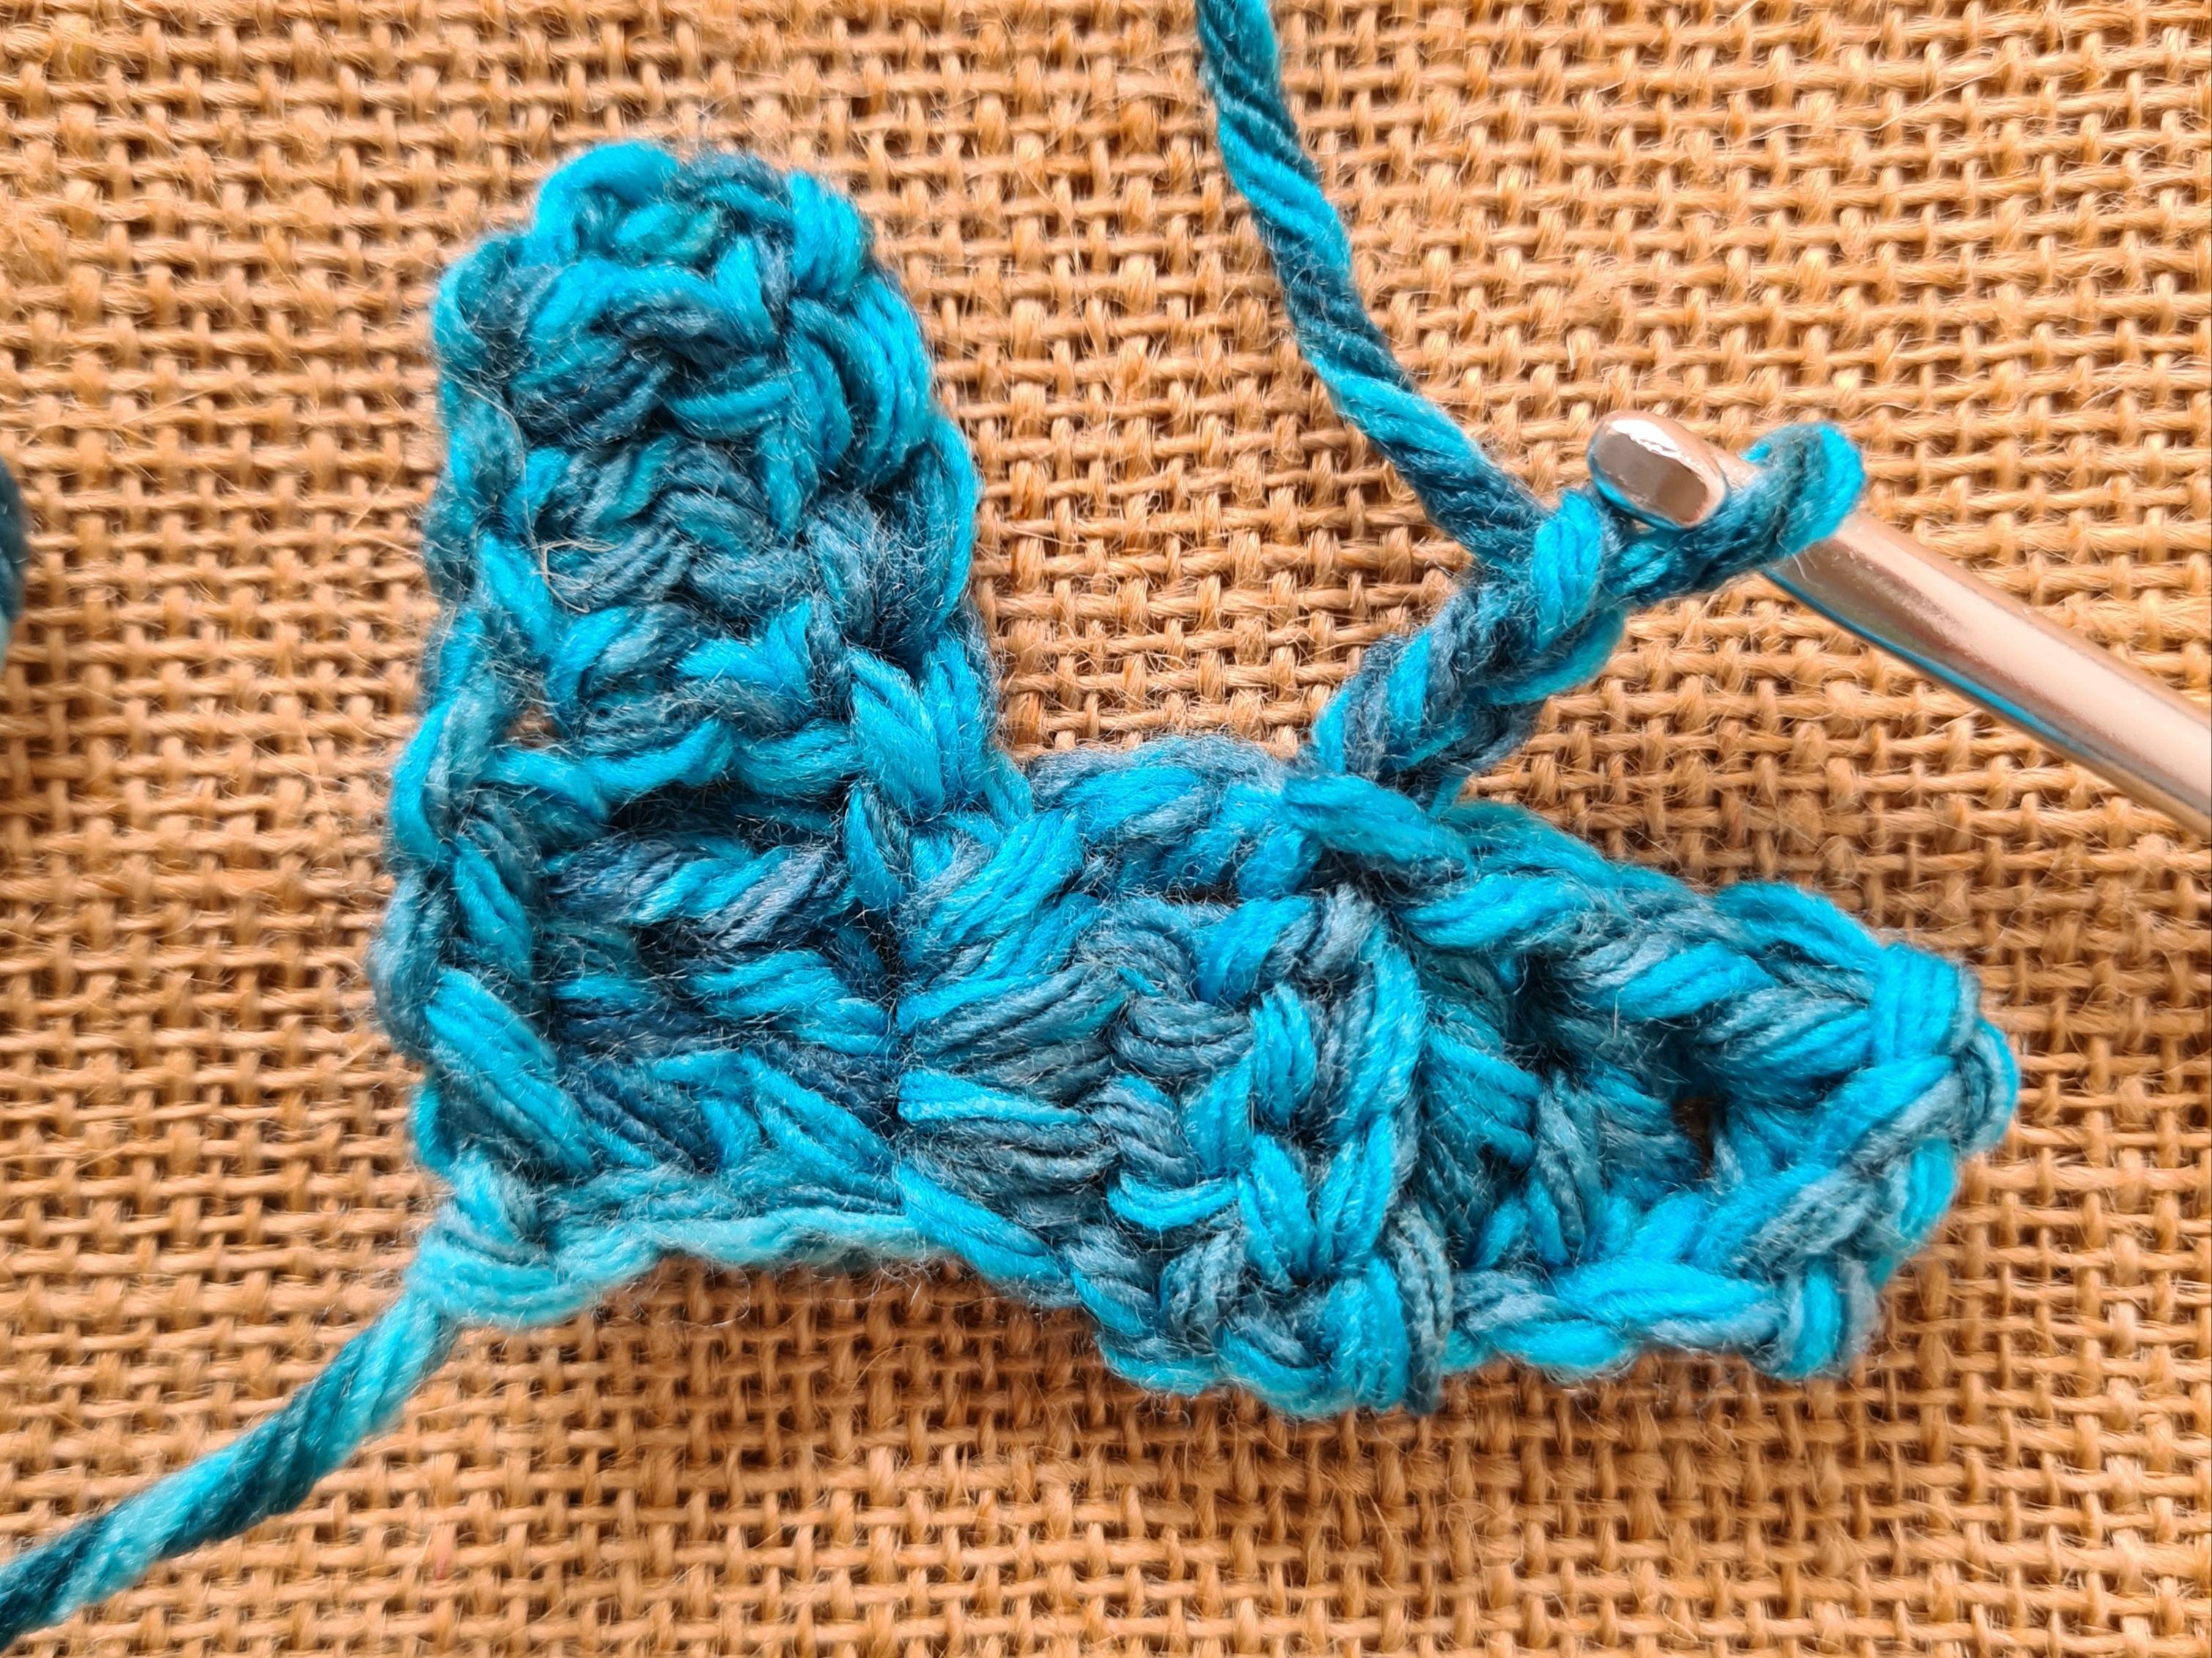
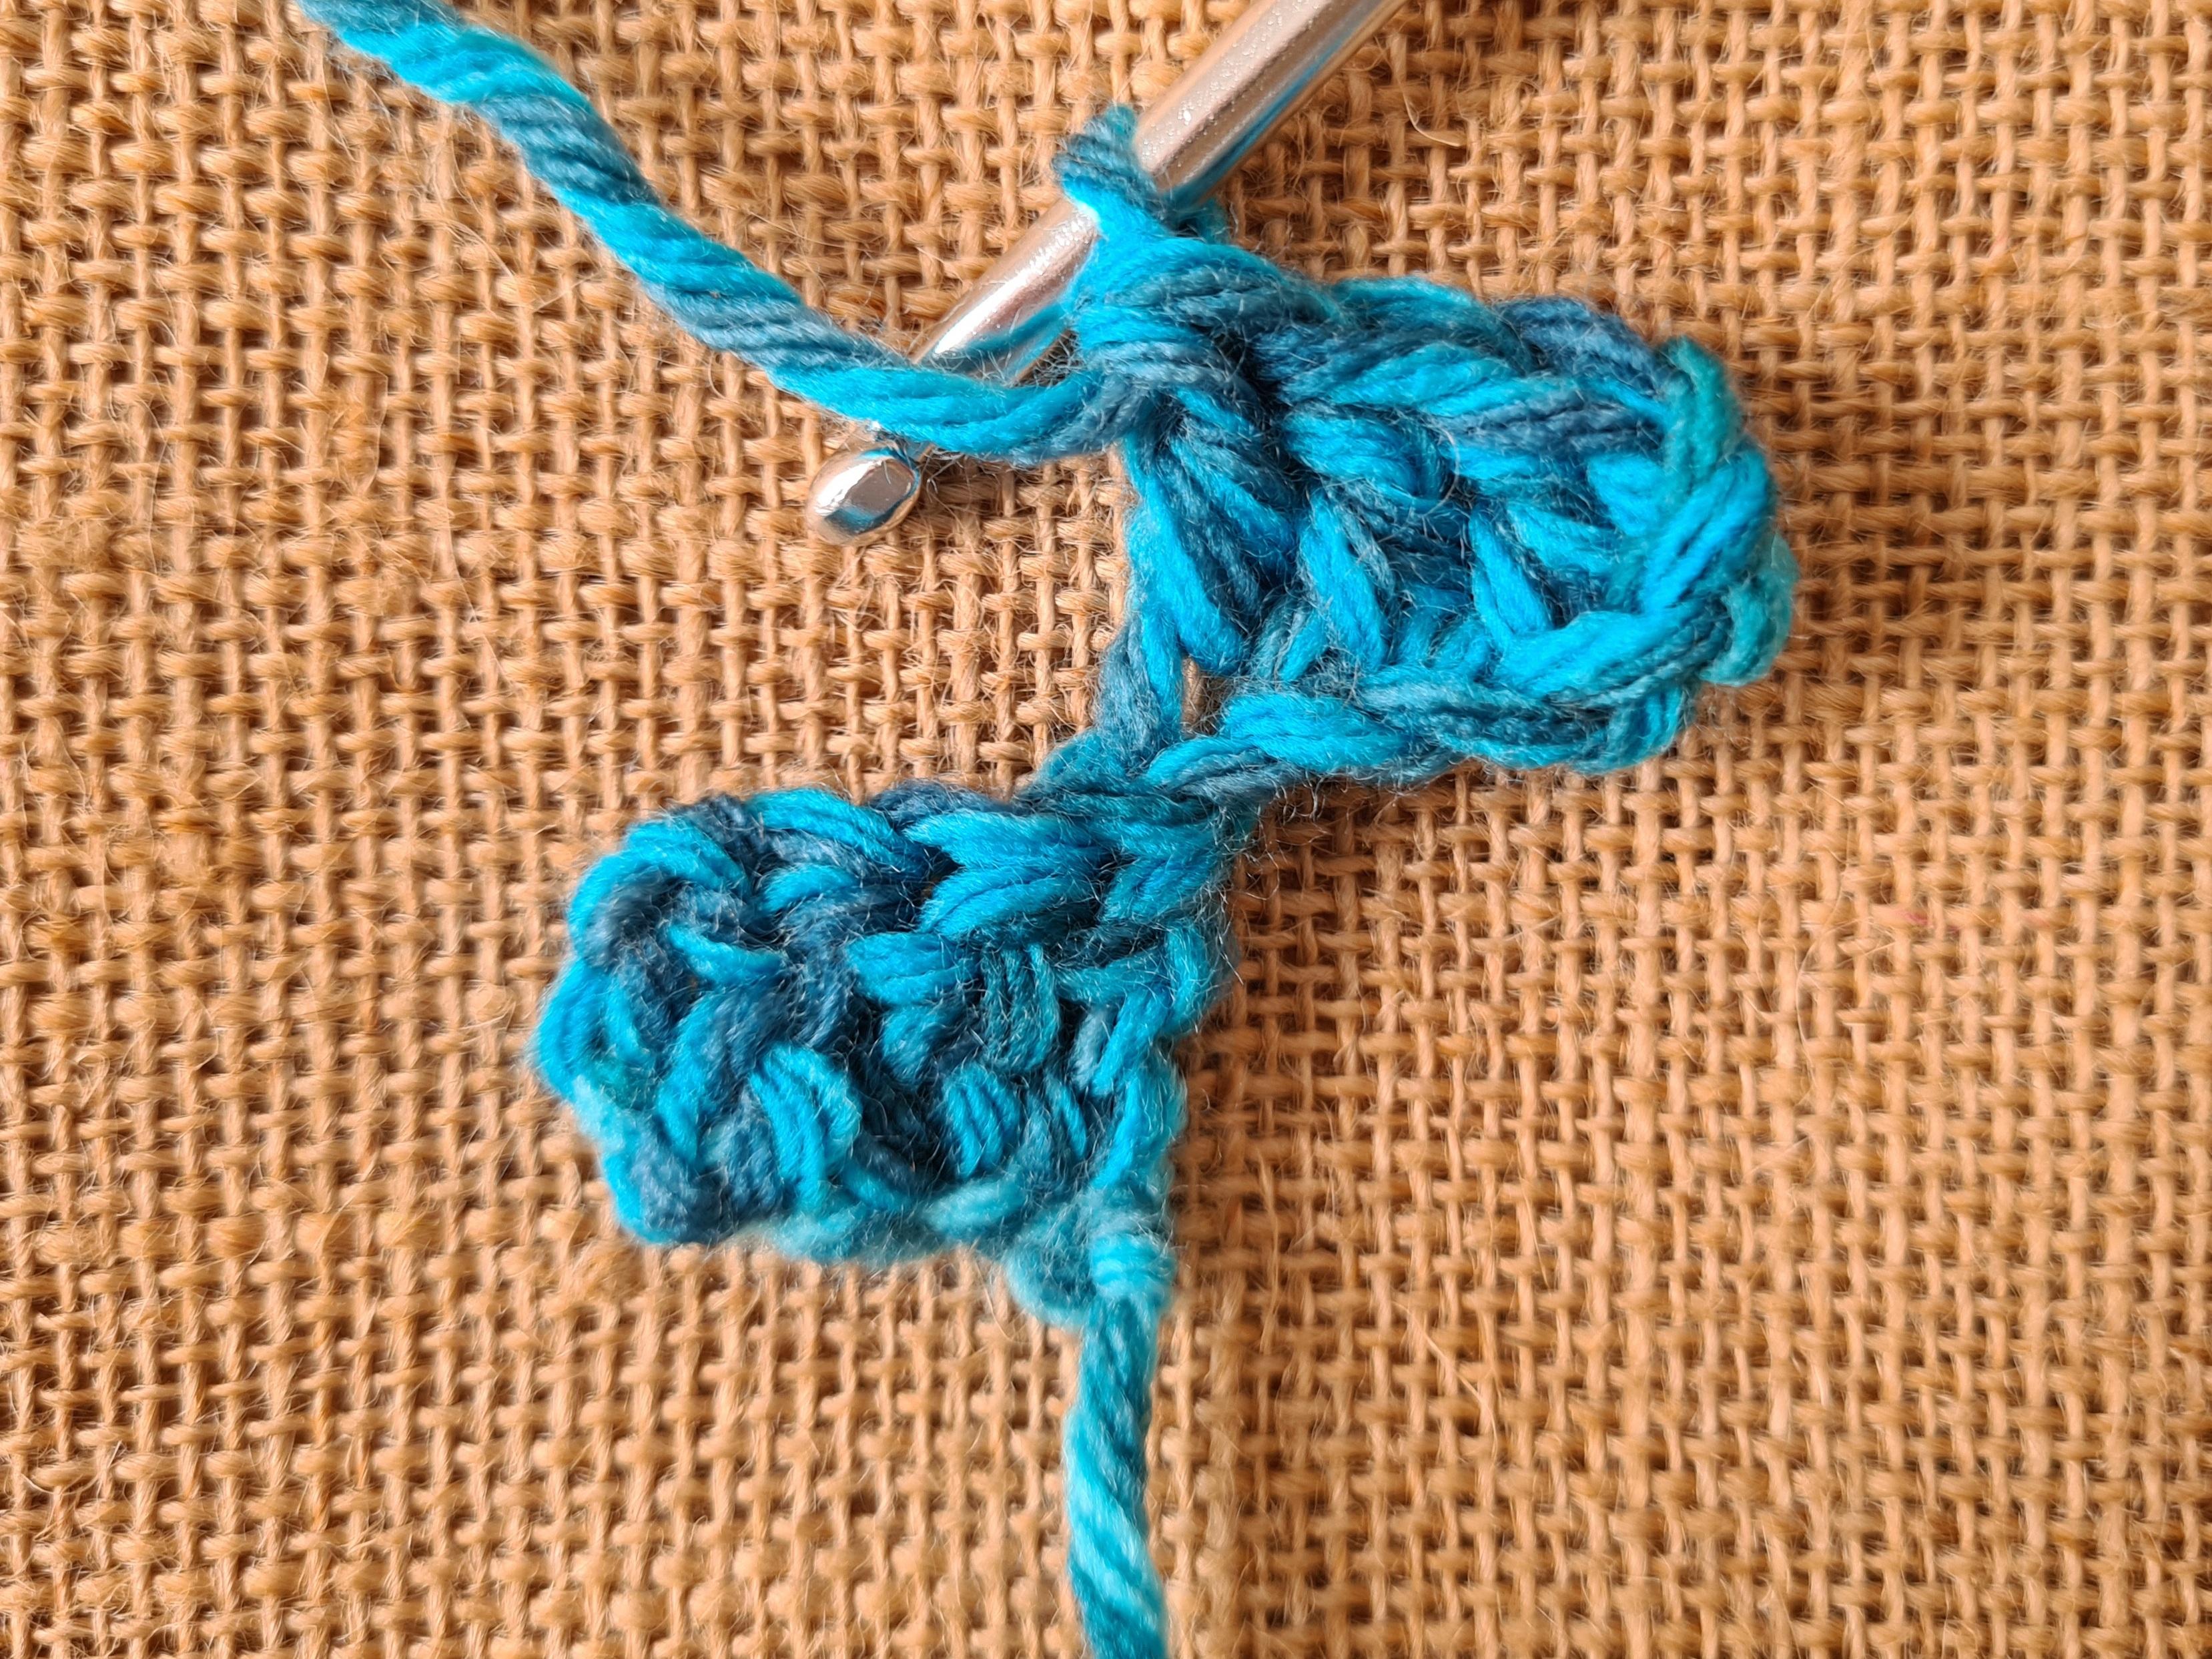
Work 3 more treble crochet into the chain space and slip stitch into the next chain space (working diagonally along the row):
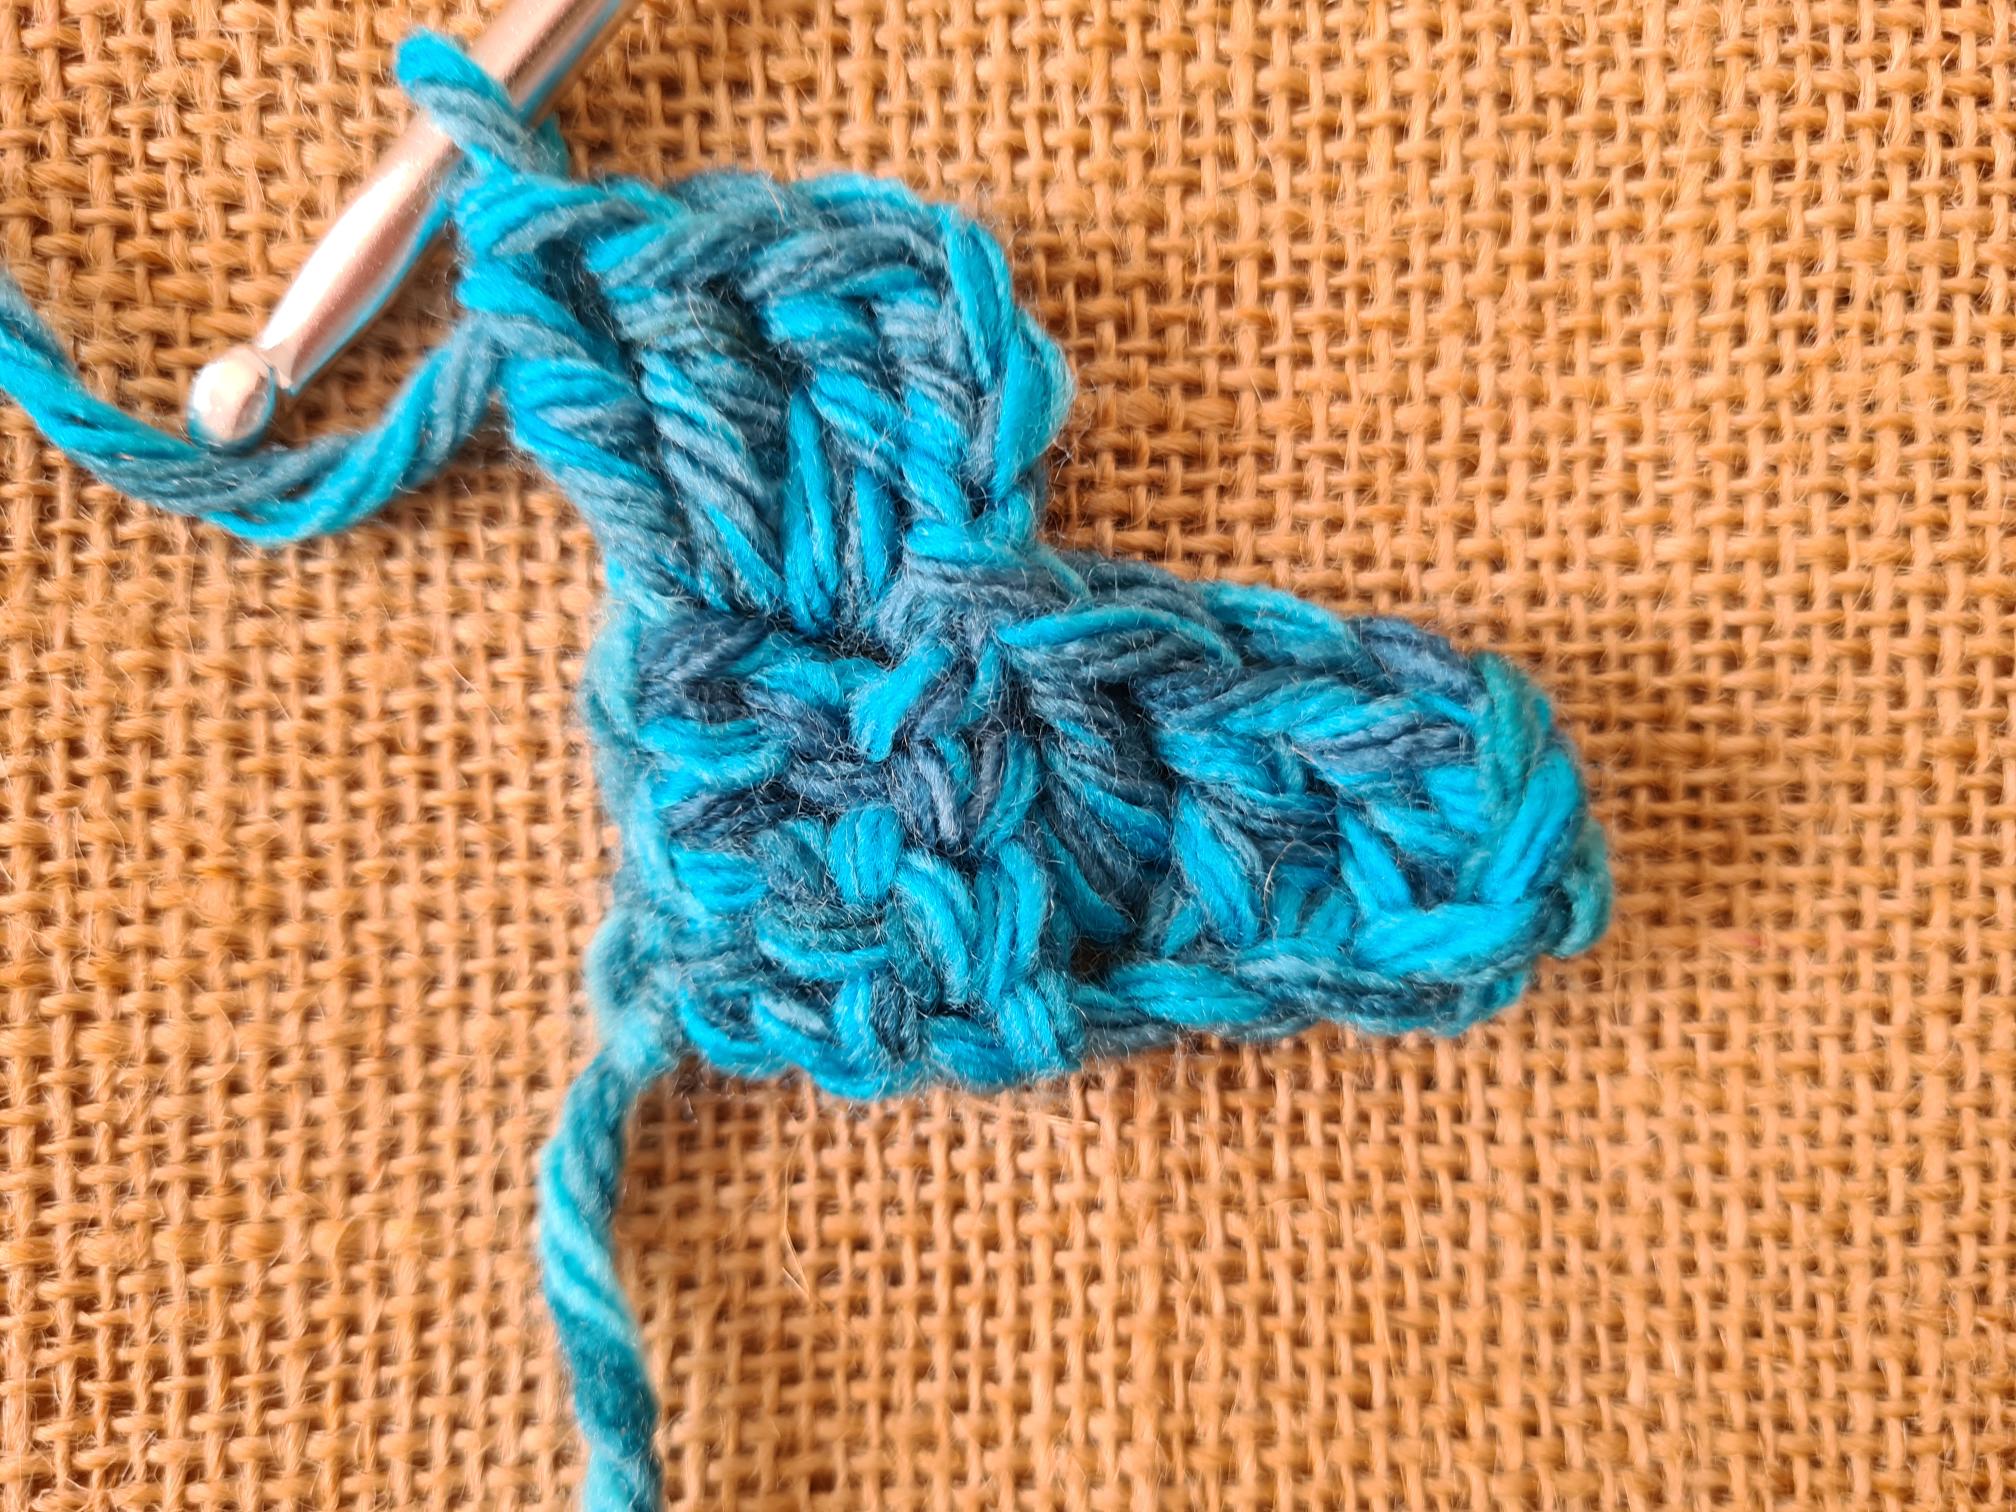
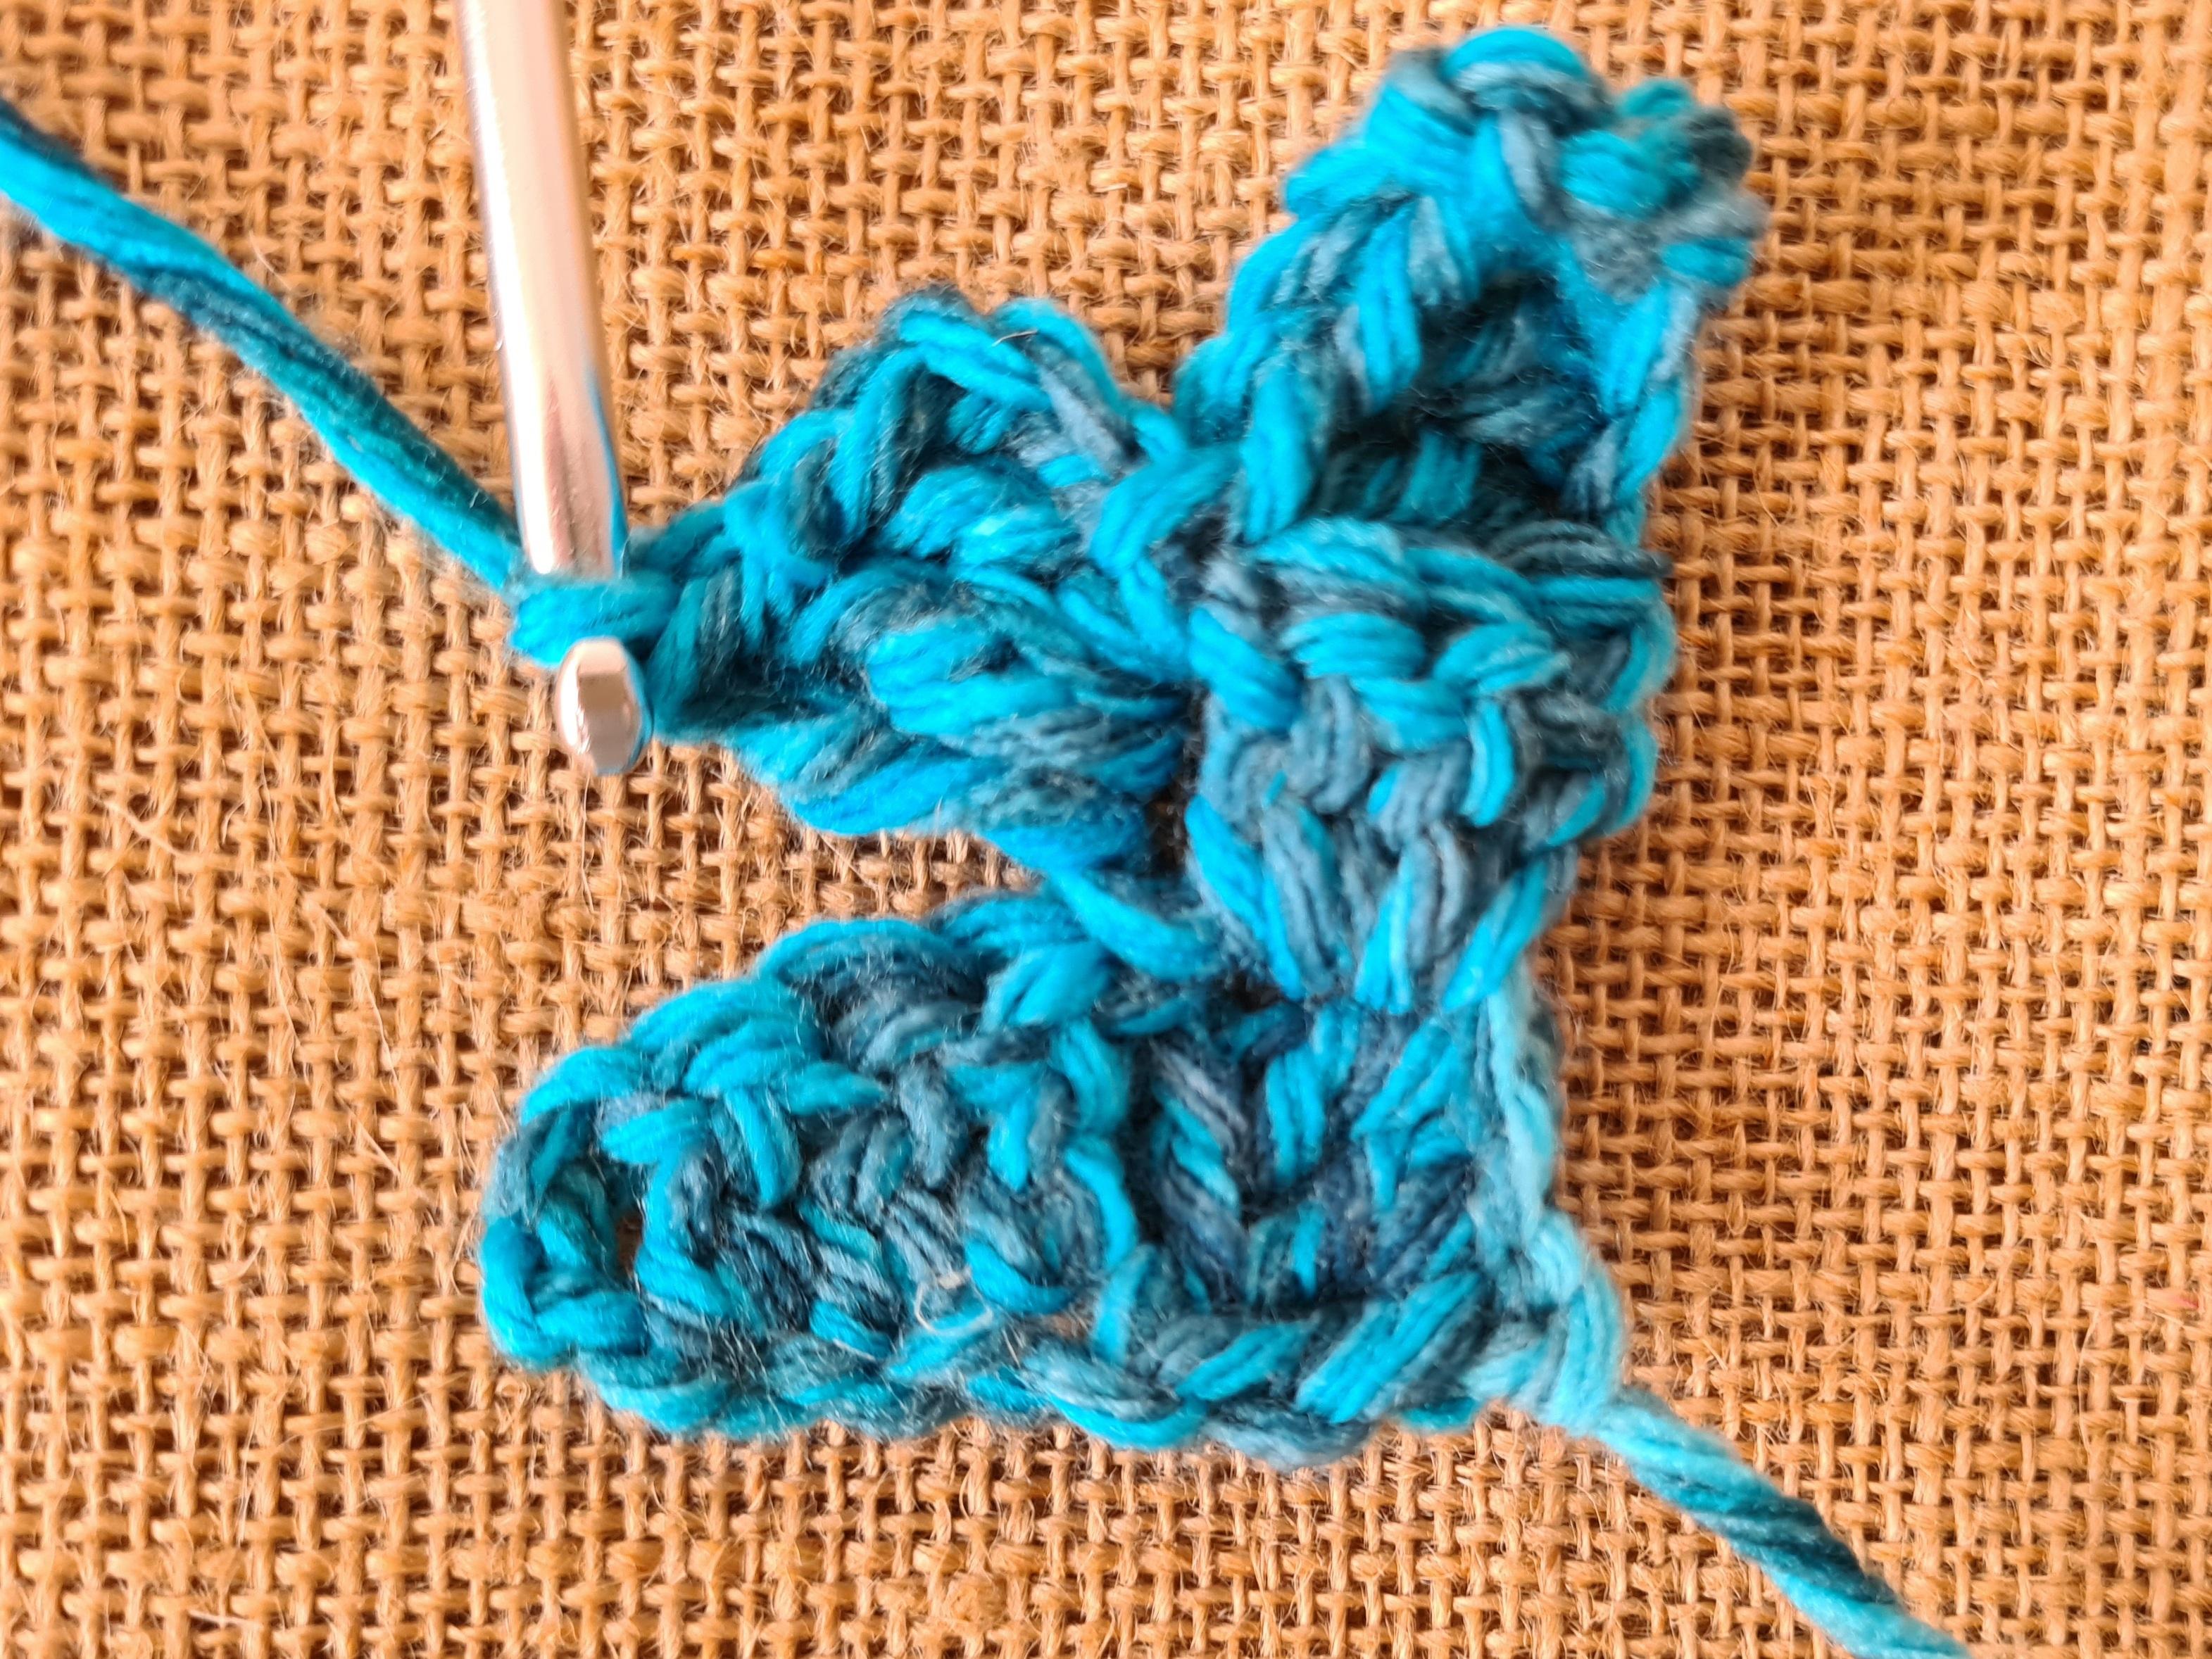 Chain 3 again and work 3 treble crochet into the same chain space:
That's your next row complete:
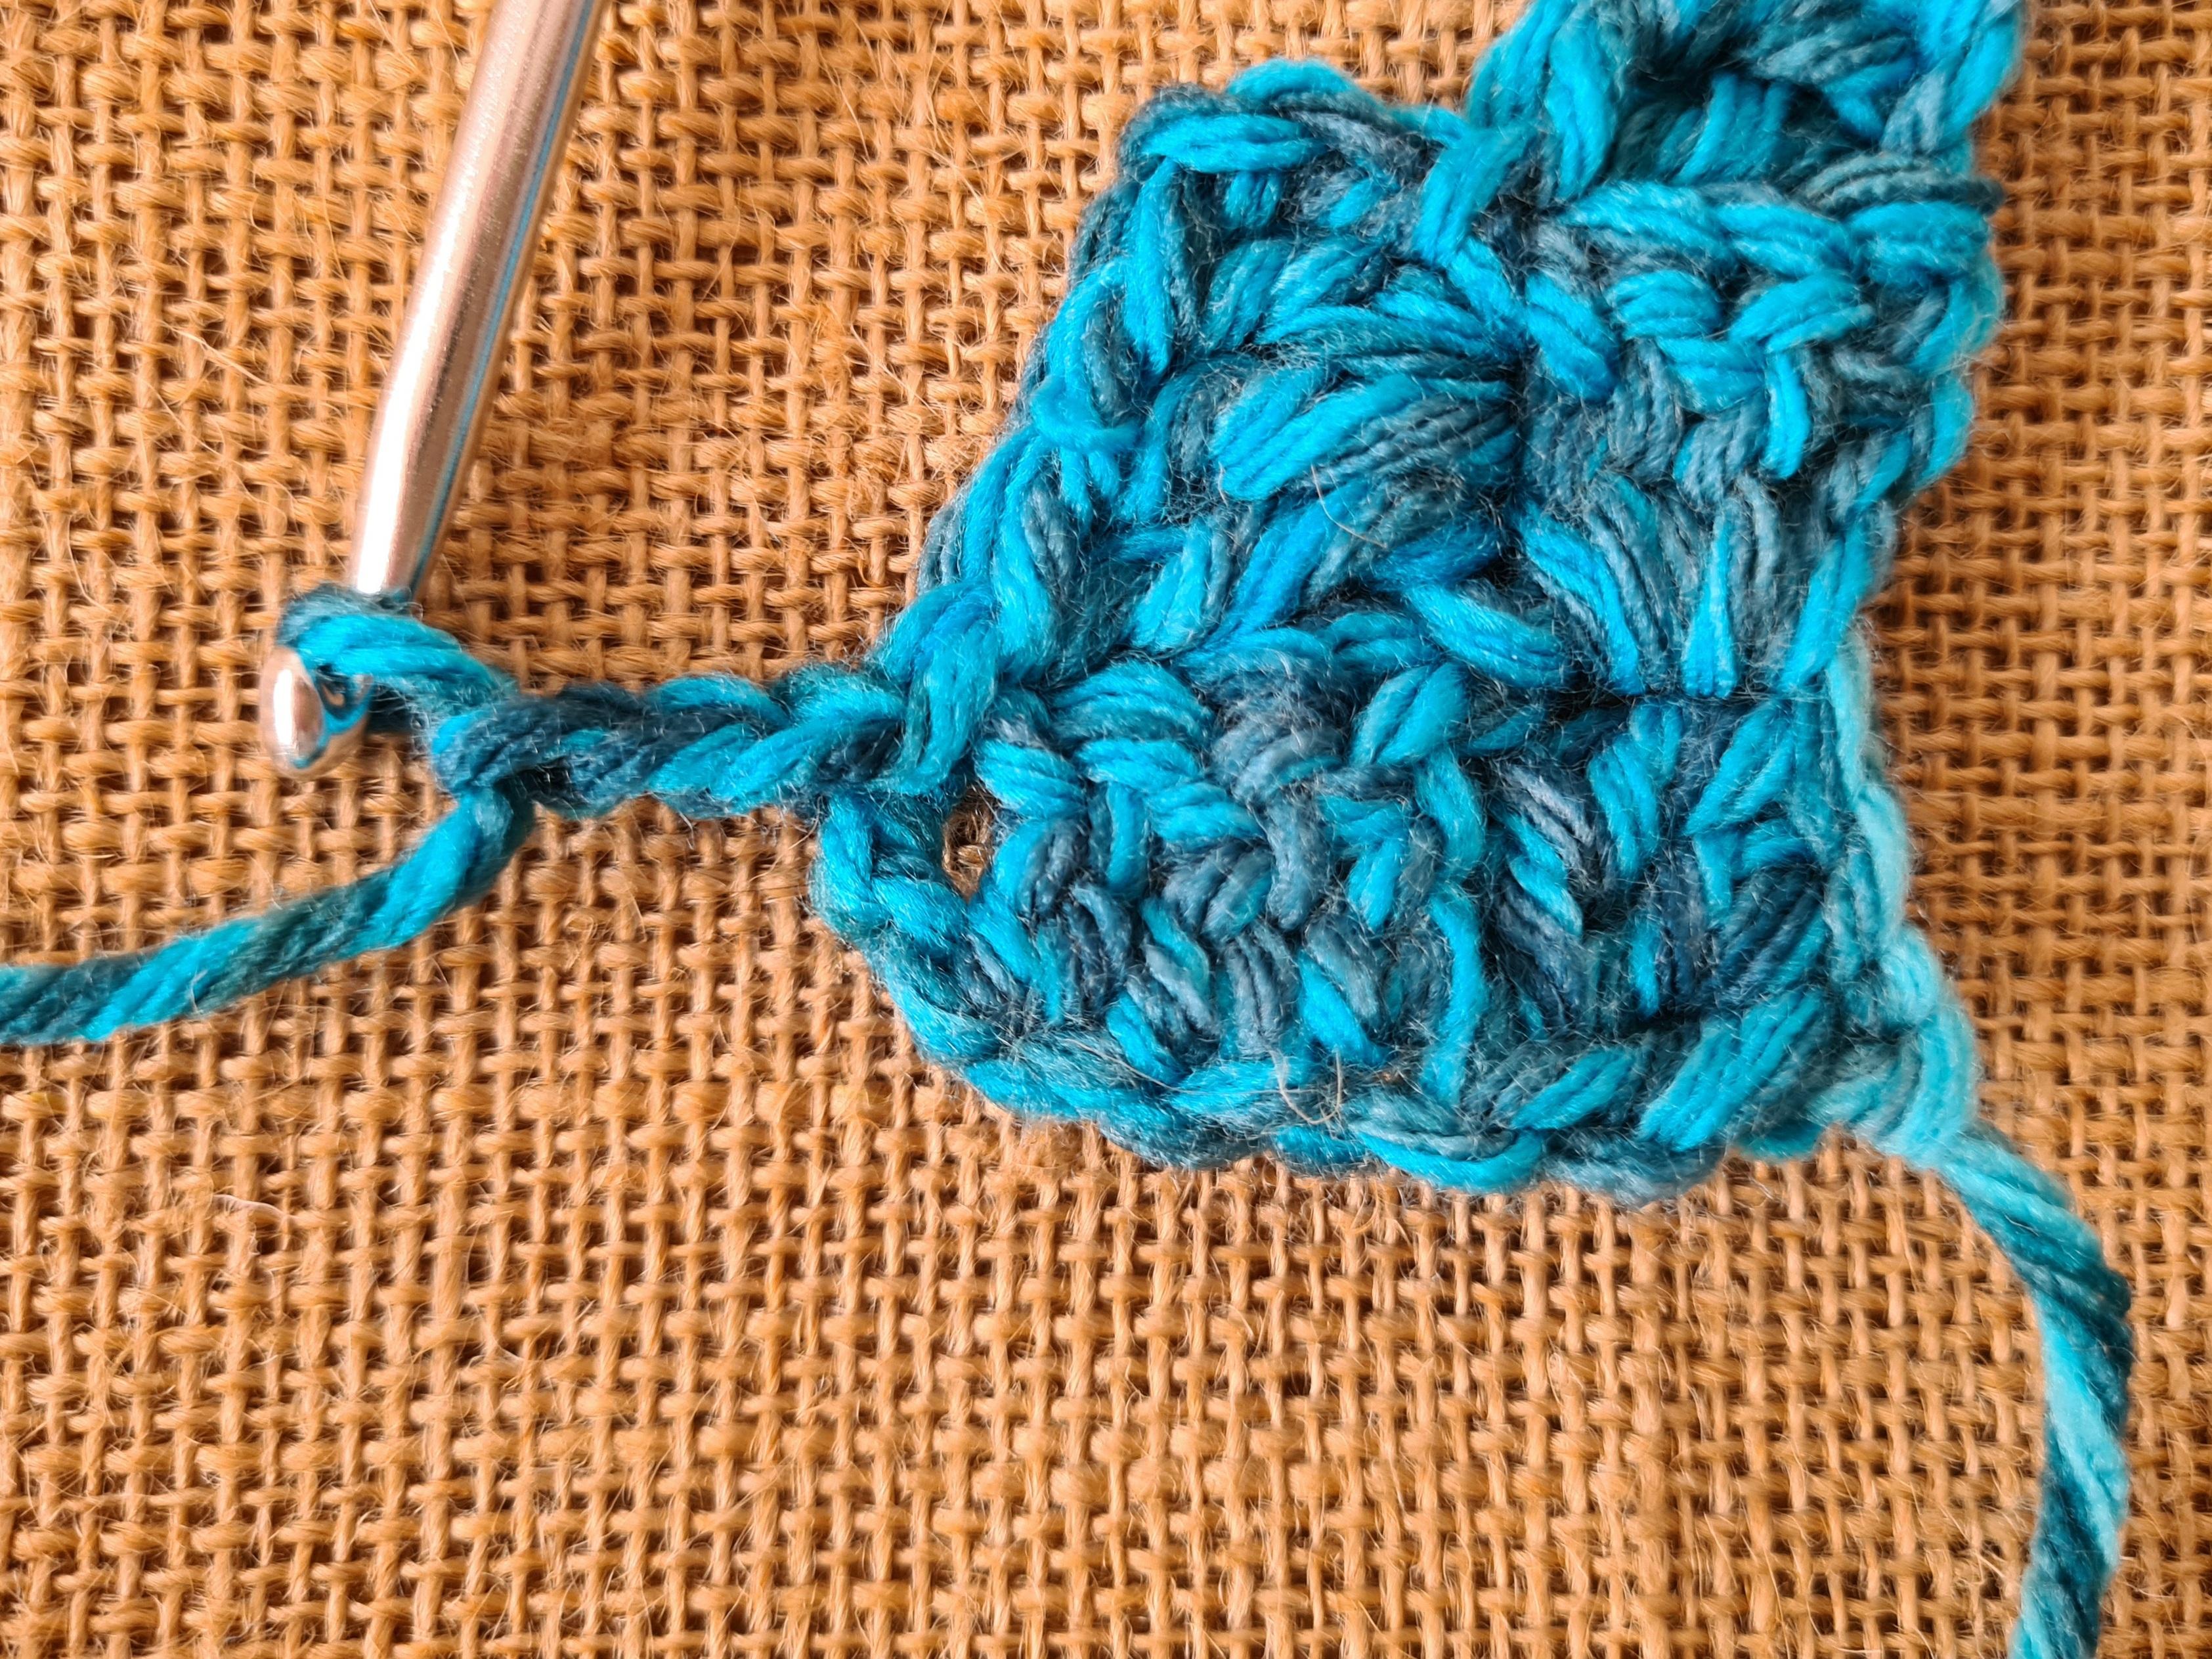
Now continue working in the same way until your square is as wide as you would like it.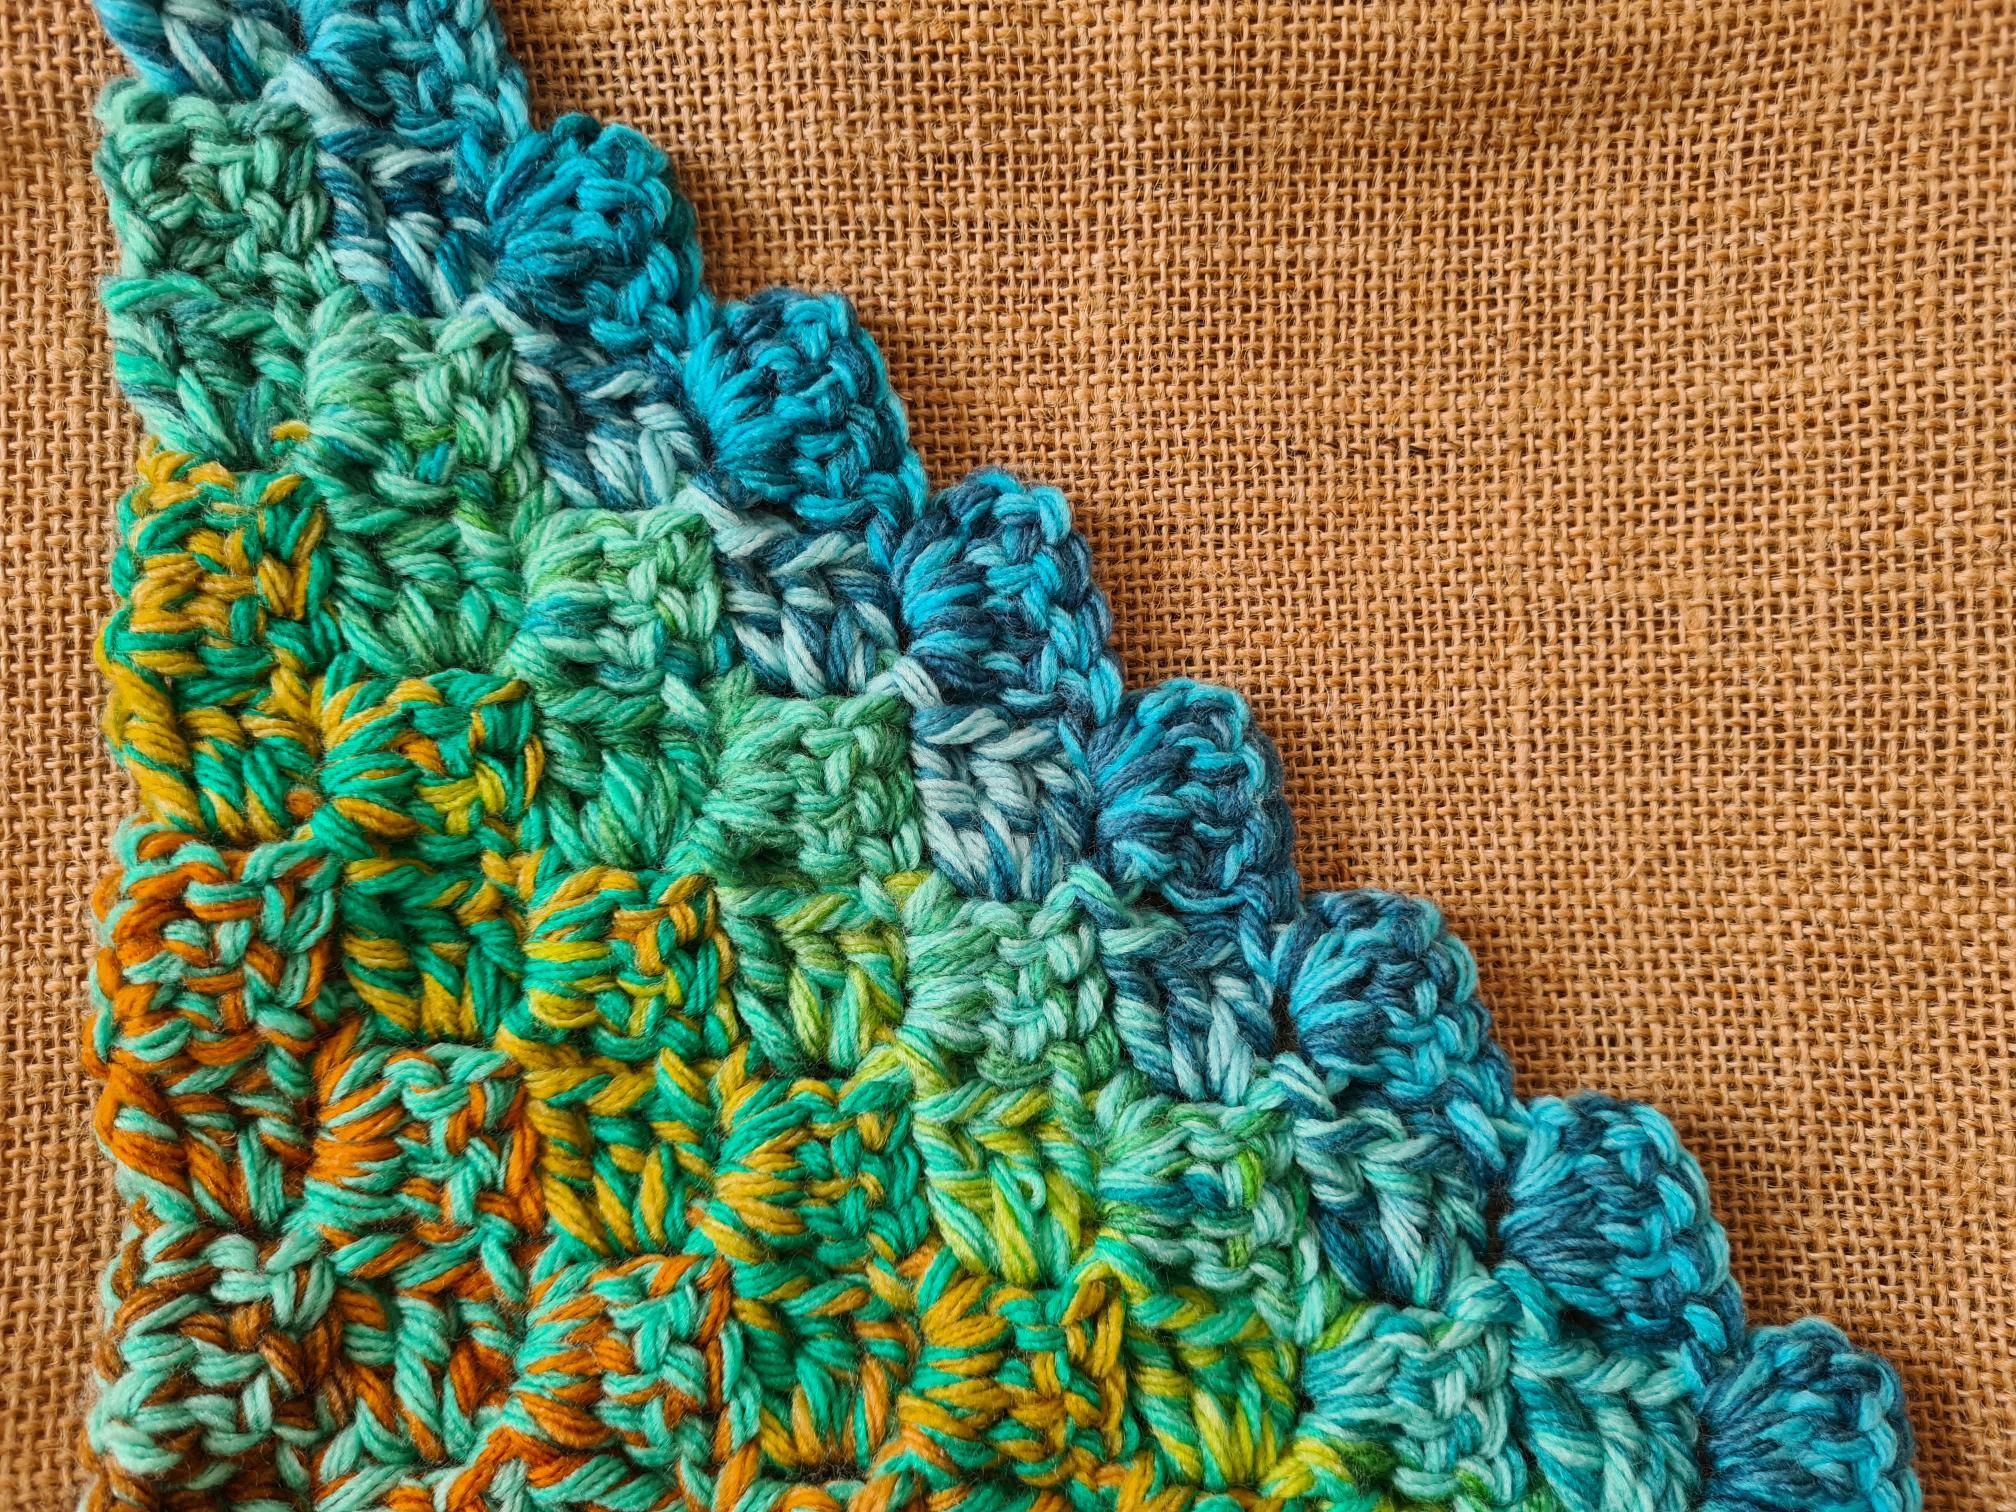
I'd love to see how you get on! Please share your progress in our Crochet Along with The Knitting Network group on Facebook. I'm going to carry on making the blanket and I'll be back in a few days to show you how to decrease, ready to finish the second half of your blanket.
Time to Decrease
Thanks for being so patient! Like most knitters and crocheters, I'm easily distracted by new projects (so many WIPs on the go!) and we have recently taken delivery of our brand new baby yarn, Emu Treasure DK. If you haven’t checked it out yet, please do. It is the softest yarn and the projects are adorable! I love the blanket patterns! So inevitably, my project was a little delayed, but it’s now time to decrease!
Decreasing is just as simple as the increase, it’s only the end of each row that differs.
When you reach the last tile on your current row, chain three as normal and then turn your work:
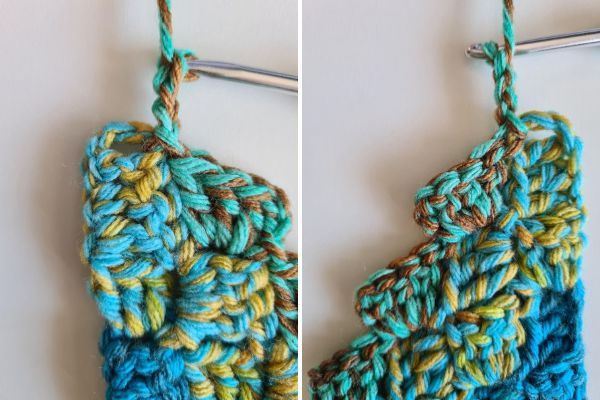
From here, slip stitch into the last chain space of the next tile, and then continue to work as you have on the first half of your blanket, until you reach the last tile on the row:
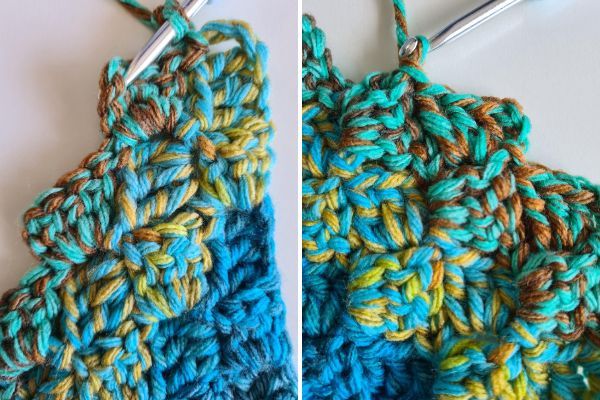
Once you reach the last tile, follow the same steps as above. So, chain 3, turn your work and slip stitch into the next tile. Continue in this way until the end and your blanket is complete!
I hope you’ve enjoyed making your corner-to-corner blanket and can’t wait to see your creations!
Happy hooking!
Amy
Posted in: How to crochet