You have no items in your shopping basket.
Swipe to the left
Nativity KAL - second instalment - Joseph
Print
By Teresa Conway
7 years ago
The second stage of our Nativity KAL is here and this time it's Joseph! The yarn pack is still available to purchase here, so don't worry if you missed out!
For £31.99 you'll get 33 skeins, all the yarn you'll need for the Nativity scene.
Keep scrolling for our How-To guide for knitting up and putting together Joseph.
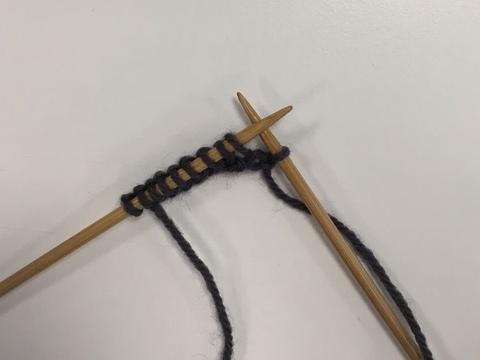
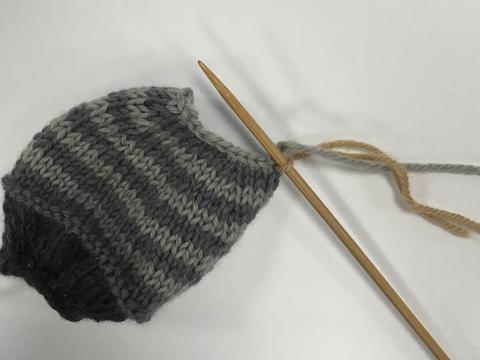
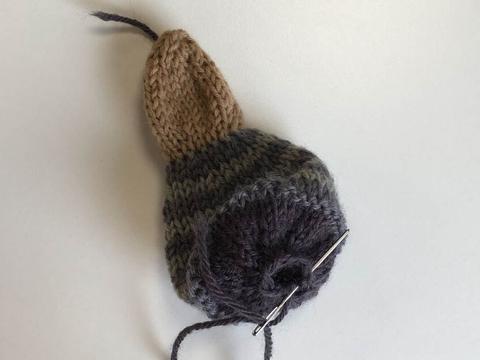
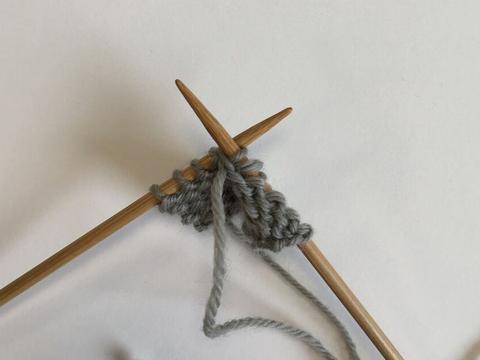
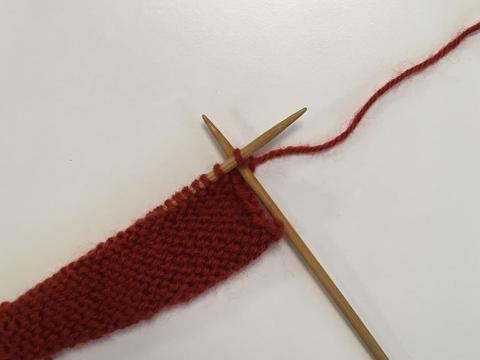
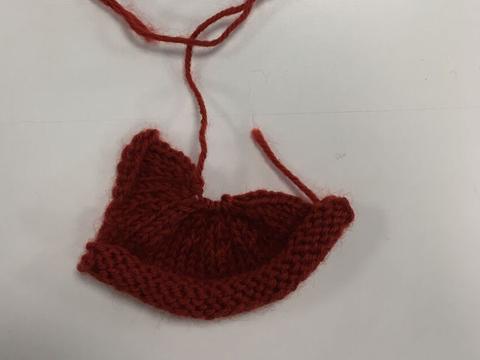
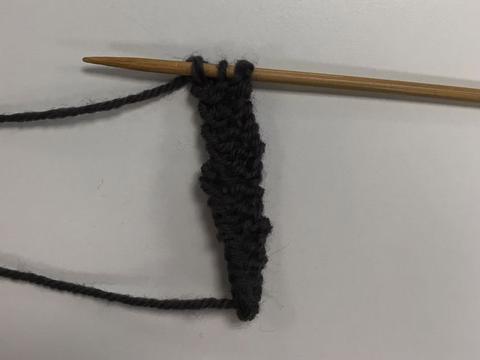
With beard shade, cast on 9 sts for base.
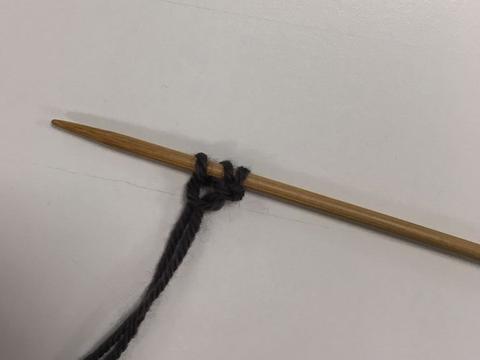
To cast on, wrap yarn around thumb.
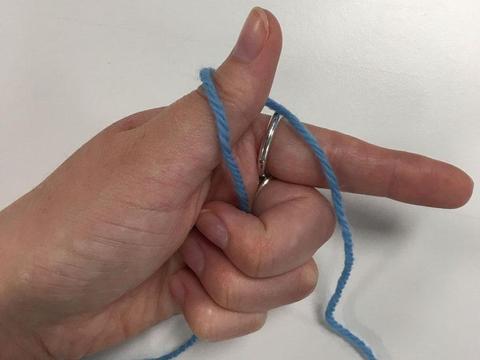
Insert knitting needle under the first strand and between your thumb and fore finger.
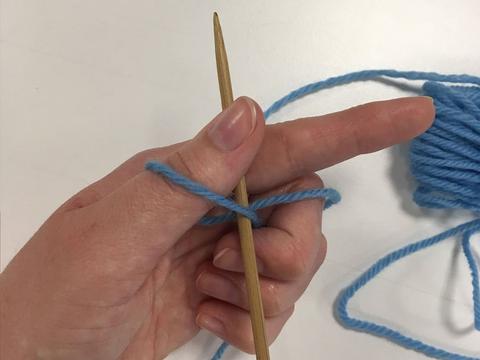
Wrap working yarn (yarn attached to the skein) around the needle towards you and between your thumb and fore finger.
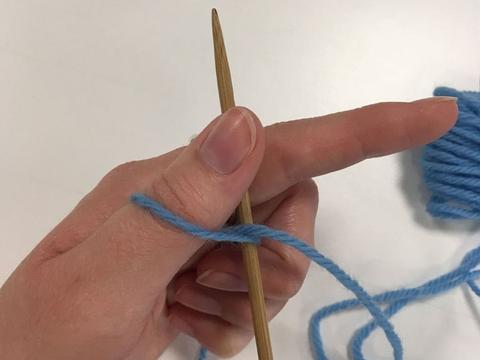
Insert needle through loop around thumb and drop yarn from thumb, leaving a loop on needle.
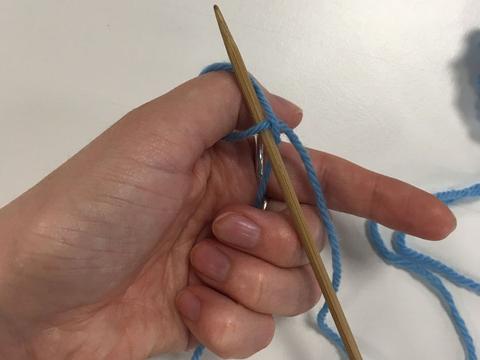
You'll then have 1 stitch (st) on needle.
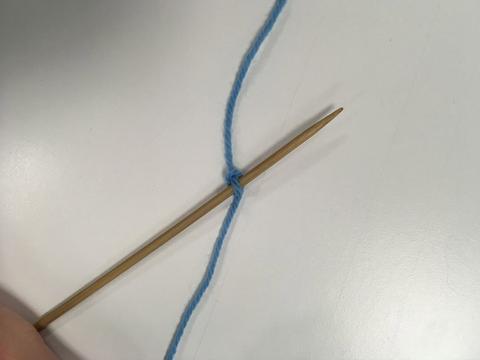
Continue in this way making 9 sts in total.
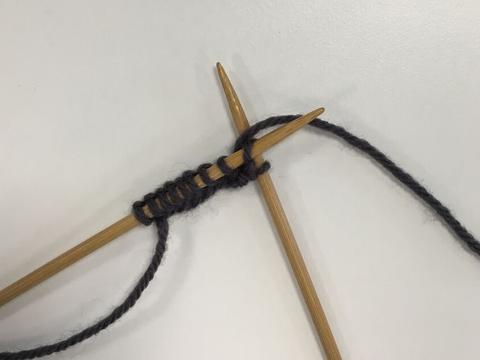
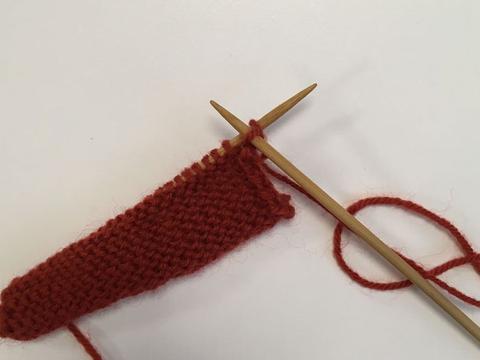
Purl (p) 1 row.
To purl, insert needle downwards through front of st.
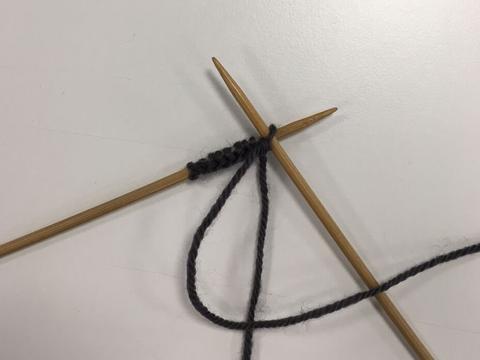
Wrap yarn around right hand needle anti-clockwise, through the needles.
Insert right hand needle back through the stitch on left hand needle.

Take st off left hand needle, creating new st on right hand needle.
Repeat the rest of the row.
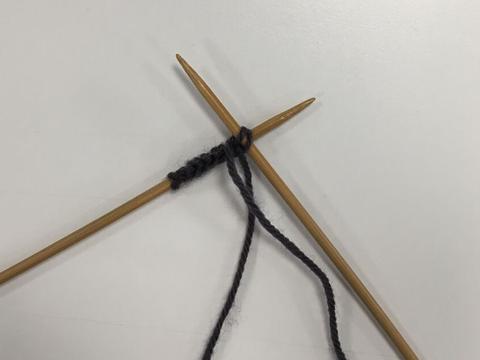
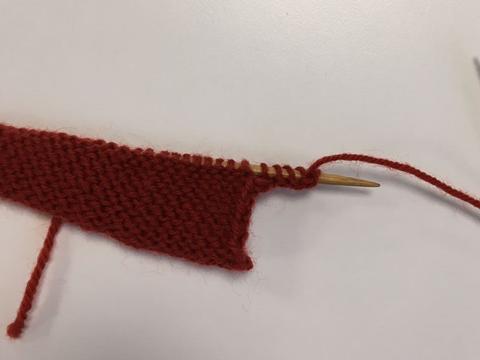
First increase (inc) row: Knit (k) 1 [up1, k1] to end.
To k: Insert right hand needle into front of st.
Wrap yarn around right hand needle anti-clockwise, and through needles.
Insert right hand needle down through st on left hand needle, creating new st on right hand needle.
Take st off left needle.
To up1: find the loop lying between needles.
Put loop onto left hand needle and insert right hand needle into the back of the st.
K the st.
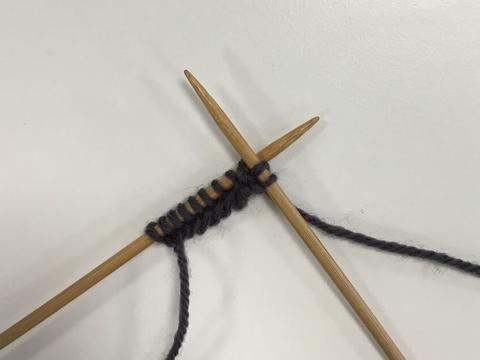
Take loop off the left hand needle, creating a new st.
Repeat for row, referring to pattern.
Continue referring to the pattern.
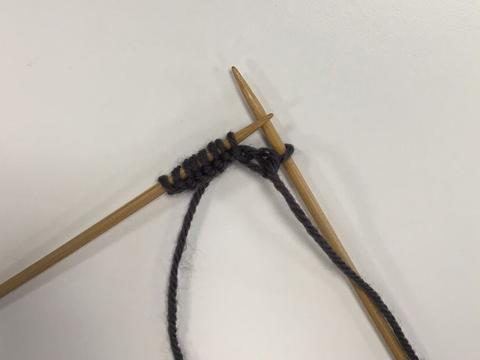
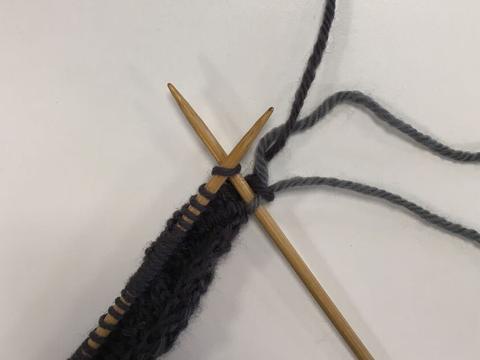
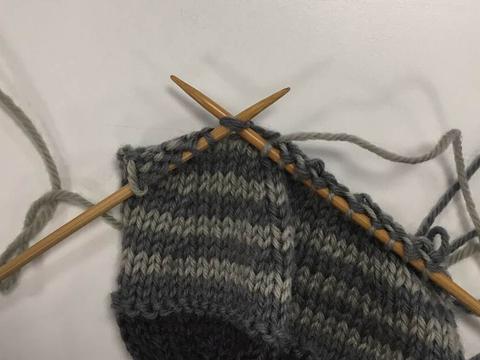
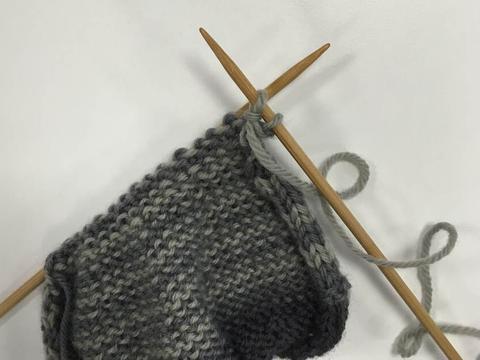
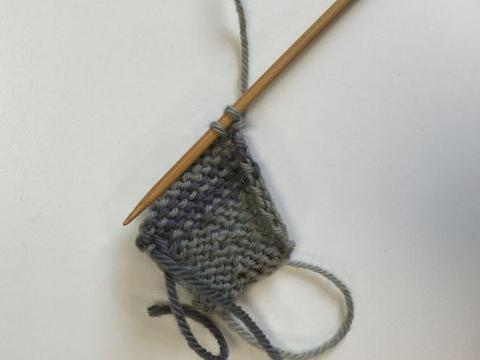
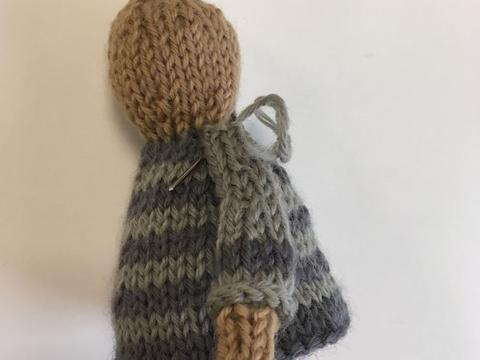
Joseph's robe is made up of stripes of three shades of grey.
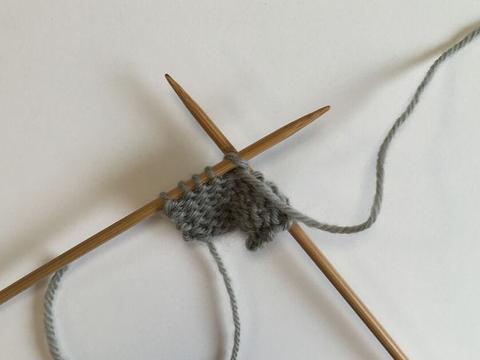
When changing to a different coloured yarn on, insert needle as if to knit.
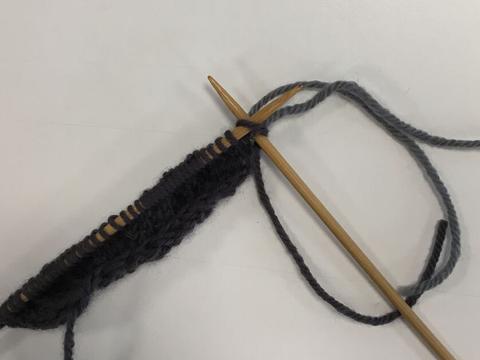
Using the new colour, in this case it's the second robe shade -mid-grey, knit the stitch.
Continue to knit the row with mid grey, twisting the old and new yarns together to secure.
To do this, when you go to knit the stitch with the new colour, twist the yarns together so that the old yarn is caught under the new yarn.
Do this for the first couple of sts to secure and continue to k row.
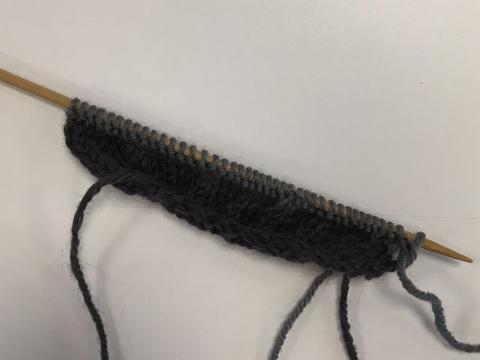
When changing to the next shade - grey, use the same technique.
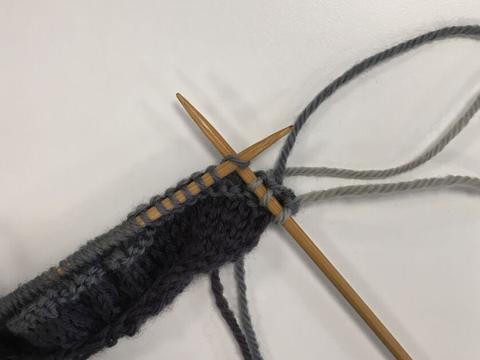
Remember to keep the yarns attached as you will be working stripes. Save yourself weaving in ends!
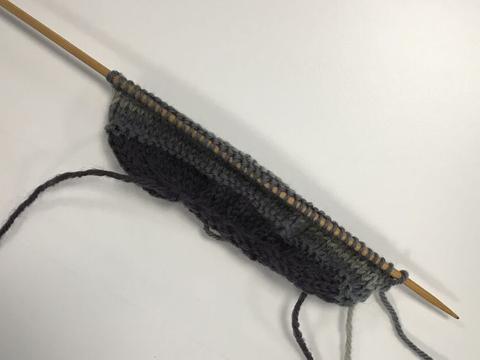
Continue referring the pattern.
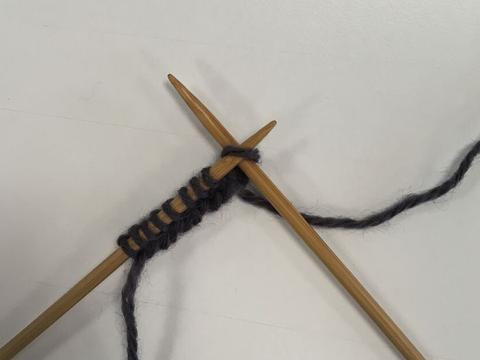
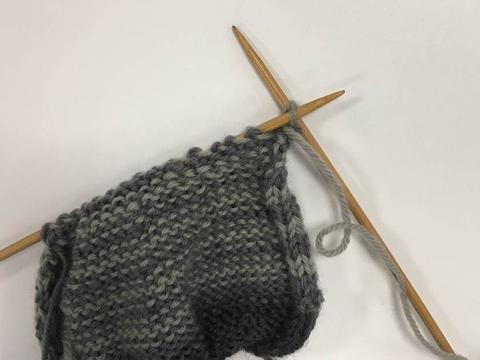
First decrease (dec) row: K1, knit two sts together (k2tog), then k6 sts, repeat the k2tog, k6 to end.
To k2tog, insert right hand needle through 2 sts on left needle.
K sts together.
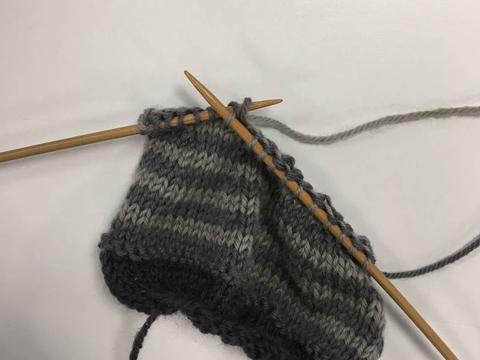
Take sts off left needle, creating 1 st on right hand needle.
Continue referring to the pattern.
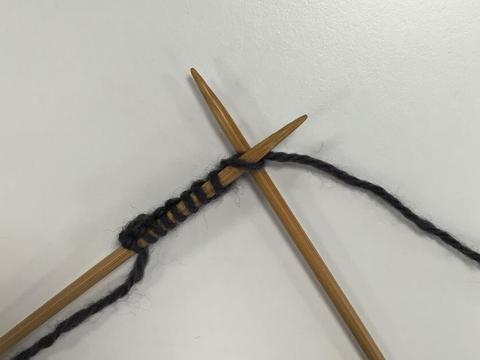
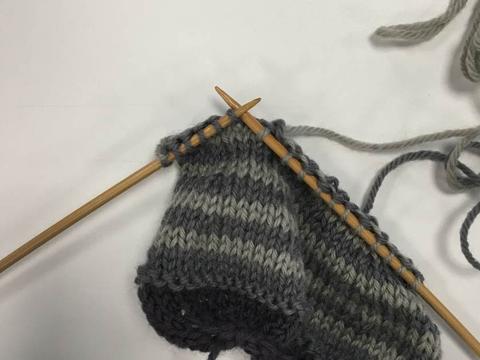
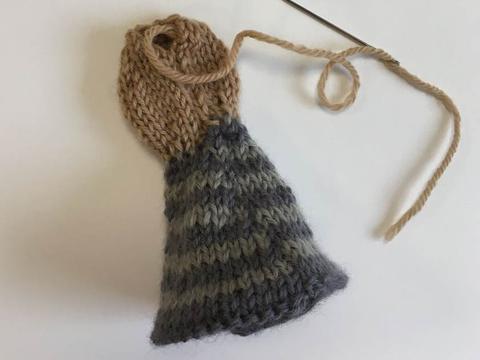
Cast off purl wise for neck.
To do this, insert needle into st as if to purl.
Slip the st without working.
P next st.
Pass slipped st over leaving 1 st on right hand needle.
To do this, insert needle into the slipped st, and take over the needle.
Continue for the rest of the row, until 1 st remains, cut yarn, and thread through last st.
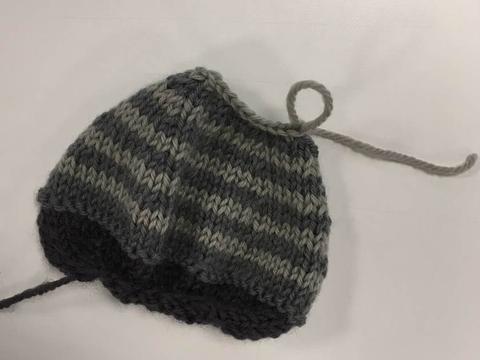
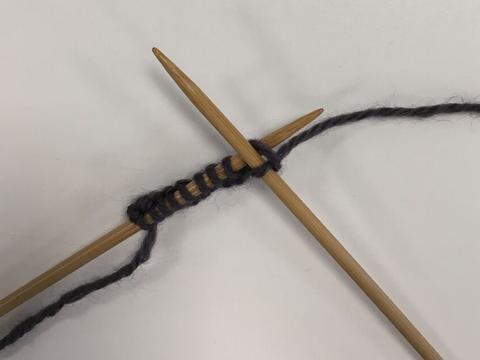
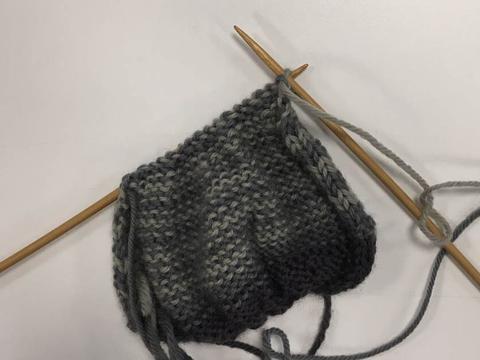
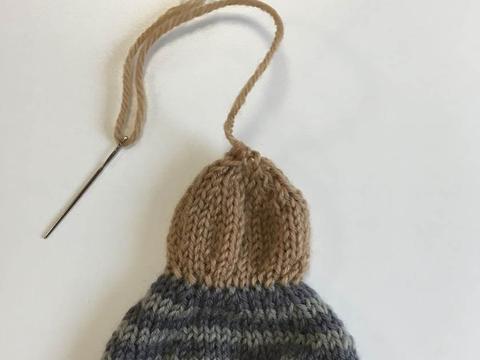
Head: With right side facing and using head shade, pick up and k15 sts along cast off edge of robe.
To pick up and k sts, insert the needle through first st before cast of edge, starting on right side edge.
Loop yarn around needle and pull through creating a loop on the needle.
Continue referring to the pattern.
Cut yarn and thread through sts on needle.

Gather sts and secure.
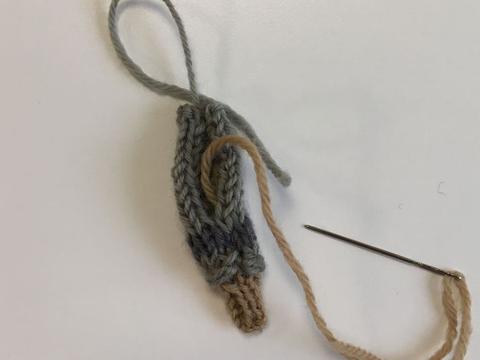
Join row-ends of base and robe from cast on edge to 1cm after fold line.
For a seamless looking join, use blanket stitch.
To blanket stitch: with right side facing insert darning needle in and under the loop between st. Pull needle through and pull tight, repeat on the other side pulling the edges together creating a seamless look.
Stop seaming edges once reach 1 cm after fold line.
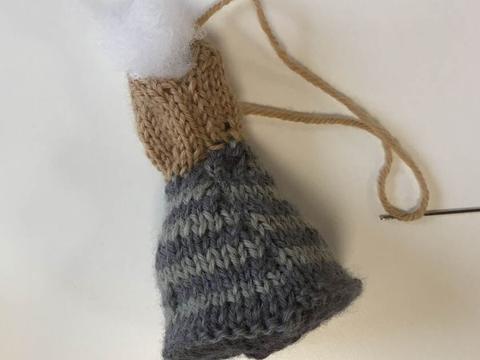
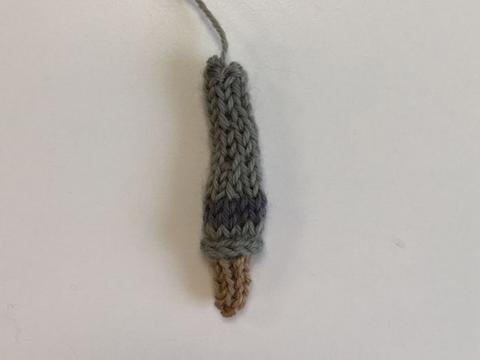
Gather cast-on edge, pull up tightly and fasten off.
Cut 6cm diameter circle of stout card, glue inside base and leave to dry.

Join remainder of seam, leaving an opening.
Stuff head and body firmly and close opening.
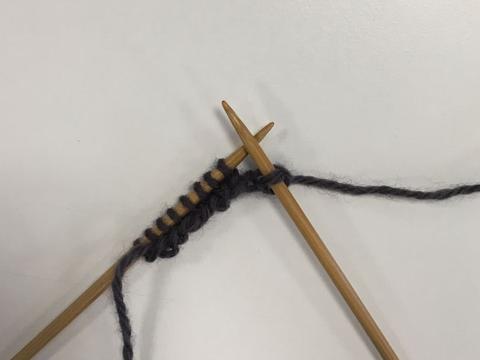
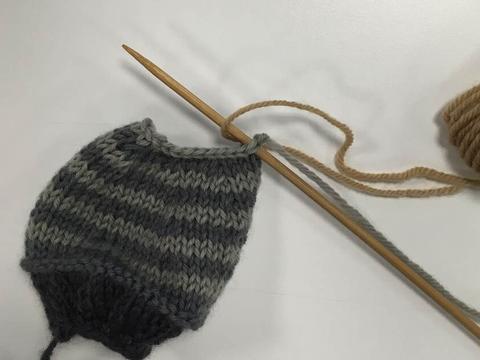
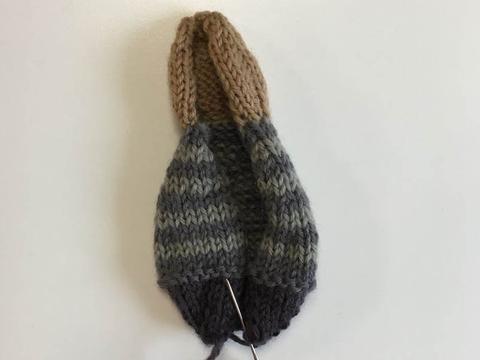
Arms: 2nd inc row: P4, p twice in next st, p4.
To p twice in next st, p st but do not take st off needle.
Insert needle again into st from back, as if to purl, putting right hand needle in front of left hand needle, finish st.
Take both sts off needle.
Finish purl row and continue referring to pattern.
Hand: With wrong side facing and using attached robe shade, pick up and k11 sts along cast-off edge of arm.
Making sure sts are evenly spaced.

Change to head shade.
Complete hand referring to pattern. Thread end through sts, pull up and secure.

Join row-ends edge from gathered end of hand to top of arm.
Do not stuff arms.
Place top of arms at each side of body, just below neck and secure in position.
Continue referring to pattern.
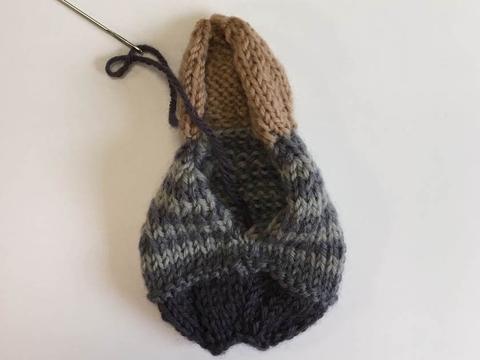
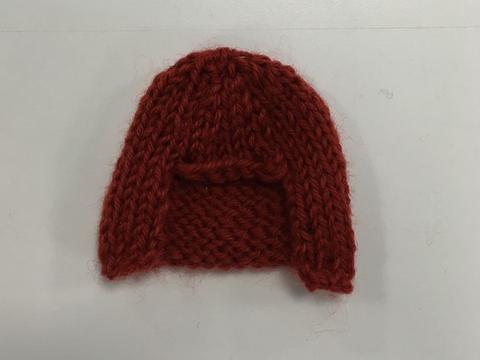
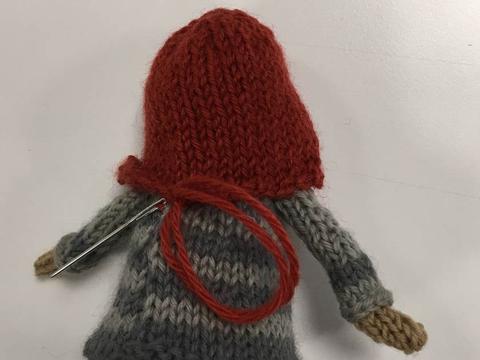
Headdress: Cast on 6 sts at beginning of next row for face edge. To cast on at beginning of row, insert needle between the first and second st.
Knit the st. Put st back on left hand needle.
You will have made a new st.
Continue to cast on another 5 sts, creating 6 new sts in total.
Use the cable cast on method for this.
To do this work the same as before but inserting needle into the st rather than between the first and second sts, put st back on left hand needle without dropping from needle.
Continue referring to the pattern.
Once finished knitting the headdress, thread end through sts, pull up and secure.
Join row-ends from gathered end to cast on sts for face edge.
Use blanket st for seamless look. See before for details.
For beard, make a st by bringing the yarn forward between the 2 sts.
Continue referring to pattern.
Mark the end of last row.
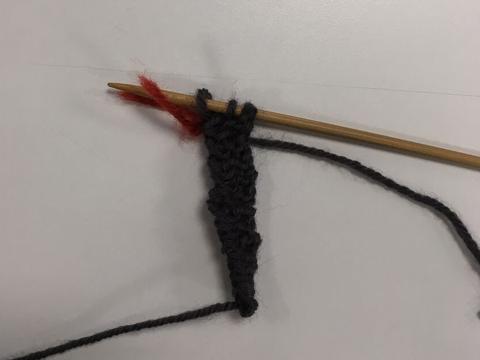
Pull yarn through first st and break off.
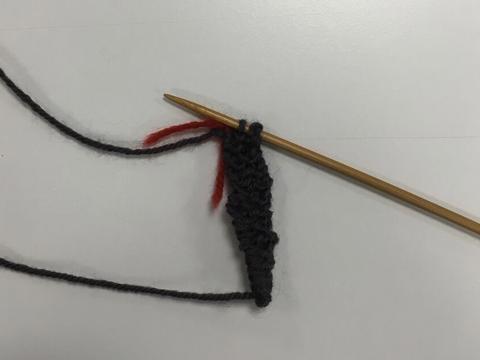
Slip remaining 2 sts onto a safety pin.
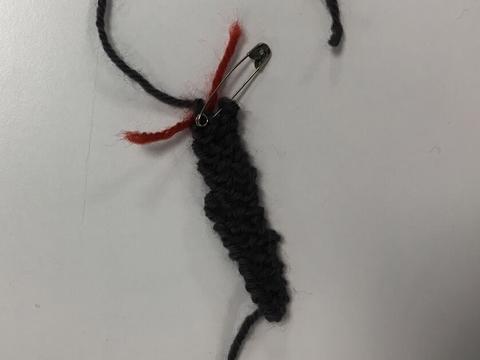
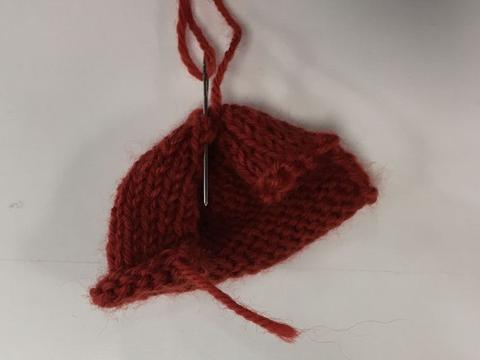
Position marked edge of beard in crescent shape along lower part of face.
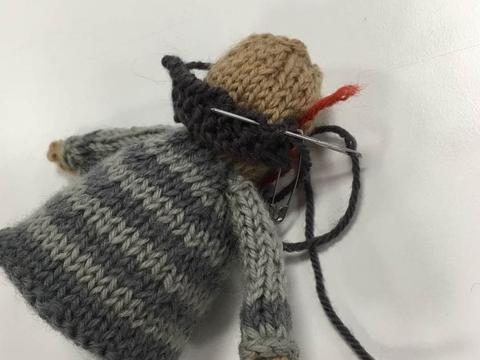
Back stitch through every stitch along marked edge.
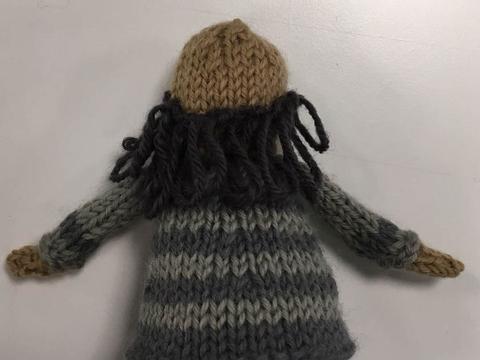
Remove safety pin and unravel all the way to cast on edge to create loops for beard.
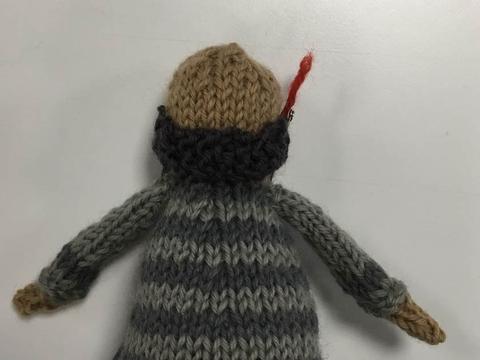
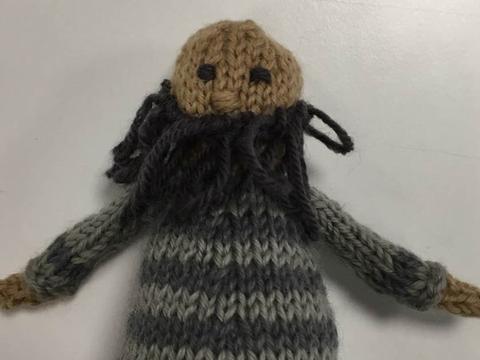
With head shade, work a few satin sts for nose.
With beard shade, embroider eyes on face by working 2 satin stitches for each eye.
Thread loose ends through head out the other side to secure.
Catch down and secure lower edge of headdress.
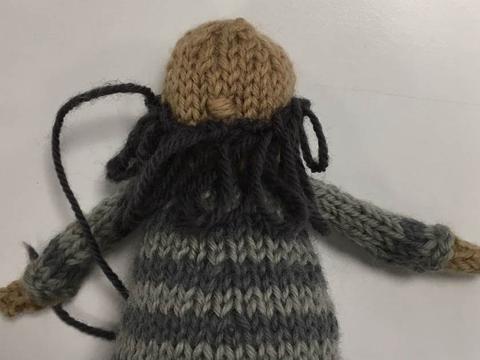
Cut hemp, and add to robe and headdress through there dec sts, referring to pattern. Tie at front for robe and at back for headdress.
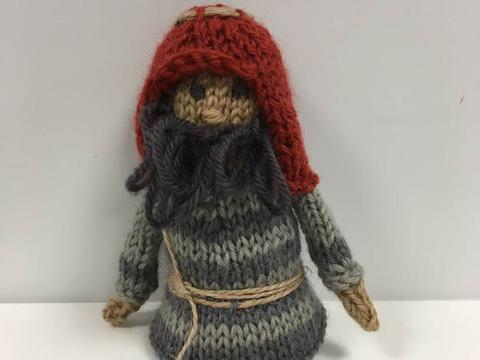
That's Joseph complete and ready to add to you Nativity scene!
Posted in: News