You have no items in your shopping basket.
Swipe to the left
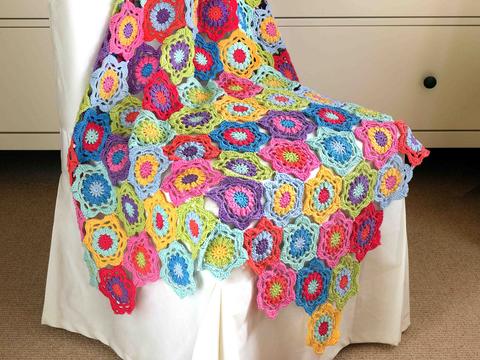
Happily Ever After CAL - Part Six
Print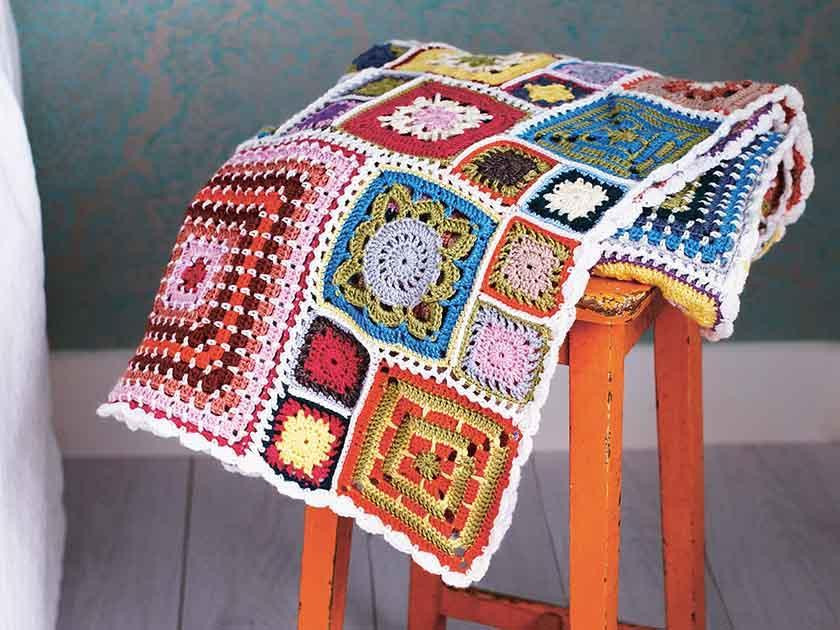
By Florence Roberts
6 years ago
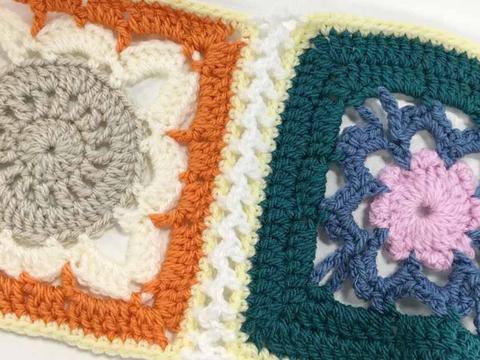
The sixth and final instalment for the Happily Ever After CAL is all about how to make up your throw. The joining stitches are made up of double crochet and half treble stitches, creating very pretty joining and edging.
For this CAL you will need Stylecraft Special DK (100% acrylic).
Stylecraft Special DK (100% Acrylic) in 100g (295m) balls, entire blanket requires the following:
2 balls in each of Cream (Cream 1005), Green (Meadow 1065) and Fawn (Parchment 1218), 1 ball in each of Deep Pink (Raspberry 1023) and Pale Pink (Clematis 1390). 1 ball in each of Pale Blue (Cloud Blue 1019), Dark Grey (Graphite 1063) and Dusky Pink (Vintage Pink 1836), 1 ball in each of Mid Blue (Aster 1003), Pale Yellow (Lemon 1020), Dark Green (Teal 1062), Purple (Violet 1277), Orange (Spice 1711), Pale Grey (Silver 1203), Light Teal (Denim 1302) and Rust (Copper 1029). 3 balls White (White 1001). You will also need a size 3mm crochet hook.
Download the full pattern for part six here >
If you missed out on the other instalments, don't worry you can still download them here.
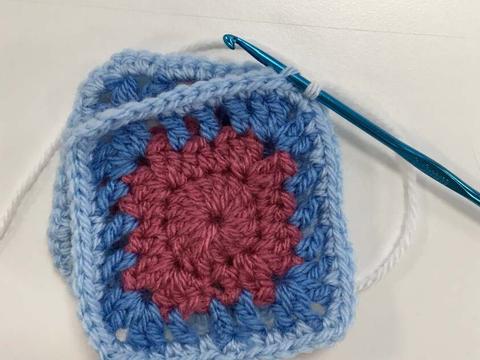
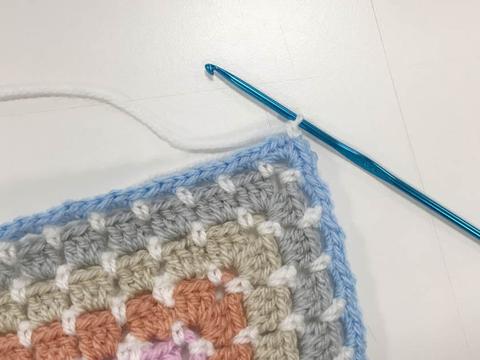
To join the small squares, put the wrong sides together.
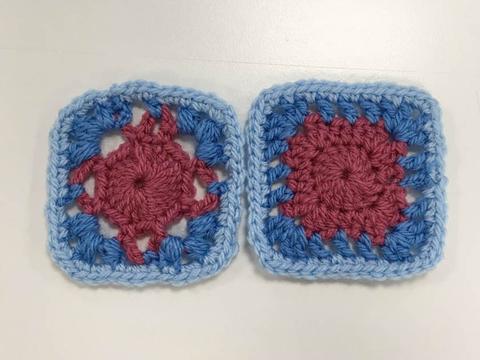
Join white (A) into the corner.
Work 1ch.
Join the squares together by working a double crochet (dc) into the back loop only of each stitch.
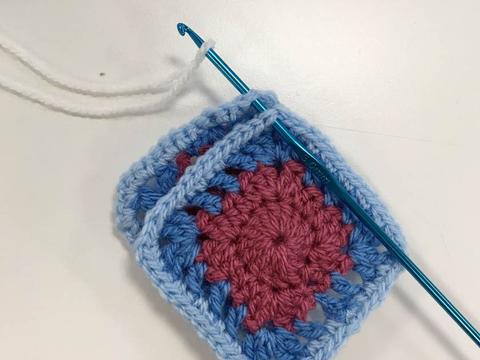
Work dc by inserting hook into stitches, take yarn over hook.
Pull through the stitches and take yarn over hook again.
Pull through two remaining loops on hook.
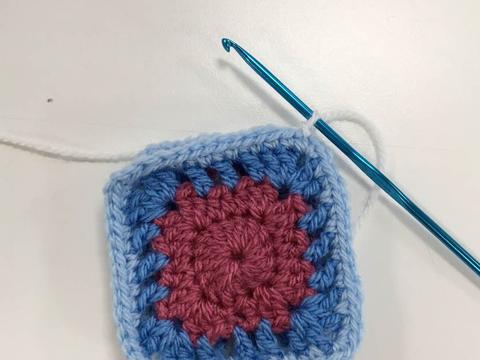
Repeat along the edge. Refer to pattern if needed.
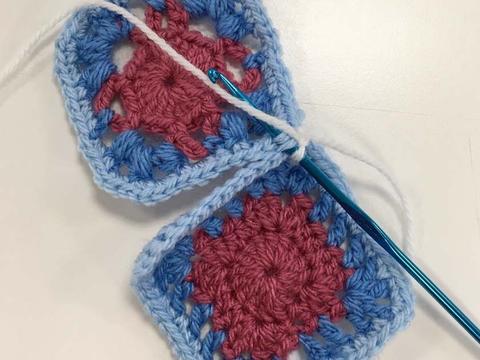
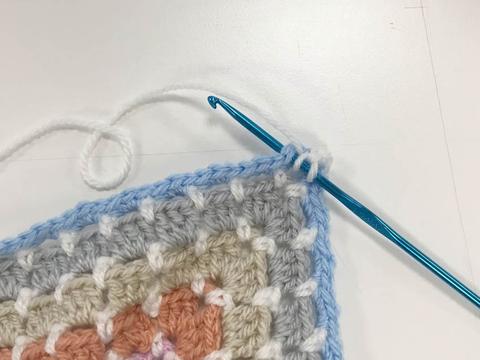
To join medium and large squares.
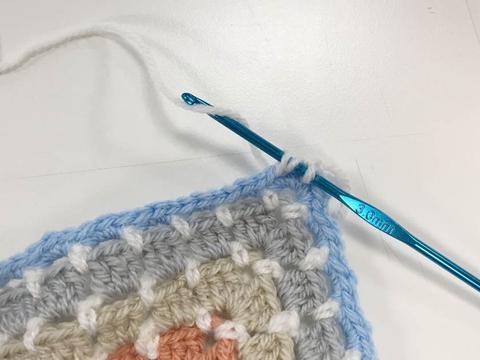
With the wrong sides together, join white (A) in the corner of the first square and 2ch.
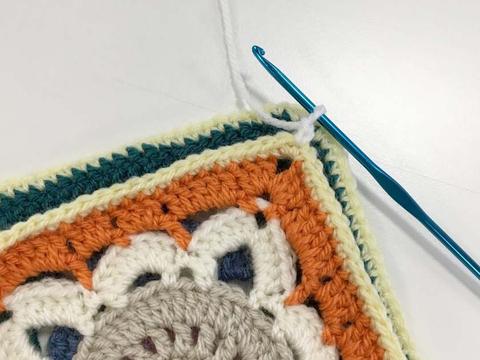
Work 1htr in corner of second square.
To work htr, take yarn over hook and insert into stitch.

Take yarn over hook again and pull through stitch. Take yarn over hook again.
Pull through all three stitches on the hook.
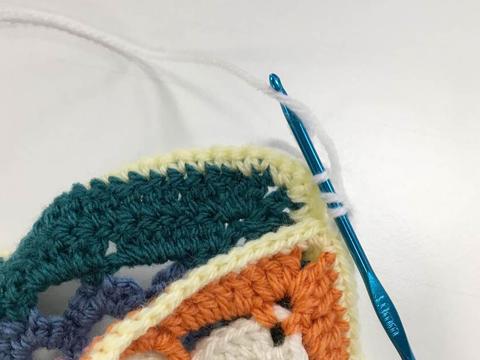
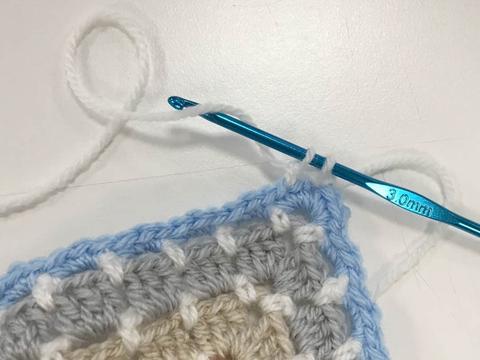
Work 1ch and then miss one stitch on the first square and work 1htr in the next stitch.
Work 1ch, miss one stitch on the second square and work 1htr in the next stitch.
Work 1htr in every other stitch on each square, referring to pattern.
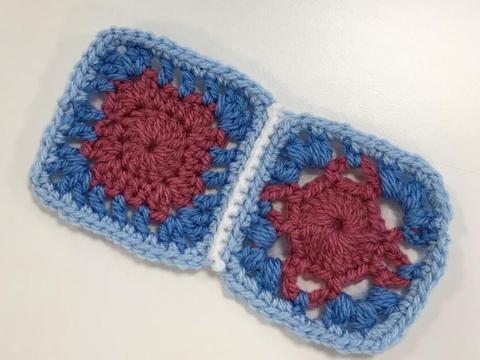
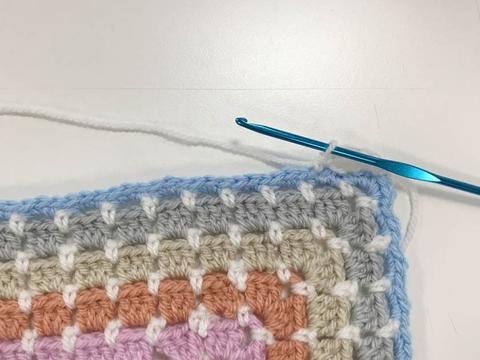
Note that the stitches may not match up equally, to even the squares out, you may need to miss an extra stitch occasionally.
Join the medium and large motifs in this way.
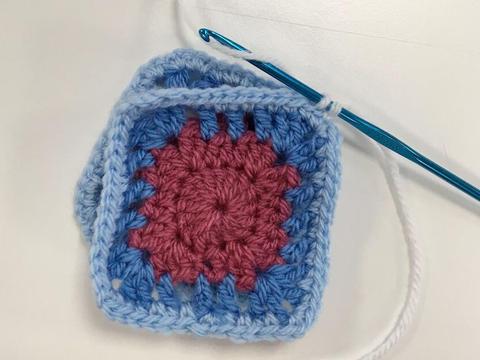
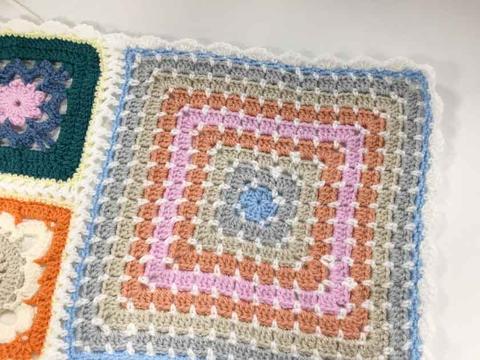
To make the edging.
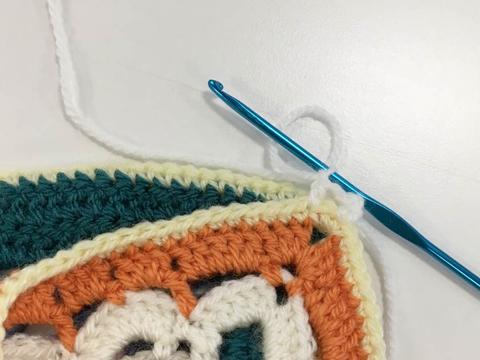
With the right side of the blanket facing, join white (A) in one corner and 1ch.
Work 1dc in corner.
Miss the next 2 stitches and work 5 treble stitches (tr) in next stitch.
To work tr, take yarn over hook and insert into st.
Take yarn over hook and pull through stitch.
Take yarn over hook again and pull through two stitches.
Take yarn over hook and pull through remaining two stitches.
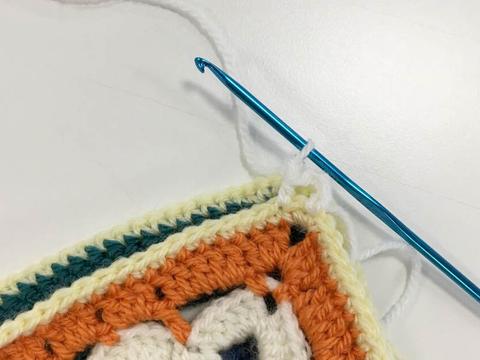
Repeat a further four times, making five trebles in total.

Miss the next 2 sts, and work 1dc in next st.
Repeat the 5tr and dc stitches, referring to the pattern.
Work this edging around the whole throw edge. Omit the 1dc at end, slip stitch in the first dc instead. Fasten off and weave in all the ends.
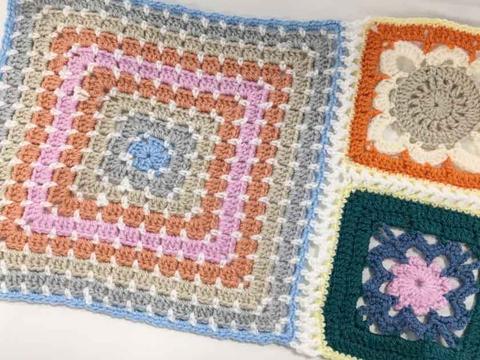
That's it! Your Happily Ever After Throw is complete!
Don't forget to like our Facebook page The Knitting Network and share your progress over on the exclusive Facebook page for all of our Crochet-A-Longs.
Join our Crochet-A-Long page here >
We hope you have enjoyed this crochet along and make sure to keep an eye out on the blog and Facebook pages for the wonderful yarn colour pack for this gorgeous crochet technicolour floral blanket! Launching soon...
Posted in: News