You have no items in your shopping basket.
Swipe to the left
Grandmother's Footsteps Blanket CAL Part Two
Print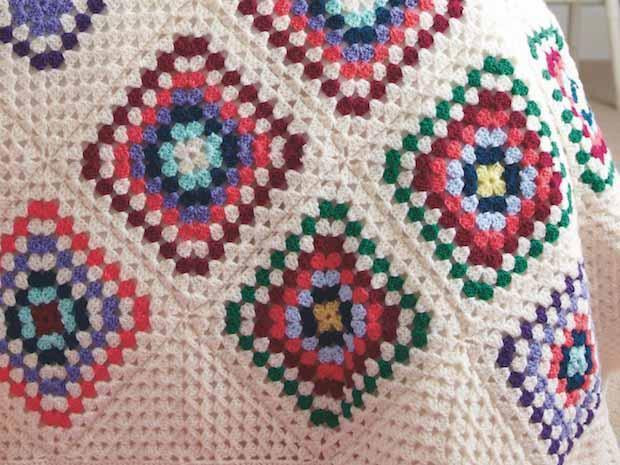
By Florence Roberts
6 years ago
The second instalment of our latest crochet along 'Grandmother's Footsteps' is here. This traditional granny square blanket is made up of simple granny squares in cream and bright colours. It is suitable for those with a bit more crochet experience.
We are so excited to bring you part two of our free crochet along blanket pattern.
This part shows you how to make squares B, C, D and E. These squares are made of rounds of different bright colours.
If you missed out on part one last week then do not worry, you can still download it here.
You can still get hold of the exclusive yarn colour pack for just £32.99. The pack includes all the yarn you need to crochet up your own Grandmother's Footsteps blanket.
Buy your yarn colour pack here >
Keep scrolling for a helpful guide on how to crochet the blanket, and the stitches used.
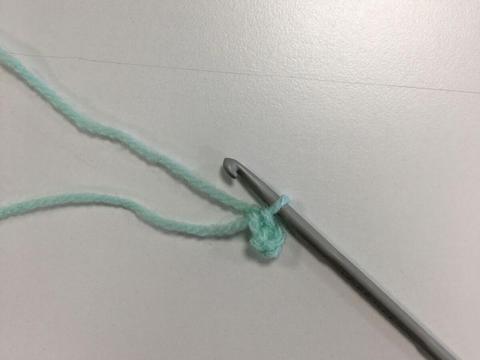
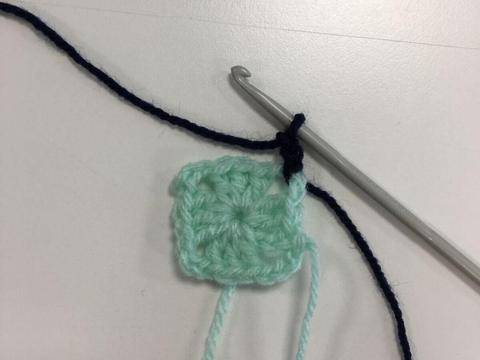
This demonstration is for square B.
With 4mm hook and Mint, make 4ch and join with a slst to form a ring.
First round: 3ch, then work 2 treble into ring. For how to to make a tr st, please refer to the part one blog post.
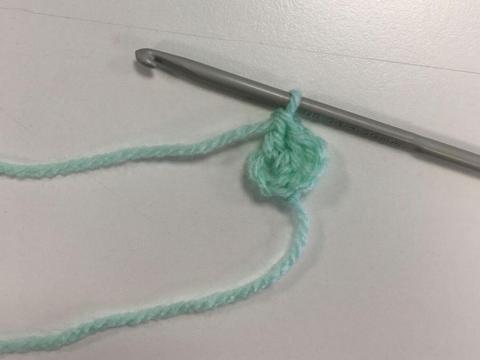
Work 3ch, 3tr, 3ch another three times referring to the pattern.
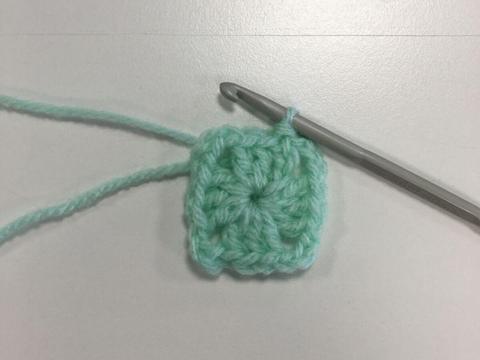
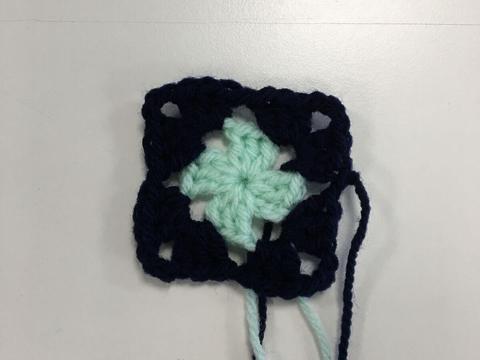
Second round: Break off the Mint and join in next colour, Navy.
Work 3ch.
Repeat the round referring to the pattern. Fasten off Navy.
Attach the next colour, Cupid and repeat the round referring to the pattern and part one how to blog post is required.
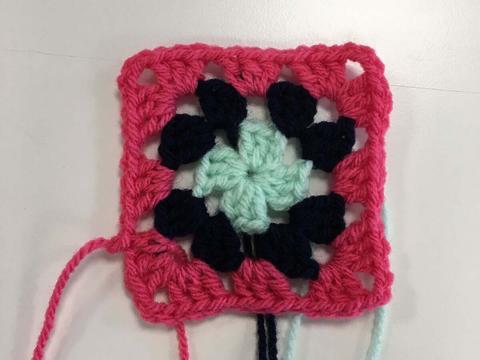
Continue square B, using the pattern and the colour sequence.
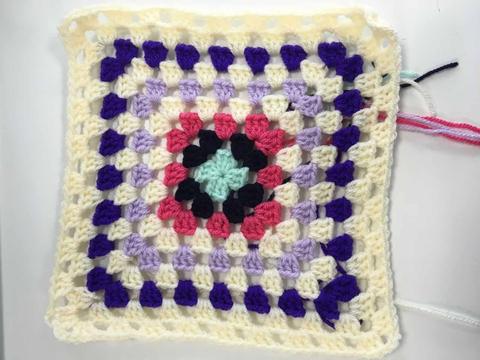
Continue working the rounds in the same way using Aran, Lilac, Aran, Bright Purple and 2 rounds of Aran.
Joining the squares
When working the sixth round, you will sometimes work the joining round instead.
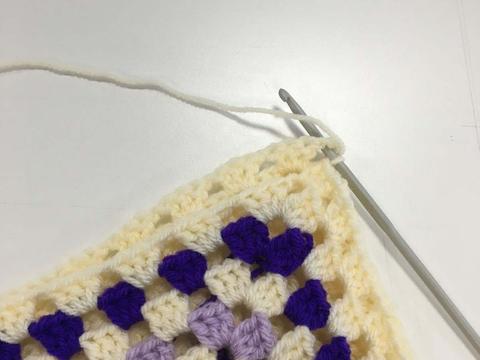
To work the joining round, slst along and into the corner, then 3ch.
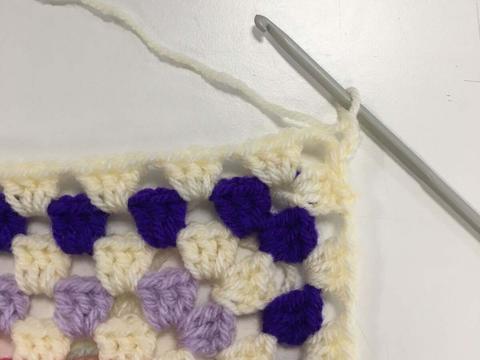
Work 2tr, 3ch and 3tr into the same chsp.
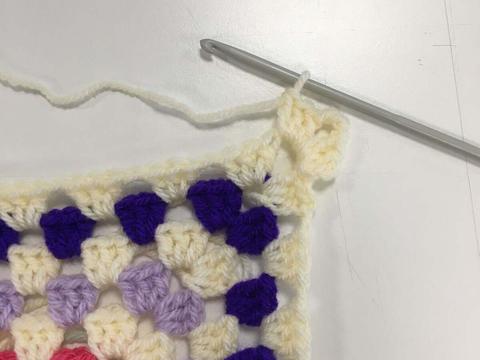
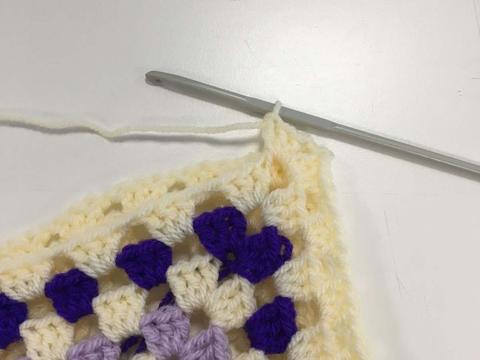
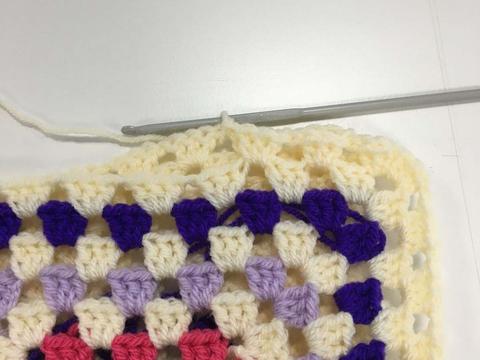
Work 1ch, 3tr in next chsp. Repeat this to the corner.
Work 3tr in chsp corner and then 1ch.
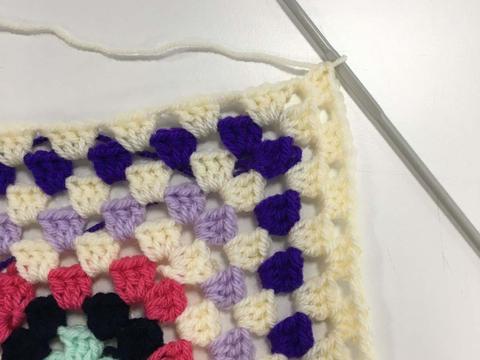
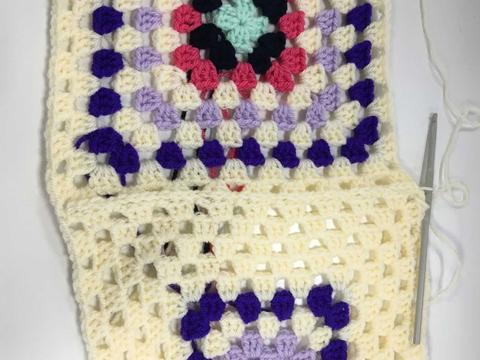
Place wrong sides of two squares together.
With working square at front, slst into corner space of back square.
Work 1ch, 3tr in same corner chsp on square at front.
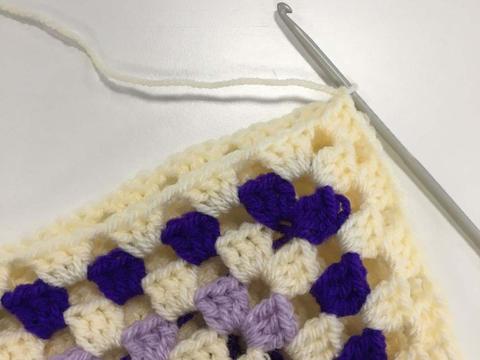
Slst in next ch sp on square at back, 3tr in next chsp on square at front.
Repeat this to the next corner chsp.
Work 1ch, 3tr in corner chsp on square at front.
Work 1ch and then slst in corner chsp.
Repeat referring to the pattern if joining square on two sides.
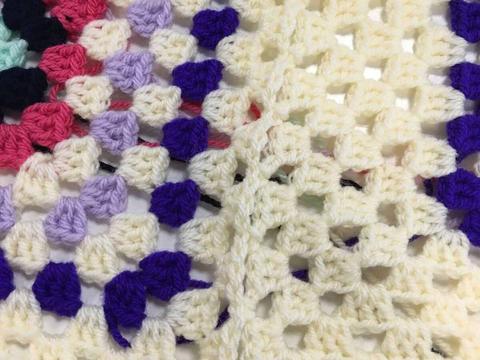
Complete the square at front as 6th round of square A.
That's it for part two.
Make 5 squares in B
Make 12 squares in C
Make 10 squares in D
Make 4 squares in E
We hope you enjoyed it and are looking forward to part three. It will be released on 25th May so stay tuned!
Please share your progress with fellow crocheters over on The Knitting Network's Crochet Along Facebook page. As well as sharing tips, asking for advice and sharing any queries you may have.
Join The Knitting Network Crochet Along page here >
Happy crocheting.
Posted in: News