You have no items in your shopping basket.
Swipe to the left
Stitch Library Doll’s Blanket - The Final Touches
Print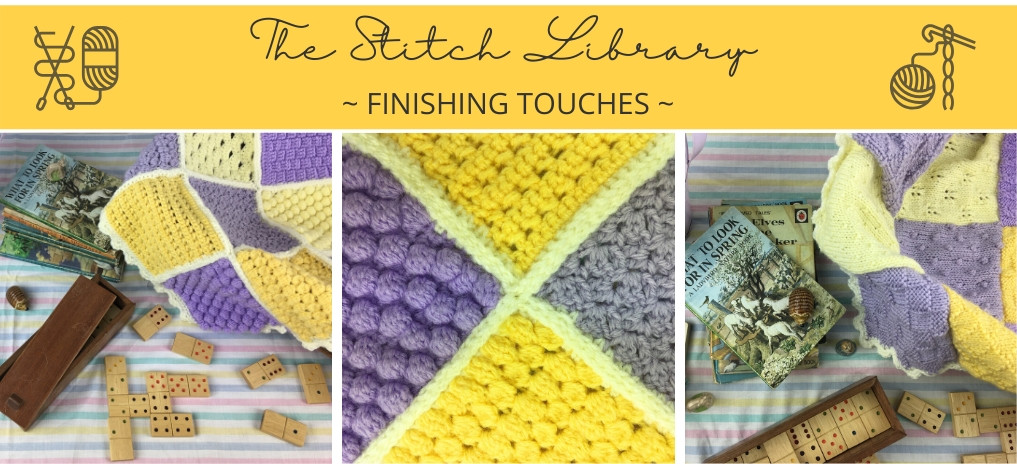
By Amy Sosbe
4 years ago
It’s the fun bit! Welcome to the very last post for making our Stitch Library Doll’s Blanket. In this last post we’ll show you how to join your squares and add on a pretty border, so your blanket will be ready to be loved and used!
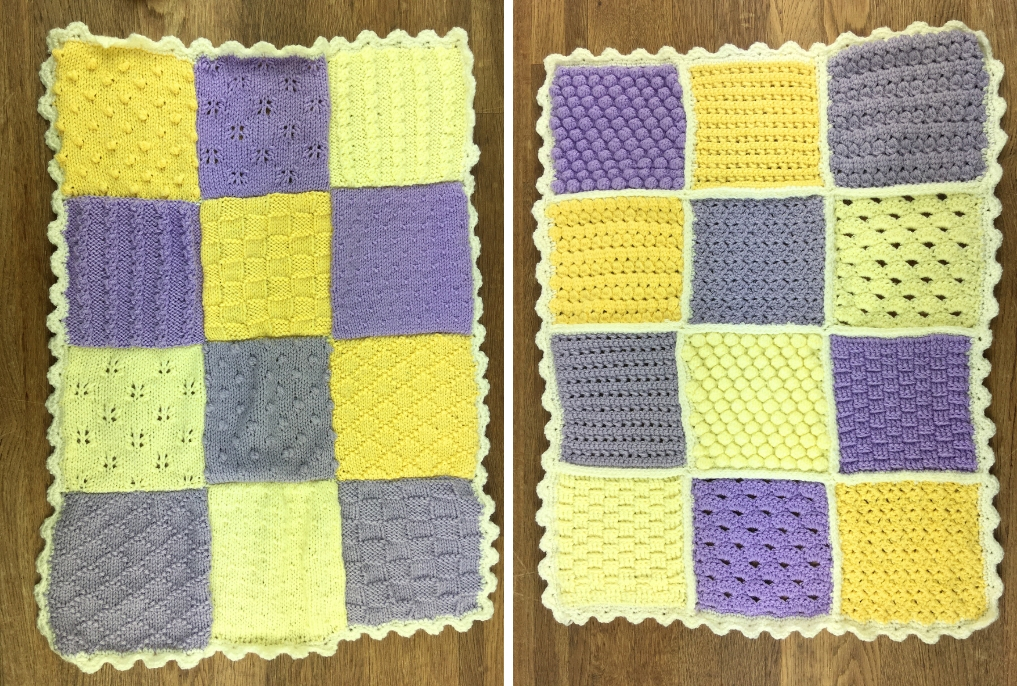
If your going to be making a 4 square x 3 square blanket like ours, then your blanket will measure approx. 45 x 58cm/ 17.5 x 23in including the border (approx.). However, it’s such an easy design to adapt, you can add as many or as little squares to your blanket as you like. If you’ve been feeling super creative and have decided to make the knitted and crochet squares, then you could even combine them all into one blanket.
If you've not yet started your blanket, but would love to make one, you can find all of the patterns on our blog and read all about the Stitch Library Doll’s Blanket in our introduction post >>
Blocking
We blocked each of our squares before joining, so that they laid nice and flat, making it easier to sew them together. We did this by pinning them out, steaming them lightly and then leaving them to dry flat.
Joining
There are lots of different methods used for joining, some invisible and some there to make a statement. Different methods are used for different projects and we've decided on 2 variations of the slip stitch method for our blankets, one for our knitted blanket and one for our crochet one. Of course, you can use either one for your blanket, or whichever method you prefer.
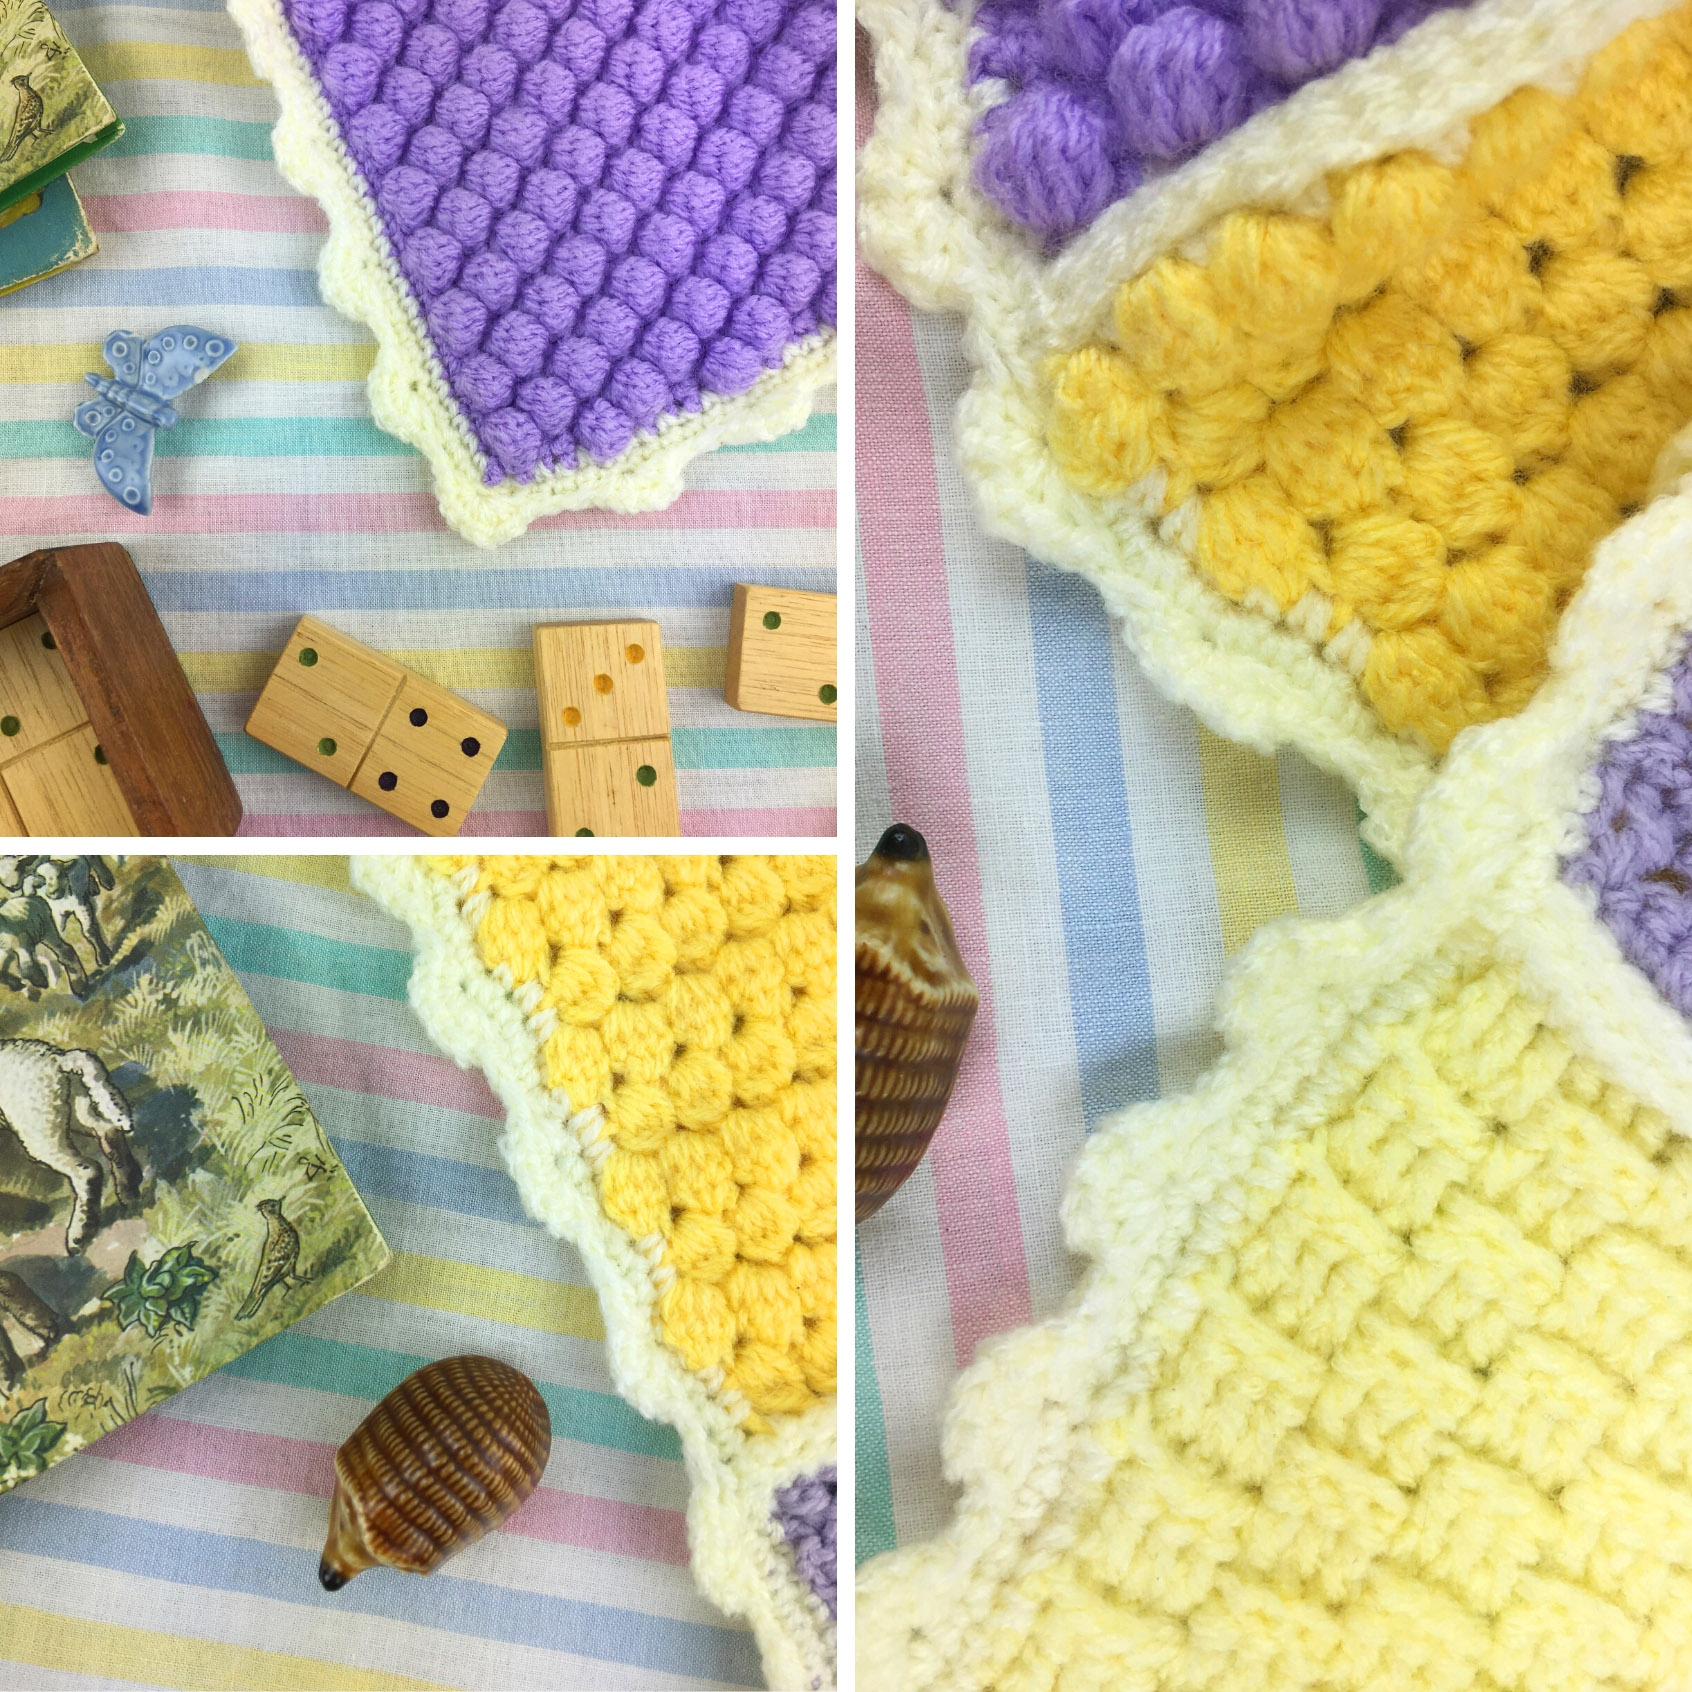
For the crochet blanket we've used the slip stitch method, placing our squares wrong sides together, which really makes all the beautiful squares sing! Using this method is quick and easy and adds definition to the separate squares, making each square stand out against the colour of the raised decorative ridged border. Remember not to join too tightly, you should keep the tension of your yarn on the looser side so the squares sit next to each other neatly. You can follow the step-by-step instructions for this method below.
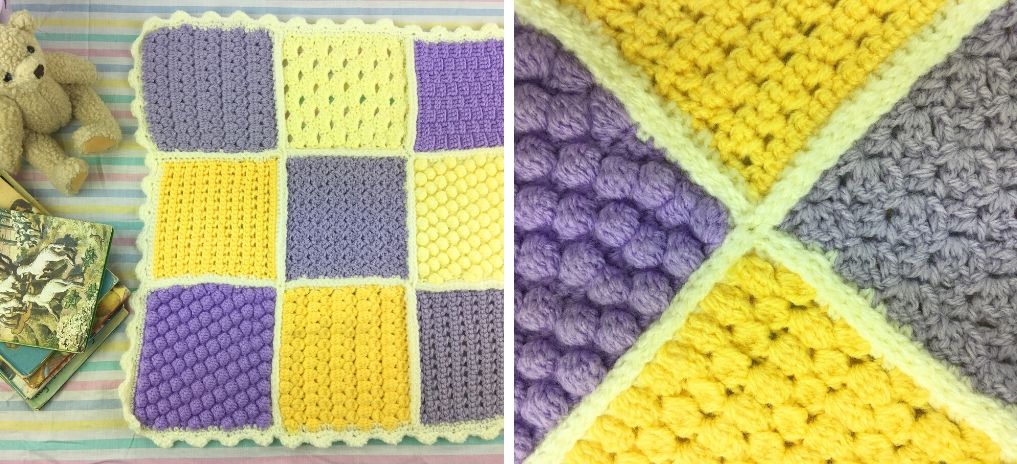
You will need a 4mm crochet hook and your choice of joining colour. We’ve used Go-To DK in Buttercream (001). Before joining, we edged each crocheted square in double crochet to form a neater edge.
- Lay all your squares out into the order you wish the finished design to look.
- Take two squares that you want to join and put them wrong sides together. You may want to join together all of your squares from each row first and then join together each of the joined up rows.
- Insert your hook through the outside loop of each stitch to be joined. Put your yarn round hook, pull yarn through both loops make a slip stitch.
- Repeat the above step – so put the hook through the outside loops of each of the stitches you want to join, and slip-stitch your way along, making sure your tension is kept relaxed.
For our knitted blanket we used the slip stitch method again, but joined them by placing right sides together, rather than placing wrong sides together. This makes a neat and invisible join, rather than a visible raised edge. Follow the instructions above from step 1 and remember to put your squares right sides together rather than wrong sides together.
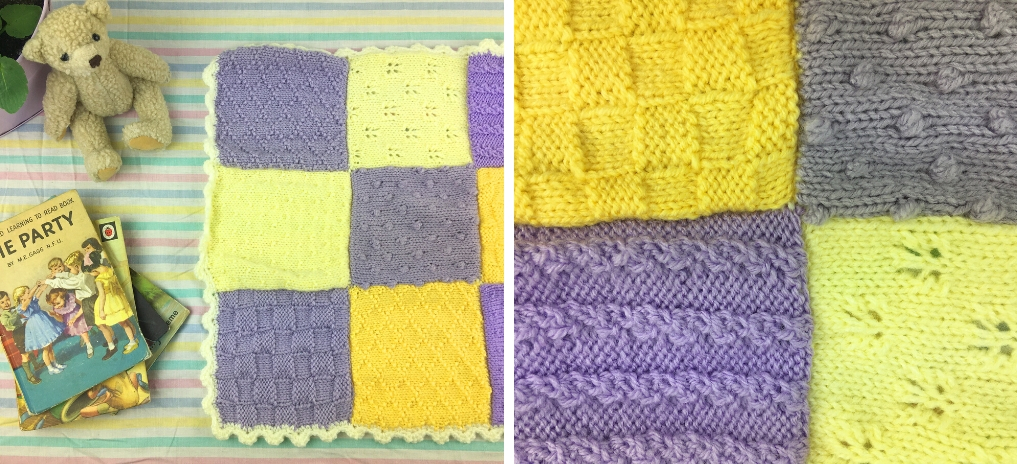
If you’ve knitted your squares and would prefer to use a method that doesn’t require a crochet hook, then you could use the Mattress Join Technique that uses a knitters’ needle. This technique is also an easy method to use and creates an invisible seam so you’ll get a slightly different effect to that of the crochet blanket. With this method it’s important to try and mirror what you do on one side with what you do on the other, making sure you go through the same part of the stitch on each of the sides you’re joining where you can.
Once you have joined all your desired squares together you can then move on to adding the border!
The Border
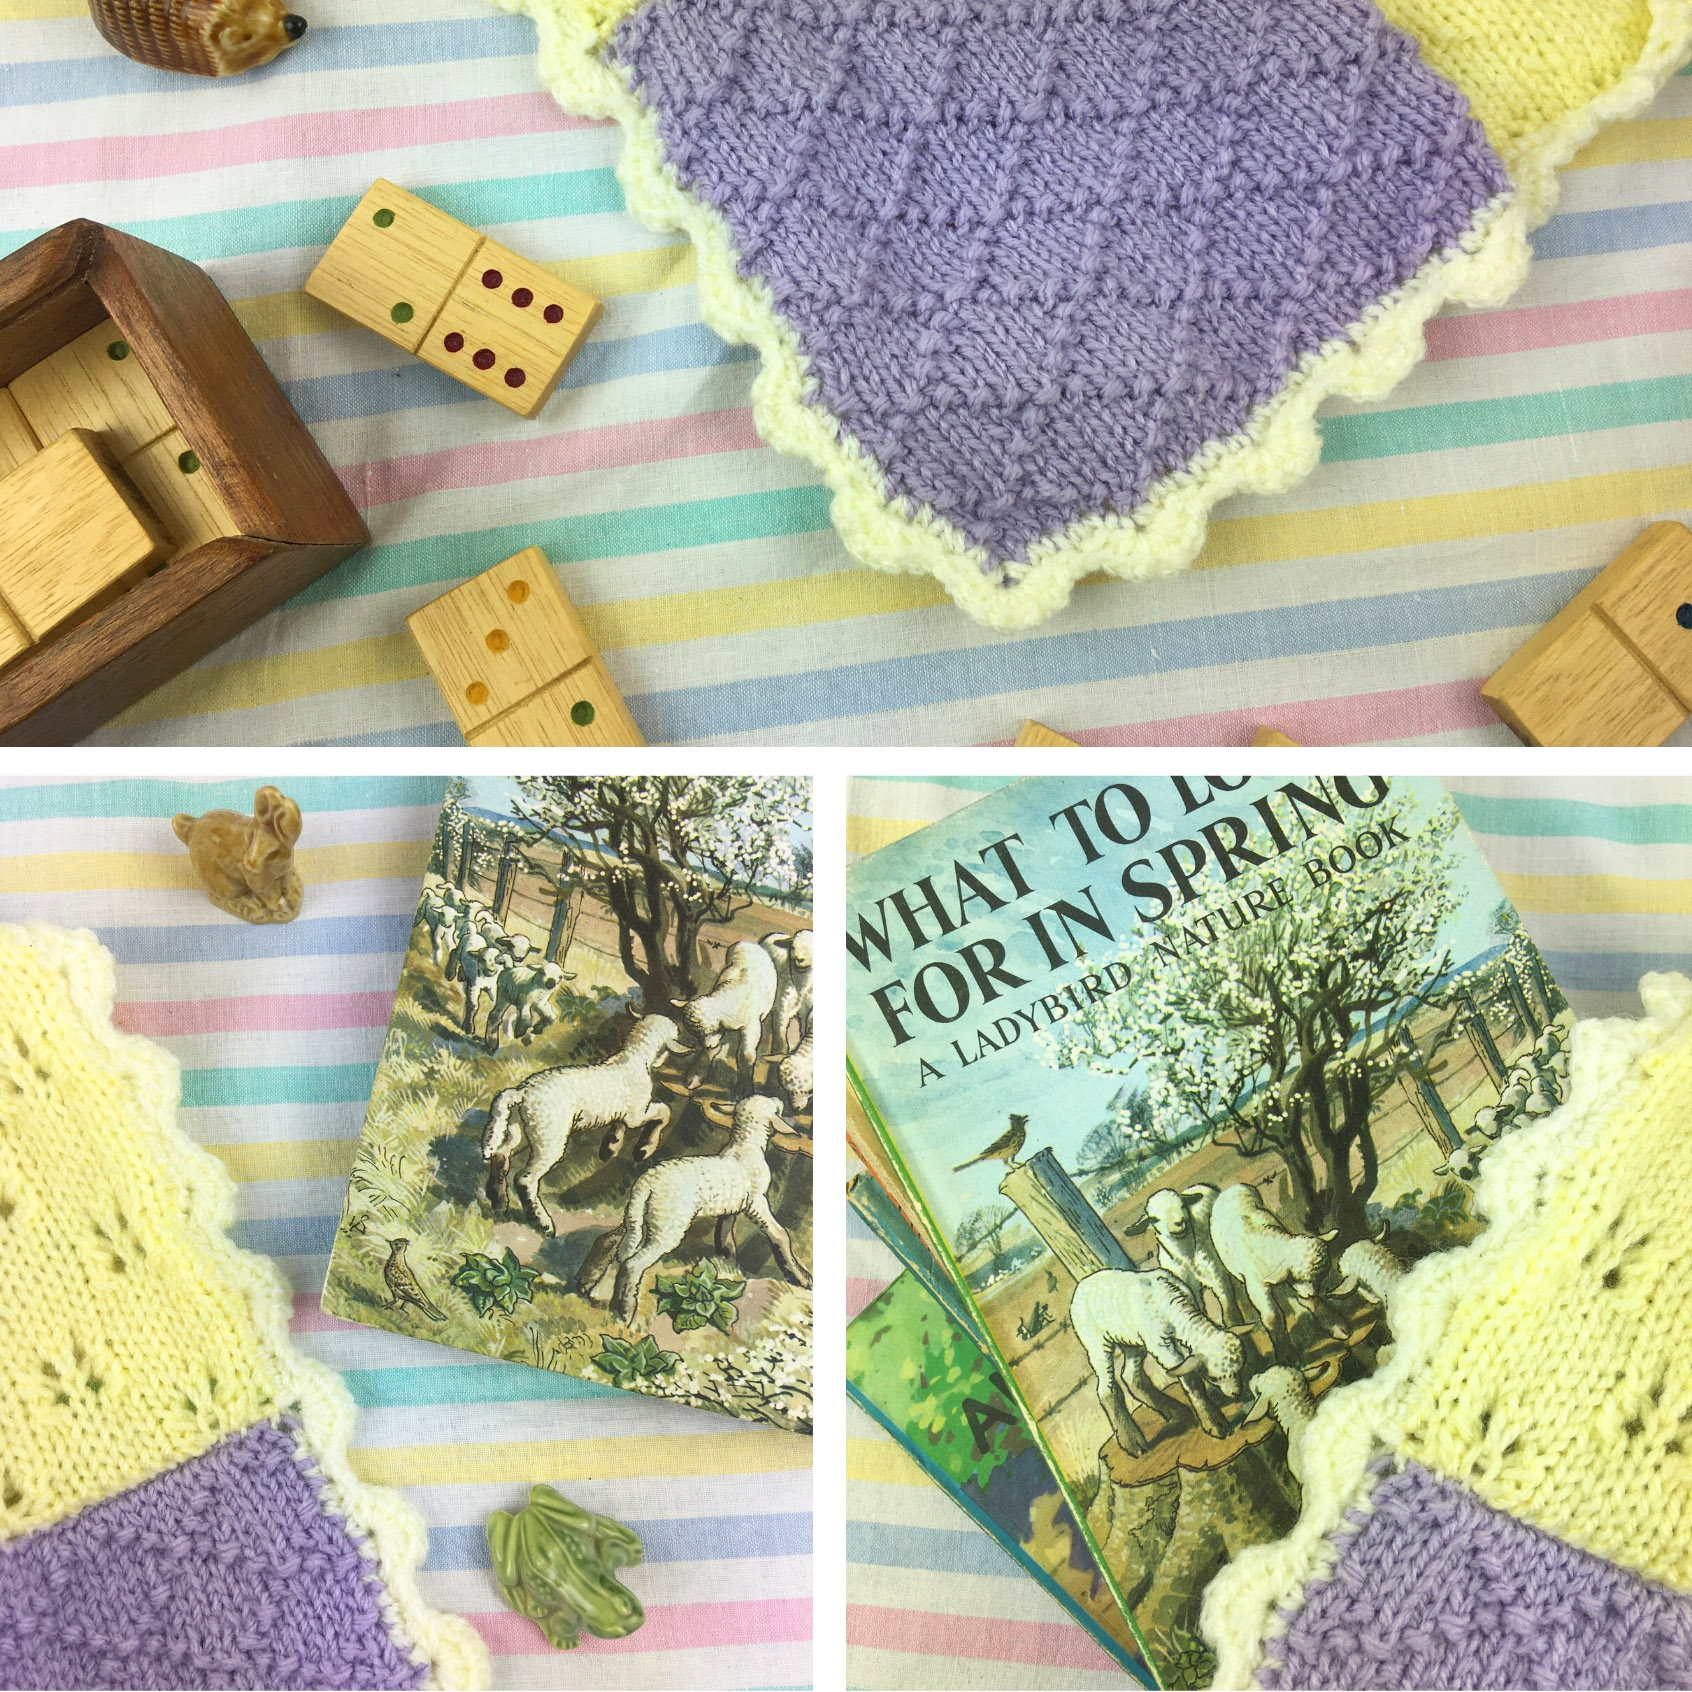
For both blankets we’ve decided on a pretty crocheted scallop edge border. This is a simple yet effective and pretty design and can be added to both the crochet and knitted blankets. Adding a crochet border to your knitting means there’s no stitches to pick up or borders to join on, it’s also a great introduction to crochet if you haven’t tried it!
For the Crochet Scallop Edge you will need a 4mm crochet hook and your choice of border colour. We’ve used Go-To DK in Buttercream (001). Before we added our border, we edged our blankets in a row of double crochet to make a neater edge.
- Join your yarn in the top right corner of the work using a slip knot and then slip stitch into the first stitch of the row.
- Skip the next 2 stitches.
- In the next (third) stitch work (1 dc, ch 1) 4 times, 1 dc. You will now have 5 dc stitches each separated by a ch 1.
- Skip the next 2 stitches and slip stitch into the following (third) stitch.
- Repeat step 3 and then repeat steps 4 followed by 3 until you have reached a corner.
- After the final slip stitch of the row, chain one to adjust for the corner. Slip stitch into the first stitch on the new side of the work. Continue working steps 3 and 4 until you reach the next corner.
- Continue working steps 3, 4 and 6 until you have completed the entire blanket.
- Bind off yarn.
If you’d prefer to knit your border, there are some great tutorials on YouTube, like this one here.
So there you have it! Everything you need to finish your beautiful blanket. Once you've joined your squares and added your border you can sew in all your ends, if you haven’t already done so. We’ve had a lot of fun with this little project, not only have we come out the end with a lovely blanket, but we’ve learnt some great skills and techniques along the way.
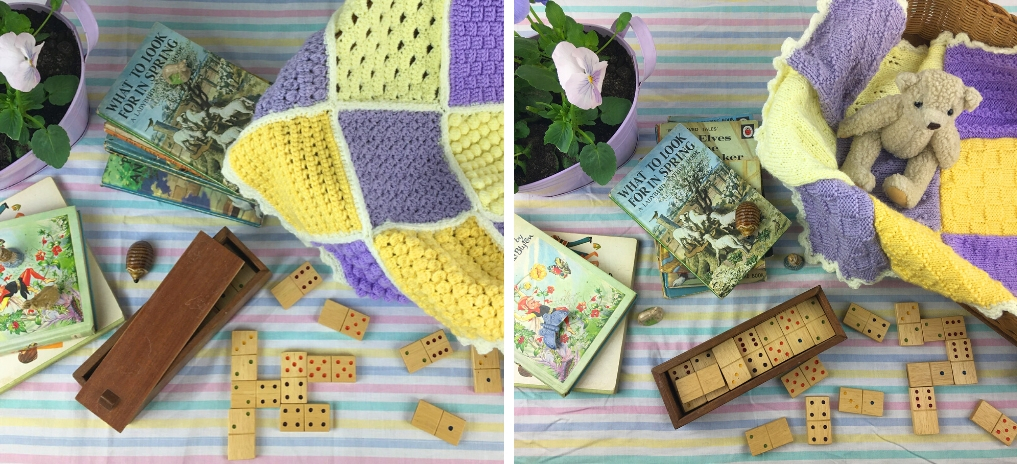
We’ve taken some photos of our finished blankets and we thought we'd keep to a childhood theme and photograph our blanket with some things from my own childhood! We commissioned my wonderful mum to make the blankets for us, the domino set and crib were made by my very clever Grandpa, the Wimsey ornaments were some of my favourites to play with when I was little and the ladybird books belonged to my Granny. All bringing back lovely memories!
We’d love to see photos of your blankets! You can share your photos over on our Knit Along and Crochet Along Facebook groups.
Thank you again for everyone who’s joined in! We hope you've enjoyed this project as much as we have!
Posted in: Best patterns, News