You have no items in your shopping basket.
Swipe to the left
Arm knitting: Knit a blanket in 15 minutes
Print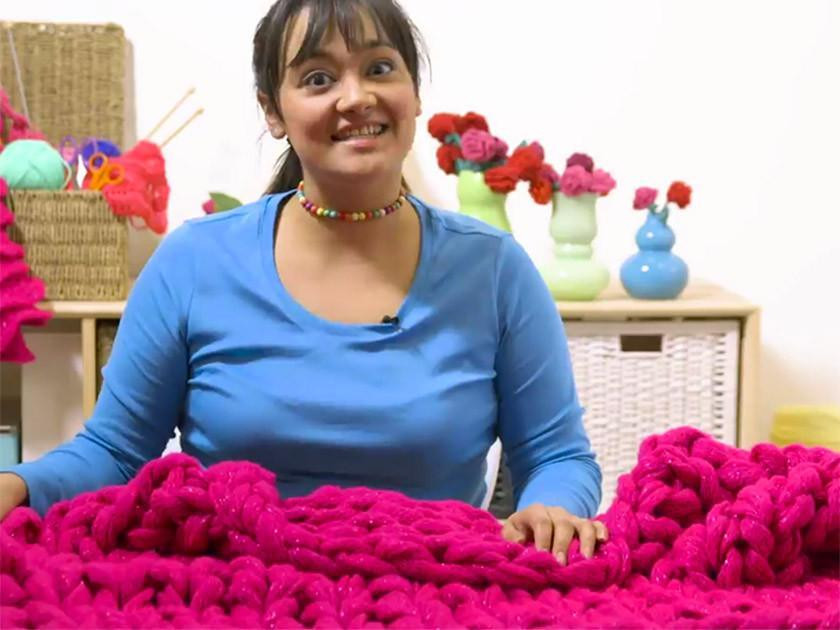
By Beth Shearing
7 years ago
Although the arm knitting craze has been around for quite some time, we still can't get enough of it.
Not only is it seriously fun, it's suitable for total novices and experts alike, and can be used to create square or rectangular items including scarves, floor mats and shawls.
You also don't need to rush out to buy special yarn or materials - instead you can simply use multiple strands of whatever you have lying around.
Our expert Freddie Patmore got into arm knitting back in 2013 after seeing the trend pop up online.
'As a knitter, I wasn't sold on the idea of ditching my needles, it just looked a bit gimmicky,' she admits. 'But when I saw how quickly large items could be created, I soon understood the appeal.'
She's since had lots of friends begging her to make them throws for their sofas and cosy blankets for their beds.
Another bonus of the technique is that it's a great way of getting kids interested in knitting.
'Knitting with needles can be quite fiddly and a tricky method to teach youngsters,' adds Freddie. 'Arm knitting is much easier and a great way to develop hand-eye coordination.'
Knit a blanket in 15 minutes
You will need:
- 7 balls of super-chunky yarn
- A sewing needle
- Scissors
- Matching thread from your sewing box
Follow our steps and you'll have a wonderful blanket in no time at all.
- Unwind your balls of yarn and find the ends and knot together.
- Wind the finished length into a ball and measure 2 arm spans from the end.
- Cast on: Make a slipknot after the area that you’ve measured and place it on your right wrist.
- Take your left-hand thumb and index finger and place them between the two strands yarn with the cut end under your thumb.
- Hold both ends with your ring and little fingers on your left hand.
- Each loop of two strands is counted as one stitch.
- Working with yarn at the front, cast on 16 stitches.
- First row: Hold the working yarn in your left hand. With your right hand, pull the first stitch off your left hand and over the working yarn. A loop was just created in your left hand. Place this loop on your right arm, creating the first stitch. Repeat until you have worked all the stitches from your left arm to your right arm.
- Second row: The second row is worked the same way, just in reverse. So, start by holding the working yarn in your right hand. With your left hand, pull the stitch at your right wrist off of your right hand. Place this new loop onto your left arm and slide down. Keep going in the same way as before until all stitches have been worked.
- Repeat steps 6 and 7 until your item has reached its desired length.
Watch Freddie in action in our handy video tutorial...
Posted in: How to knit