You have no items in your shopping basket.
Swipe to the left
How To Knit Toys: Sewing up knitted toys
Print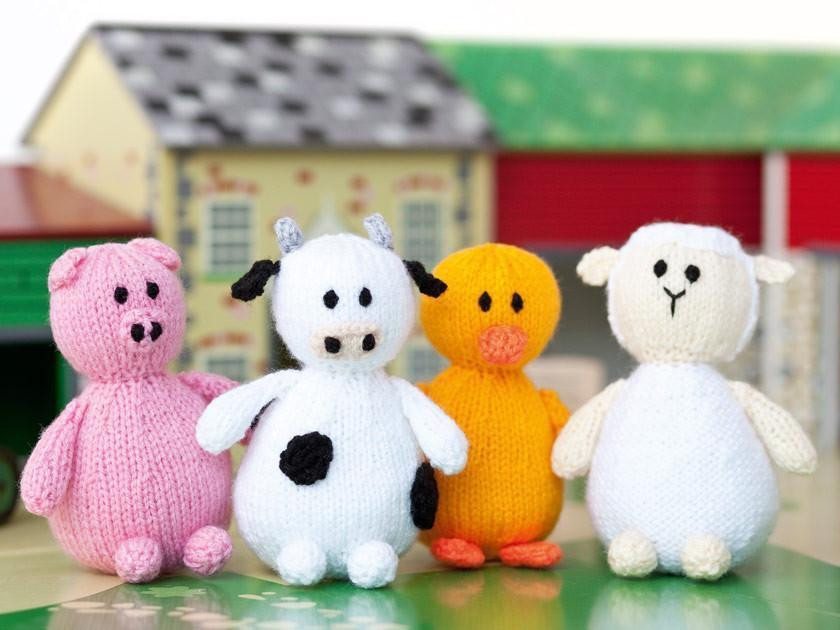
By Freddie Patmore
7 years ago
When you're sewing up knitted toys, you’ll usually have lots of small pieces of kntting to assemble and it’s fiddly to make the seams look absolutely perfect.
That’s why we’ve put together our top tips for the final touches. Freddie Patmore shows you all the stages of how to finish off a toy in the video below.
8 handy hints for sewing up knitted toys
1. Leave your ends of yarn long after casting-off each knitted piece. Use these ends to sew the pieces together later on. This method will create fewer ends overall to darn in.

3. Use mattress/ladder stitch (invisible seaming) to join pieces together where possible, as this method of sewing up gives the neatest seams. Place the two edges together, right sides upwards, and starting at the cast-on edge, take the yarn underneath the strand beside the edge stitch at one side and then the other. After a few stitches, pull up the yarn to tension the seam.
4. Alternatively, backstitch is worked from the wrong side of your knitting. Sandwich your pieces together with right-sides facing and work backstitch along the required edge. As you cannot see the right side of your work when using backstitch to join a seam, it is best to use pins to keep the knitting from moving around as you work.

5. Stuff each piece as you go. The arms of a toy are far easier to place on a project neatly if you stuff them lightly before you start to attach them.

6. Pin bodypart pieces in place before joining to ensure they sit correctly. Your toy can look completely different to the original pattern photograph with the tiniest of variations in the positioning of head, arms and legs. If the balance doesn’t look quite right, make small adjustments to the placements until you are happy.
7. Use a scrap of contrast-coloured yarn or a safety pin to mark the cast-on edge when you start a new knitted piece. Making-up instructions will often make reference to cast-on, cast-off and row-end edges and your marker will help you to see which edge is which.
8. Always make sure the body and head seams sit at the centre back of your toy, unless otherwise specified in the pattern.
Make your very own farmyard pals with our adorable Animal Knitting Patterns to download.
Posted in: How To